

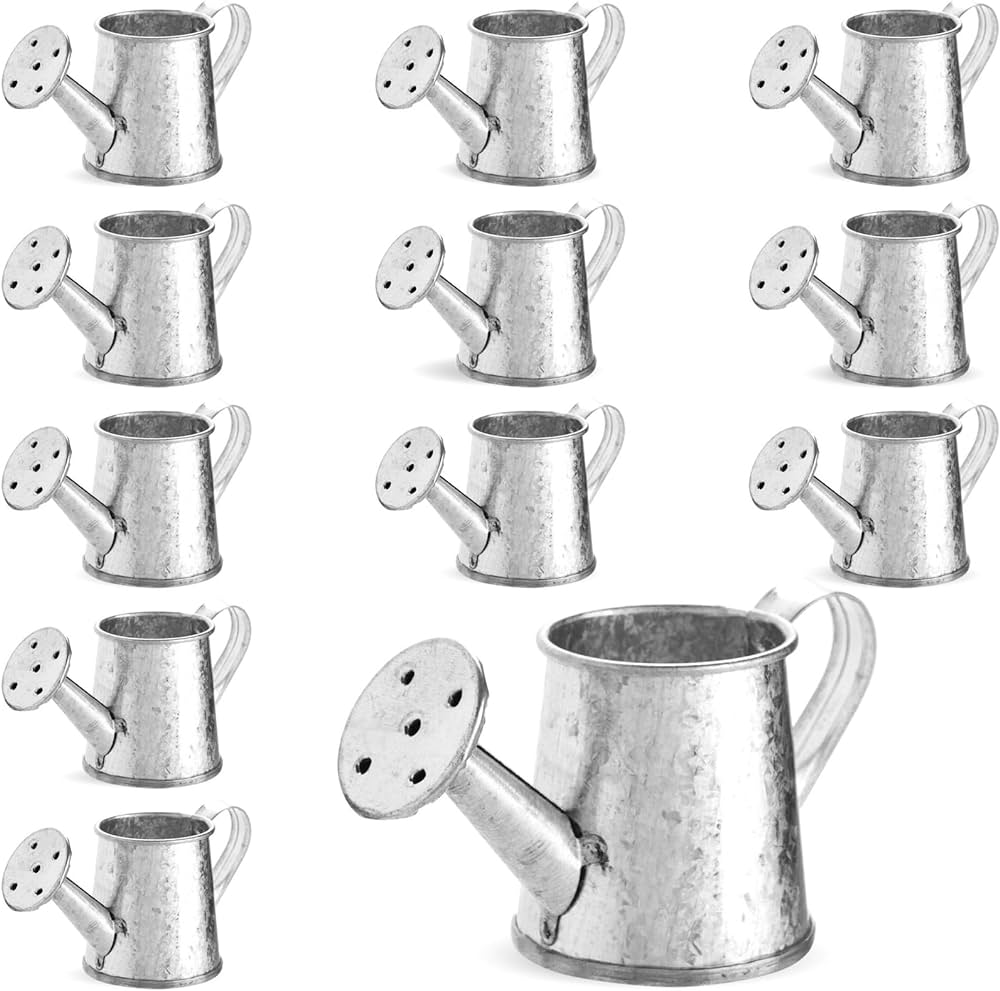
Okay, so I’ve been wanting a cute little watering can for my indoor plants for ages. I didn’t want some big plastic thing, I wanted something with a bit of charm. I finally decided to just make one myself, using a mini galvanized bucket I found at the craft store.
Getting Started
First, I gathered my materials. I had:

- The mini galvanized bucket (obviously!)
- A drill with a small drill bit
- Some sandpaper (medium grit)
- A small piece of metal tubing (I found some in my junk drawer, I don’t know the real name of it, haha)
- Some strong adhesive (like E6000)
Making the Spout
The hardest part was figuring out the spout. I took that little piece of metal tubing and I kinda…eyeballed it. I bent it gently into a curved shape, like a little spout. It took a few tries, but I got it to where I liked it. I used some pliers for a tight bend.
Then, I used the sandpaper to rough up one end of the tubing – the end that would attach to the bucket. This helps the adhesive stick better, you know?
Drilling the Hole
Next, I drilled a hole in the side of the bucket, near the top. I made sure the hole was just slightly smaller than the diameter of the tubing. This is important so the tubing would fit snugly, and not leak easily.
Attaching the Spout
I applied a generous amount of that E6000 adhesive around the roughed-up end of the tubing. Then I carefully inserted it into the hole I drilled. I wiped away any extra glue that squeezed out.
I held the spout there, in place, use tape to help for a while. I read online to wait 24 hours or so to let the adhesive to fully cure, so I left it.
Testing and Finishing
After a full day, I removed the tape. I carefully filled the bucket with water, and… it worked! No leaks! Water came out of the spout just like I wanted. It’s not perfect, but it’s got that rustic, handmade look I was going for. It now waters my plants easily.
It turned out pretty darn cute, and it’s way more satisfying to use than some boring plastic watering can. Plus, it was super cheap to make!


