
Okay, so I’ve been wanting to spice up my living room, and I thought a cool, modern planter with a stand would be perfect. I’m no carpenter, but I figured, how hard could it be? Let’s dive into my little DIY adventure.
The Hunt for Materials
First things first, I needed supplies. I hit up my local hardware store – you know, the one with the overly helpful employees? Yeah, that one. I grabbed:
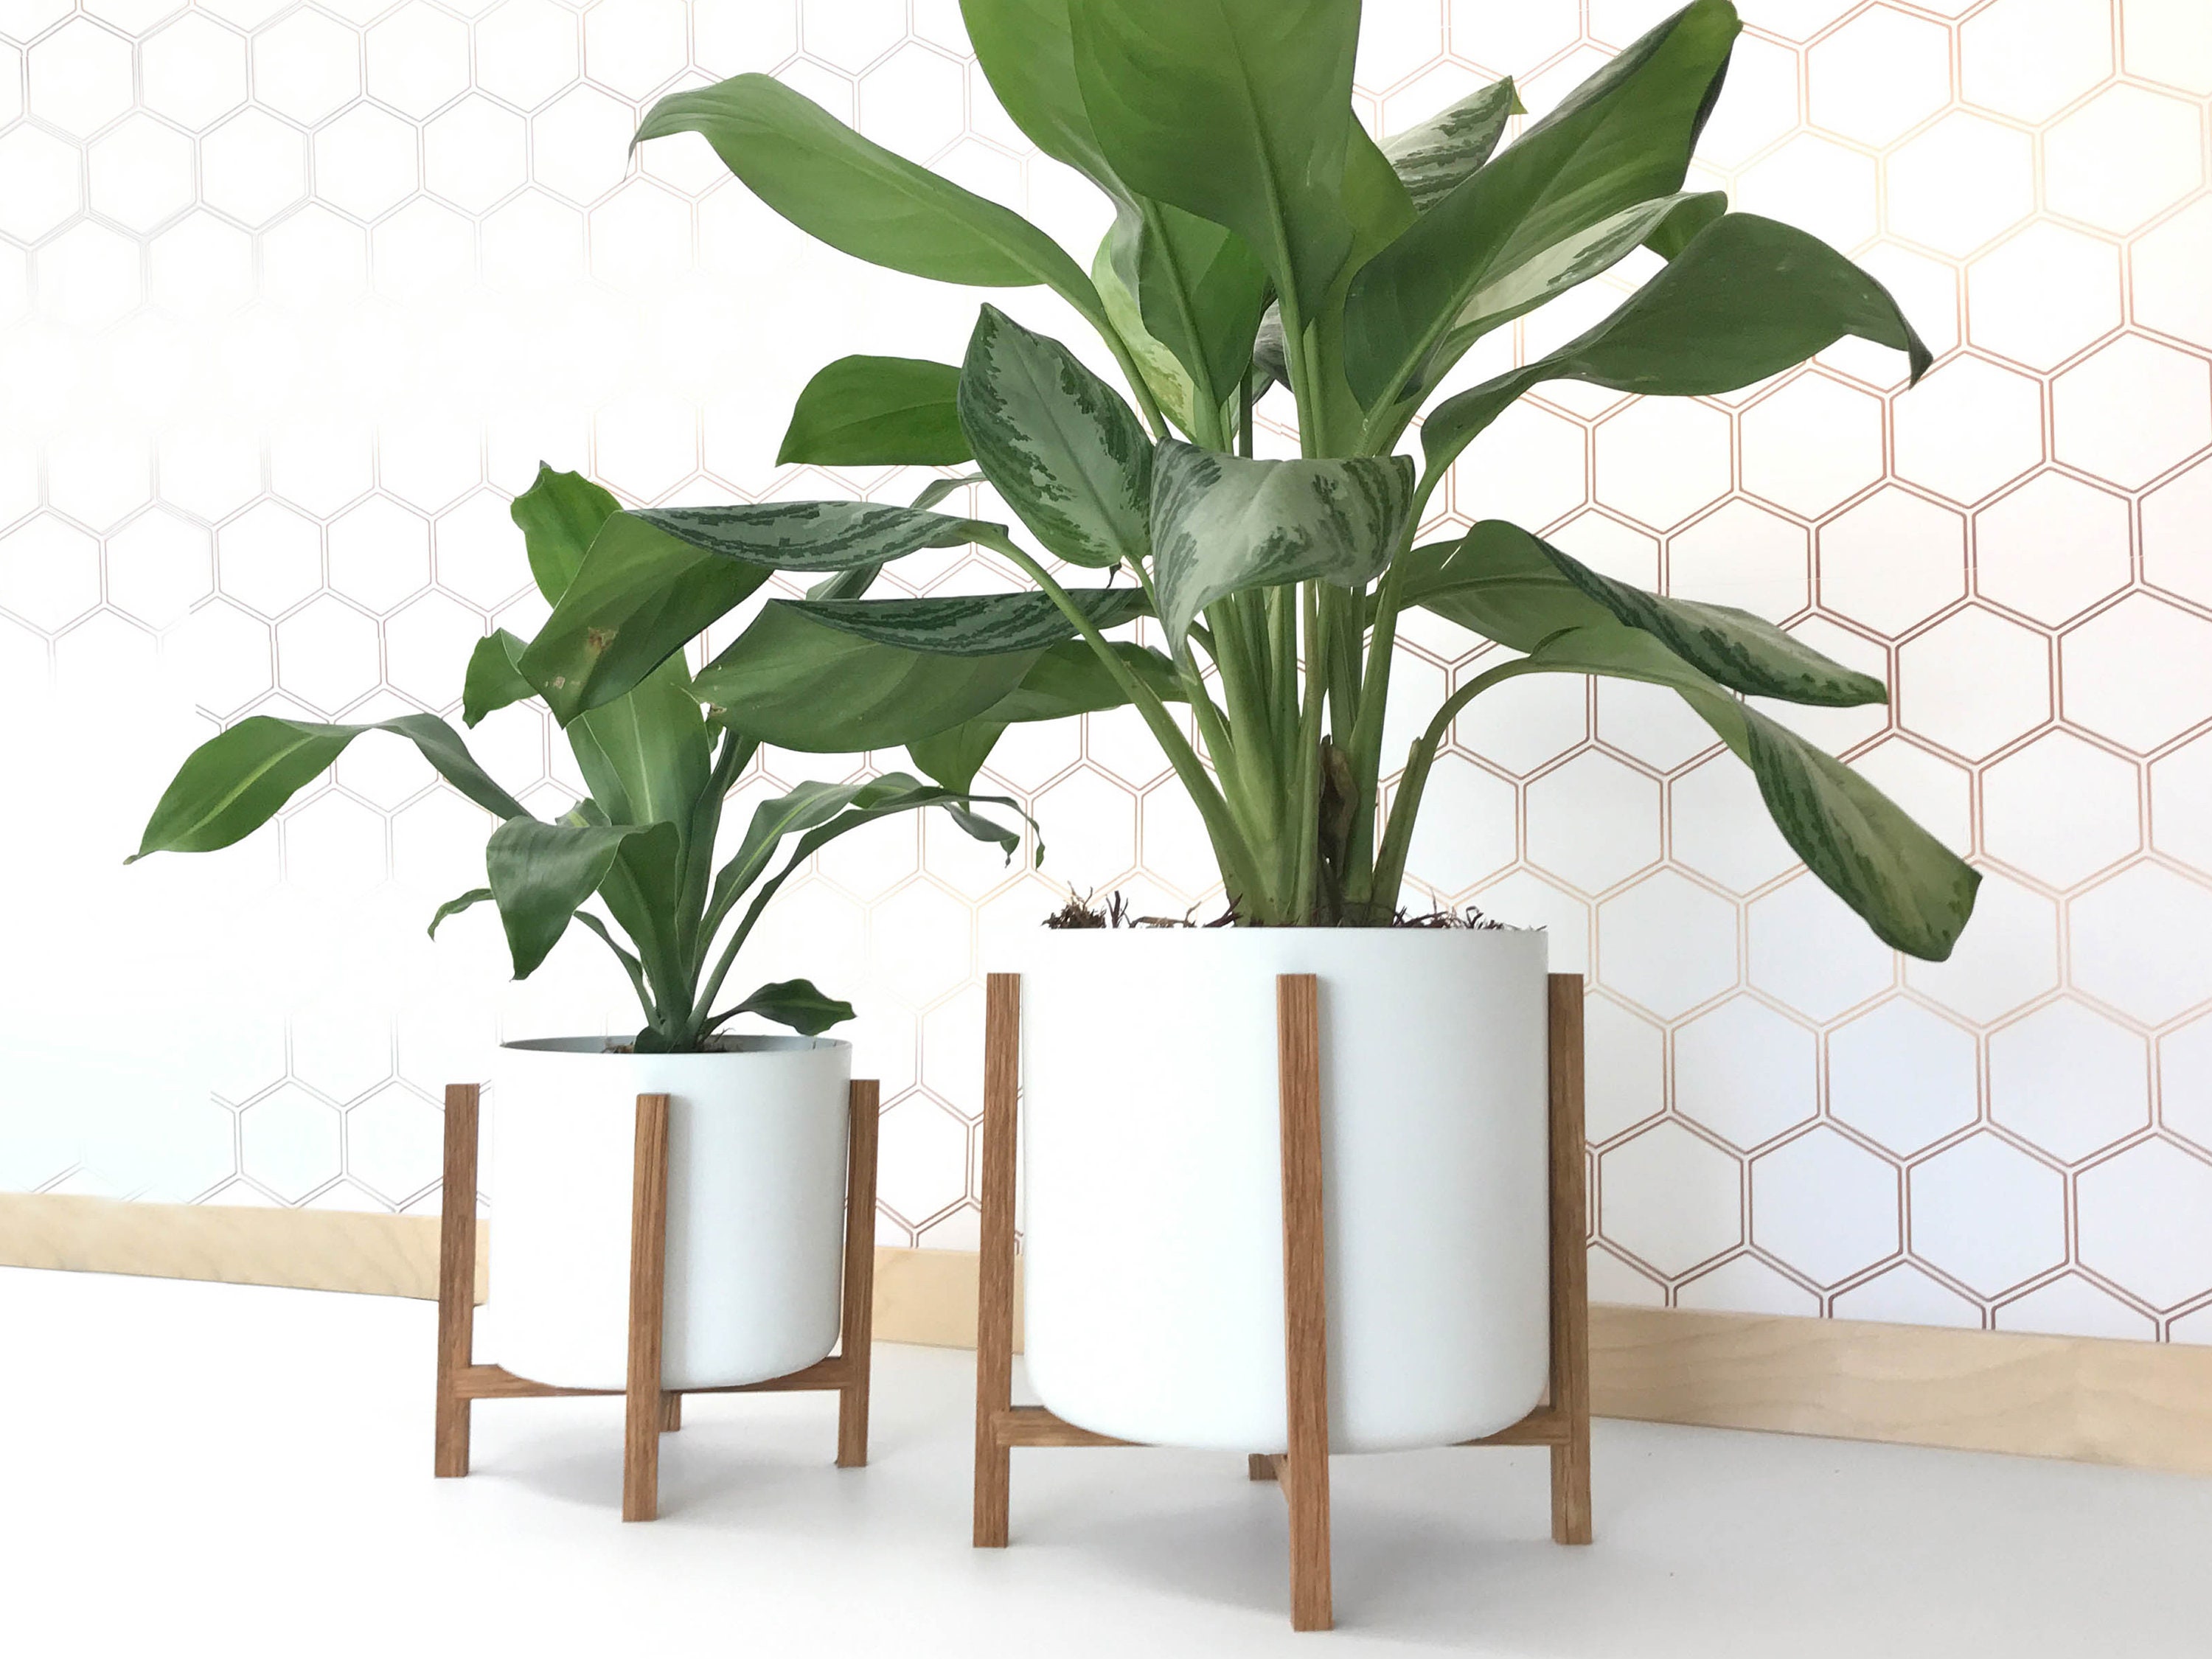
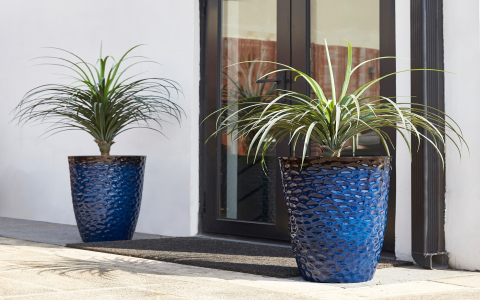
- A plain ceramic pot – nothing fancy, just a simple, clean design.
- Some wooden dowels – I went with 1-inch thick ones, seemed sturdy enough.
- Wood stain – I chose a dark walnut color, to give it that “modern” vibe.
- Wood glue – the strong stuff, gotta keep it all together.
- Sandpaper – various grits, because smooth is the name of the game.
- A saw – I borrowed my neighbor’s, hope he doesn’t mind.
- Some screws. Small ones.
Building the Stand
Alright, time to get my hands dirty. I measured the base of my pot to figure out how wide the stand needed to be. I wanted the pot to sit snugly, but not be too tight. Then I, awkwardly at first, cut the dowels into four legs. I wanted a bit of height, so i made each one is about 18 inches long. Then I cut four shorter pieces, they are about 6 inches, to connect the legs together and the pot to sit on those.
Next up, sanding. I sanded those dowels until they were super smooth – no splinters wanted! I did that cut end first. It took some time, my arm started to ache, I’m not gonna lie. Then I did the other parts.
Now for the stain. I applied the stain with an old rag, following the instructions on the can. I always get stain all over my hands, but I think It gives a certain rustic charm to the finished product, haha, just my excuse. I let it dry overnight. It smelled awful, so I left it in the garage.
Assembly time! I used wood glue to attach the short pieces, which are the crossbars, to the legs, forming a simple square. I eyeballed it to make sure everything was level – a wobbly stand would be a disaster. Then, to make it extra secure, I added a small screw to each joint. I’m all about that extra reinforcement.
I waited another few hours for the glue to fully dry. Patience is not my strong suit, but it’s crucial in woodworking, I’m learning.
The Final Touch
Finally, I placed the pot on the stand. It fit perfectly! I added my snake plant – it looks so much more stylish now. I stepped back and admired my handiwork. Not bad for a first-timer, right?
It’s not perfect, of course. There are a few imperfections in the stain, and one of the legs is maybe a tiny bit shorter than the others, but overall, I’m pretty proud of my new modern planter with stand. It definitely adds a touch of class to my living room. And the best part? I made it myself!


