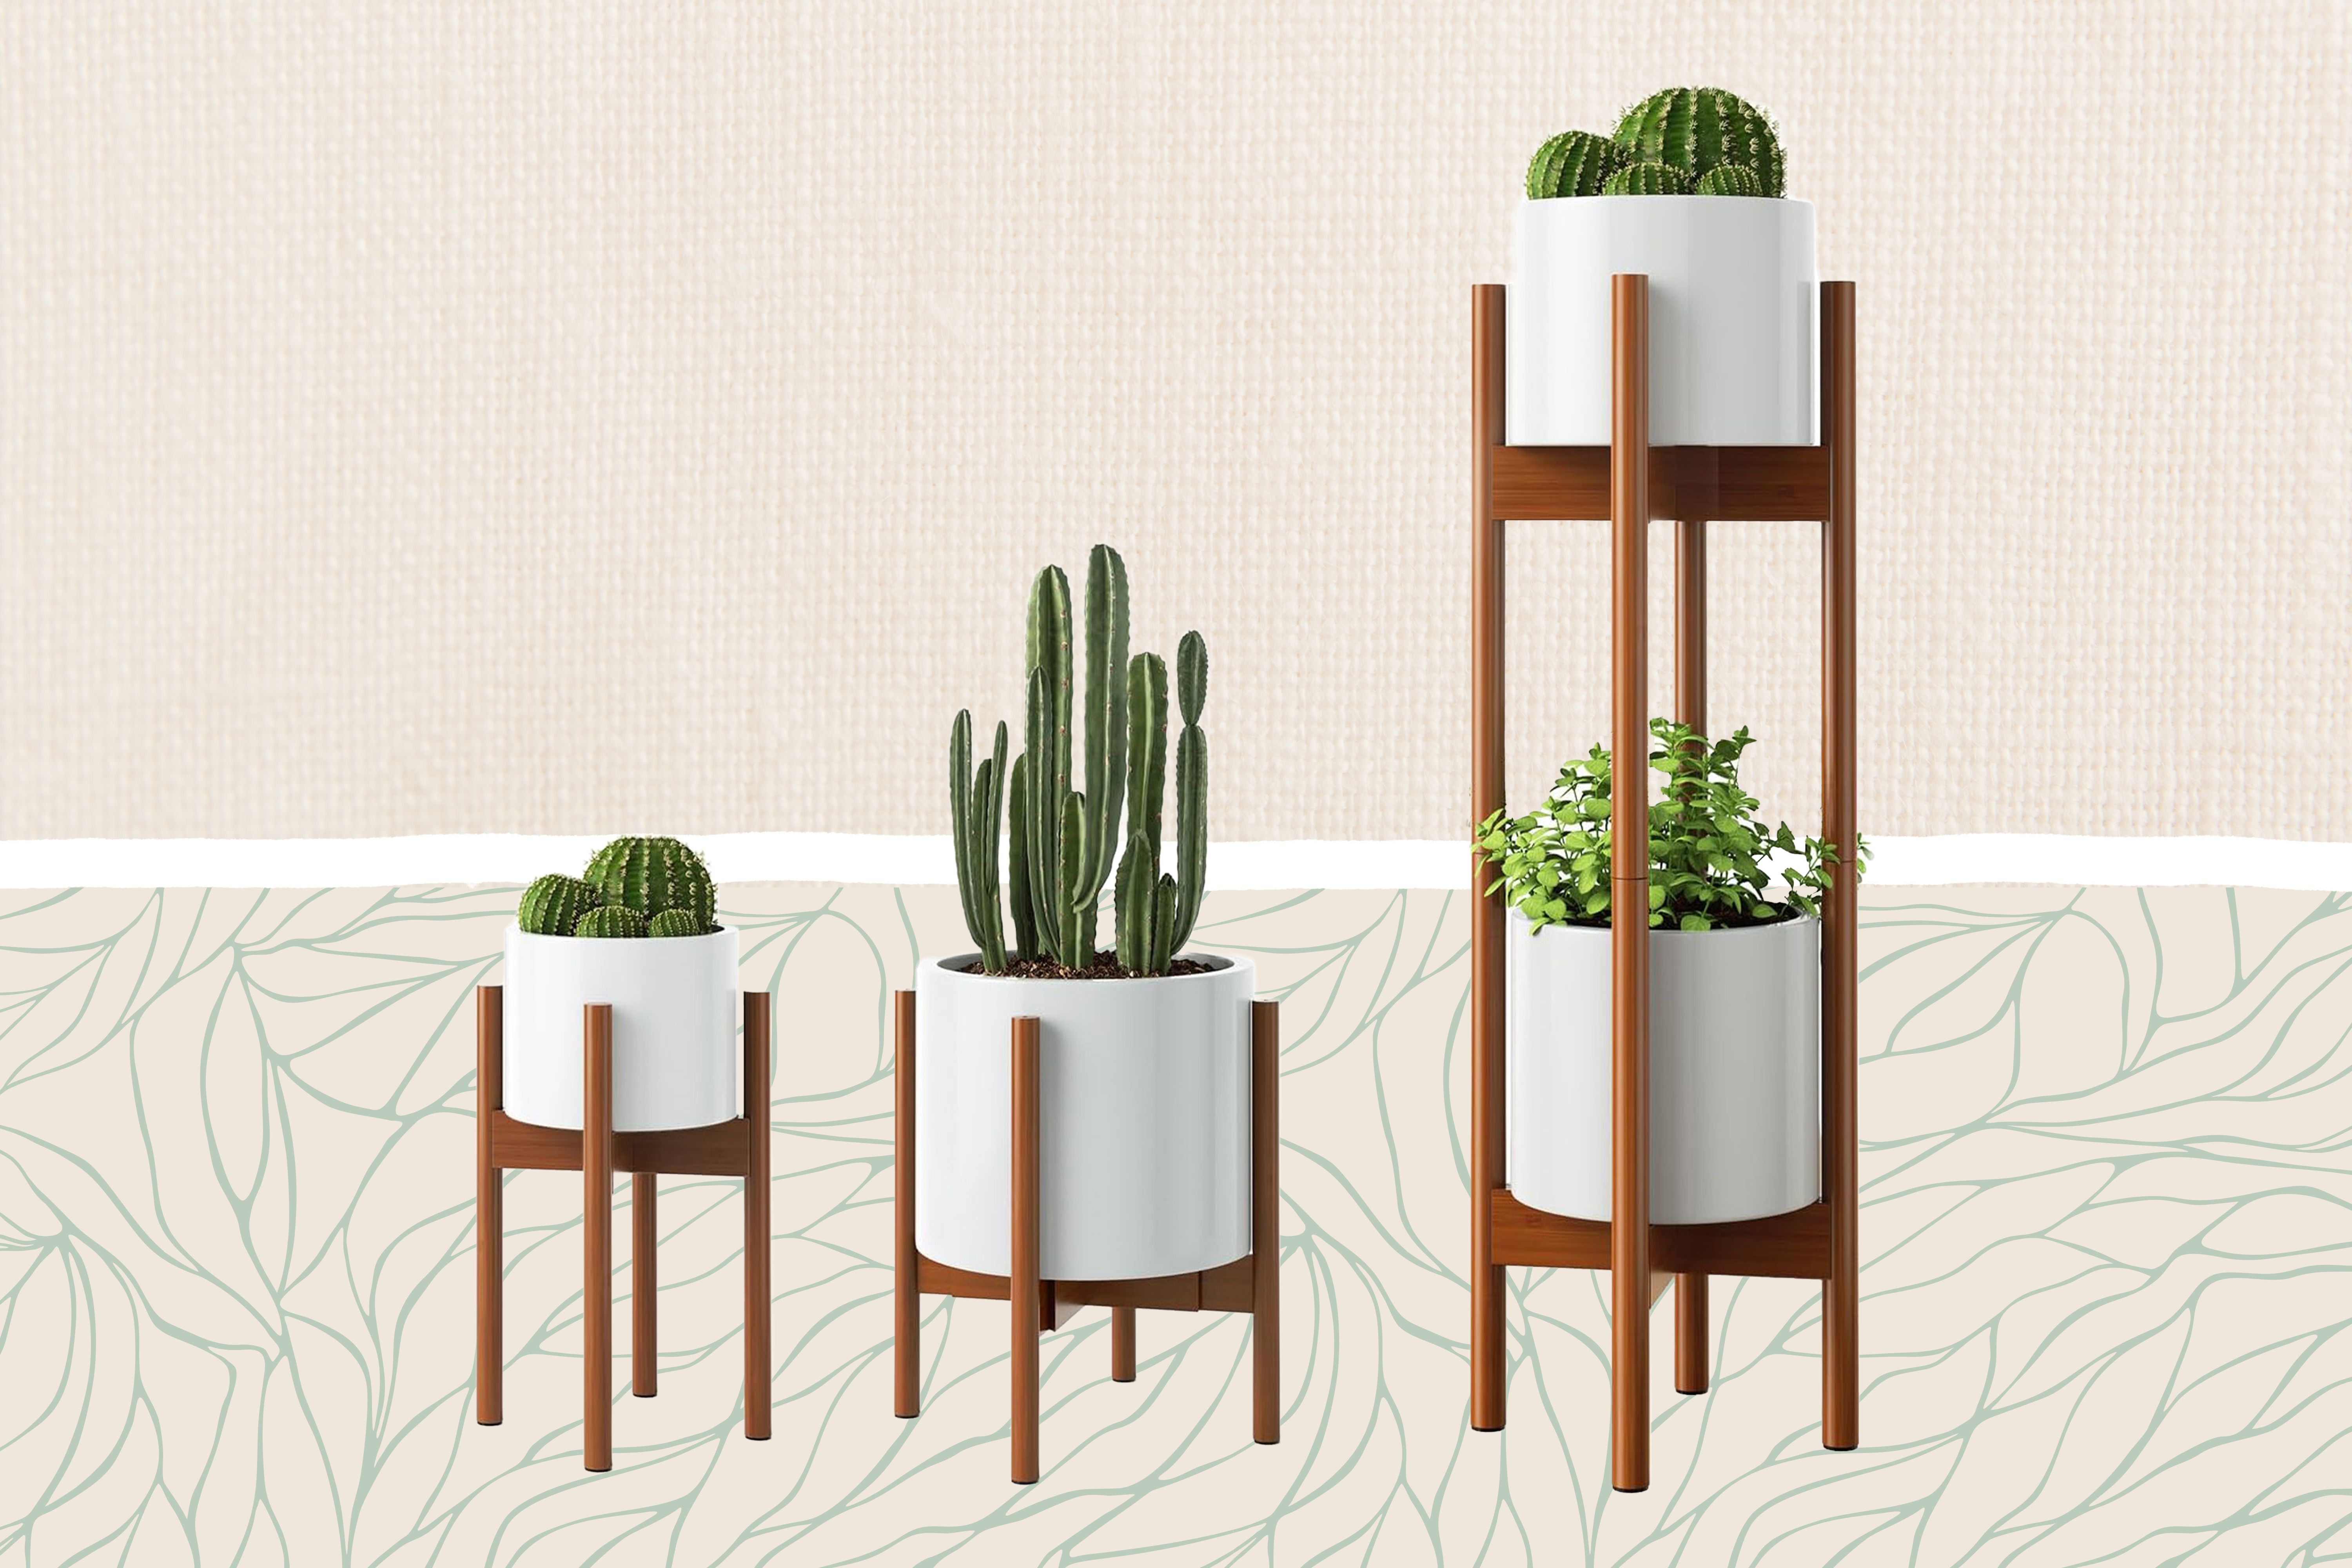
Okay, so I’ve been wanting to spice up my living room a bit, and I thought, “Why not try making something myself?” I’ve got a ton of plants, but they’re all just sitting in those boring, basic terracotta pots. Time for an upgrade! I decided to make a modern-looking plant stand. Here’s how it went down:
Brainstorming and Gathering Stuff
First, I needed a plan. I scrolled through some pictures online for inspiration. I wanted something simple, clean lines, nothing too fussy. I sketched out a few ideas on a scrap of paper – mostly just stick figures of what I wanted it to look like. Once I had a rough idea, I went on a supply hunt.

I hit up the local hardware store. Here’s what I ended up grabbing:
- Wooden Dowels: I got some round ones, about 1 inch thick, for the legs.
- Wood Circle: For the base where the pot would sit. I found a pre-cut one, which saved me a lot of trouble.
- Wood Glue: Gotta hold everything together!
- Sandpaper: To smooth out any rough edges.
- Wood Stain: I went with a dark walnut color to give a modern look.
- Saw: To cut down.
Getting My Hands Dirty
Alright, time to actually build this thing. First, I measured and cut the dowels. I wanted the stand to be about two feet tall, so I cut four pieces to that length. I made sure to double-check my measurements before cutting – measure twice, cut once, you know?
Next up was sanding. I gave all the cut ends of the dowels a good sanding to make sure they were smooth and even. I also lightly sanded the wood circle, just to make sure the stain would adhere nicely.
Putting It All Together
Now for the fun part – assembly! I laid the wood circle flat on my workbench. Then, I applied a generous amount of wood glue to the ends of each dowel and carefully attached them to the underside of the circle, spacing them evenly around the edge. I used some clamps to hold everything in place while the glue dried. Clamps are your best friend when you’re dealing with wood glue, seriously.
I let the whole thing dry overnight. Patience is key, especially with wood glue. You don’t want things wobbling around later!
Staining and Finishing
Once the glue was completely dry, it was time for stain.I put on some gloves, grabbed an old rag. I applied a coat of the stain to the entire stand, making sure to get into all the nooks and crannies. After the stain to set in I wiped off the excess stain with a clean rag. Then I did a second coat, and then wipe off too.

And that’s it! I let the stain dry completely, and now I have a super cool, modern-looking plant stand that I made myself. My plants have never looked better. This was such a fun and easy project, and I’m already thinking about what I can build next!


