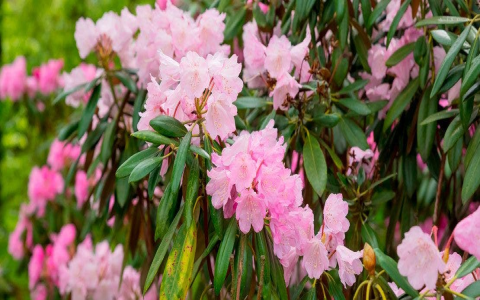
Okay, so yesterday I finally got around to tackling those burning bush shrubs in the front yard. They were getting seriously out of control, looking more like wild things than part of the landscaping. Time for some serious pruning!
Getting Started
First, I gathered my tools. I made sure I had my trusty pruning shears – the bypass kind, because they make cleaner cuts. I also grabbed my loppers for the thicker branches, and of course, my gardening gloves. Can’t forget those, or my hands would be a mess!

The Pruning Process
- I started by removing any dead or damaged branches. Those are easy to spot – they’re usually brittle and brown. I cut those right back to the base of the shrub, or to a healthy, outward-facing bud.
- Next, I focused on thinning out the shrub. These burning bushes can get really dense, so I wanted to open them up a bit. I selected some of the older, thicker stems and cut those back to the ground. This helps with air circulation and lets more light in.
- Then came the shaping part. I basically just stepped back and looked at the overall shape I wanted. I trimmed back any branches that were sticking out too far or making the shrub look lopsided. I mostly followed the natural shape of the bush, just neatening it up.
- For some of the really thick branches, I had to use the loppers. Those things are great for getting through branches that are too big for the hand shears. It’s satisfying to get the branches down in an easy cut.
Cleaning Up
After all the pruning, I had a huge pile of branches.I put it all in my yard.
Finally, I watered the shrubs really well. Pruning can be stressful for plants, so a good drink helps them recover. And that was it! The burning bushes look so much better now – neat and tidy, and ready to show off their fiery red color in the fall. Job Done!


