
Okay, so I’ve been wanting to do something cute and crafty, and I finally decided to make a small flowerpot. I didn’t really have a solid plan, just a general idea, and I figured I’d wing it. Here’s how it went down:
Gathering Stuff
First, I grabbed a small terracotta pot – the plain, cheap kind. Nothing fancy, just a regular one from the garden store. I already had some acrylic paints lying around from an old project, a bunch of different colors, so that was good. Also, I found some old paintbrushes, a few thin ones and a wider one. Oh, and I remembered I had some sealant spray, the kind that makes things waterproof-ish, in the garage.
- Terracotta pot
- Acrylic paints
- Paintbrushes (various sizes)
- Sealant spray
Painting the Base
I started by giving the pot a good base coat. I chose a light blue color, kind of like a robin’s egg blue. I just slapped it on there, not worrying too much about being perfect. Two coats seemed to do the trick, letting it dry in between, of course. It already looked way better than that boring terracotta color.
Adding Some Details
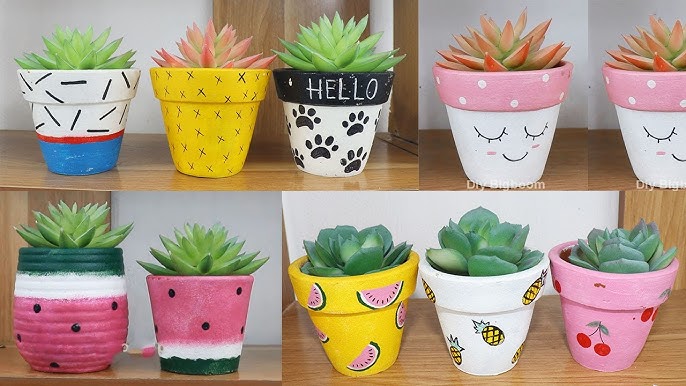
Once the base was totally dry, I got to the fun part – decorating! I decided to paint some simple white daisies. I’m no artist, but daisies are pretty easy, right? Just some white blobs for petals and a yellow dot in the middle. I used a thin brush for the petals and dipped the back of the brush (the non-bristle end) in yellow paint to make the dots. Super easy!
Screwing Up and Fixing It
Okay, so I messed up a couple of times. I smudged one of the daisies, and it looked like a white blob monster. But, no biggie! I just waited for it to dry, painted over it with the blue again, and redid the daisy. Good as new! Acrylics are pretty forgiving that way.
Sealing the Deal
After I was happy with my little daisies (and I even added some little green leaves, feeling all fancy), I took the pot outside and sprayed it with the sealant. I did a couple of coats, again, waiting for it to dry between each one. This is supposed to help protect the paint from water and stuff, since, you know, it’s a flowerpot and will probably get wet.
Planting!
Finally, I filled the pot with some potting soil, added the flower, and the final perfect flowerpot was done.
And that’s it! It’s not perfect, but it’s mine, and it’s cute. I’m pretty proud of my little DIY flowerpot. It was a fun, relaxing little project, and now I have a cute, personalized pot for my plant.


