
Alright, guys, let’s talk about this flowerpot, specifically the “b1” model I messed with today. It all started because my wife wanted a new home for her succulents. I am not gonna lie. I love handy work.
Getting Started
First things first, I gathered my materials. You know, the basics:
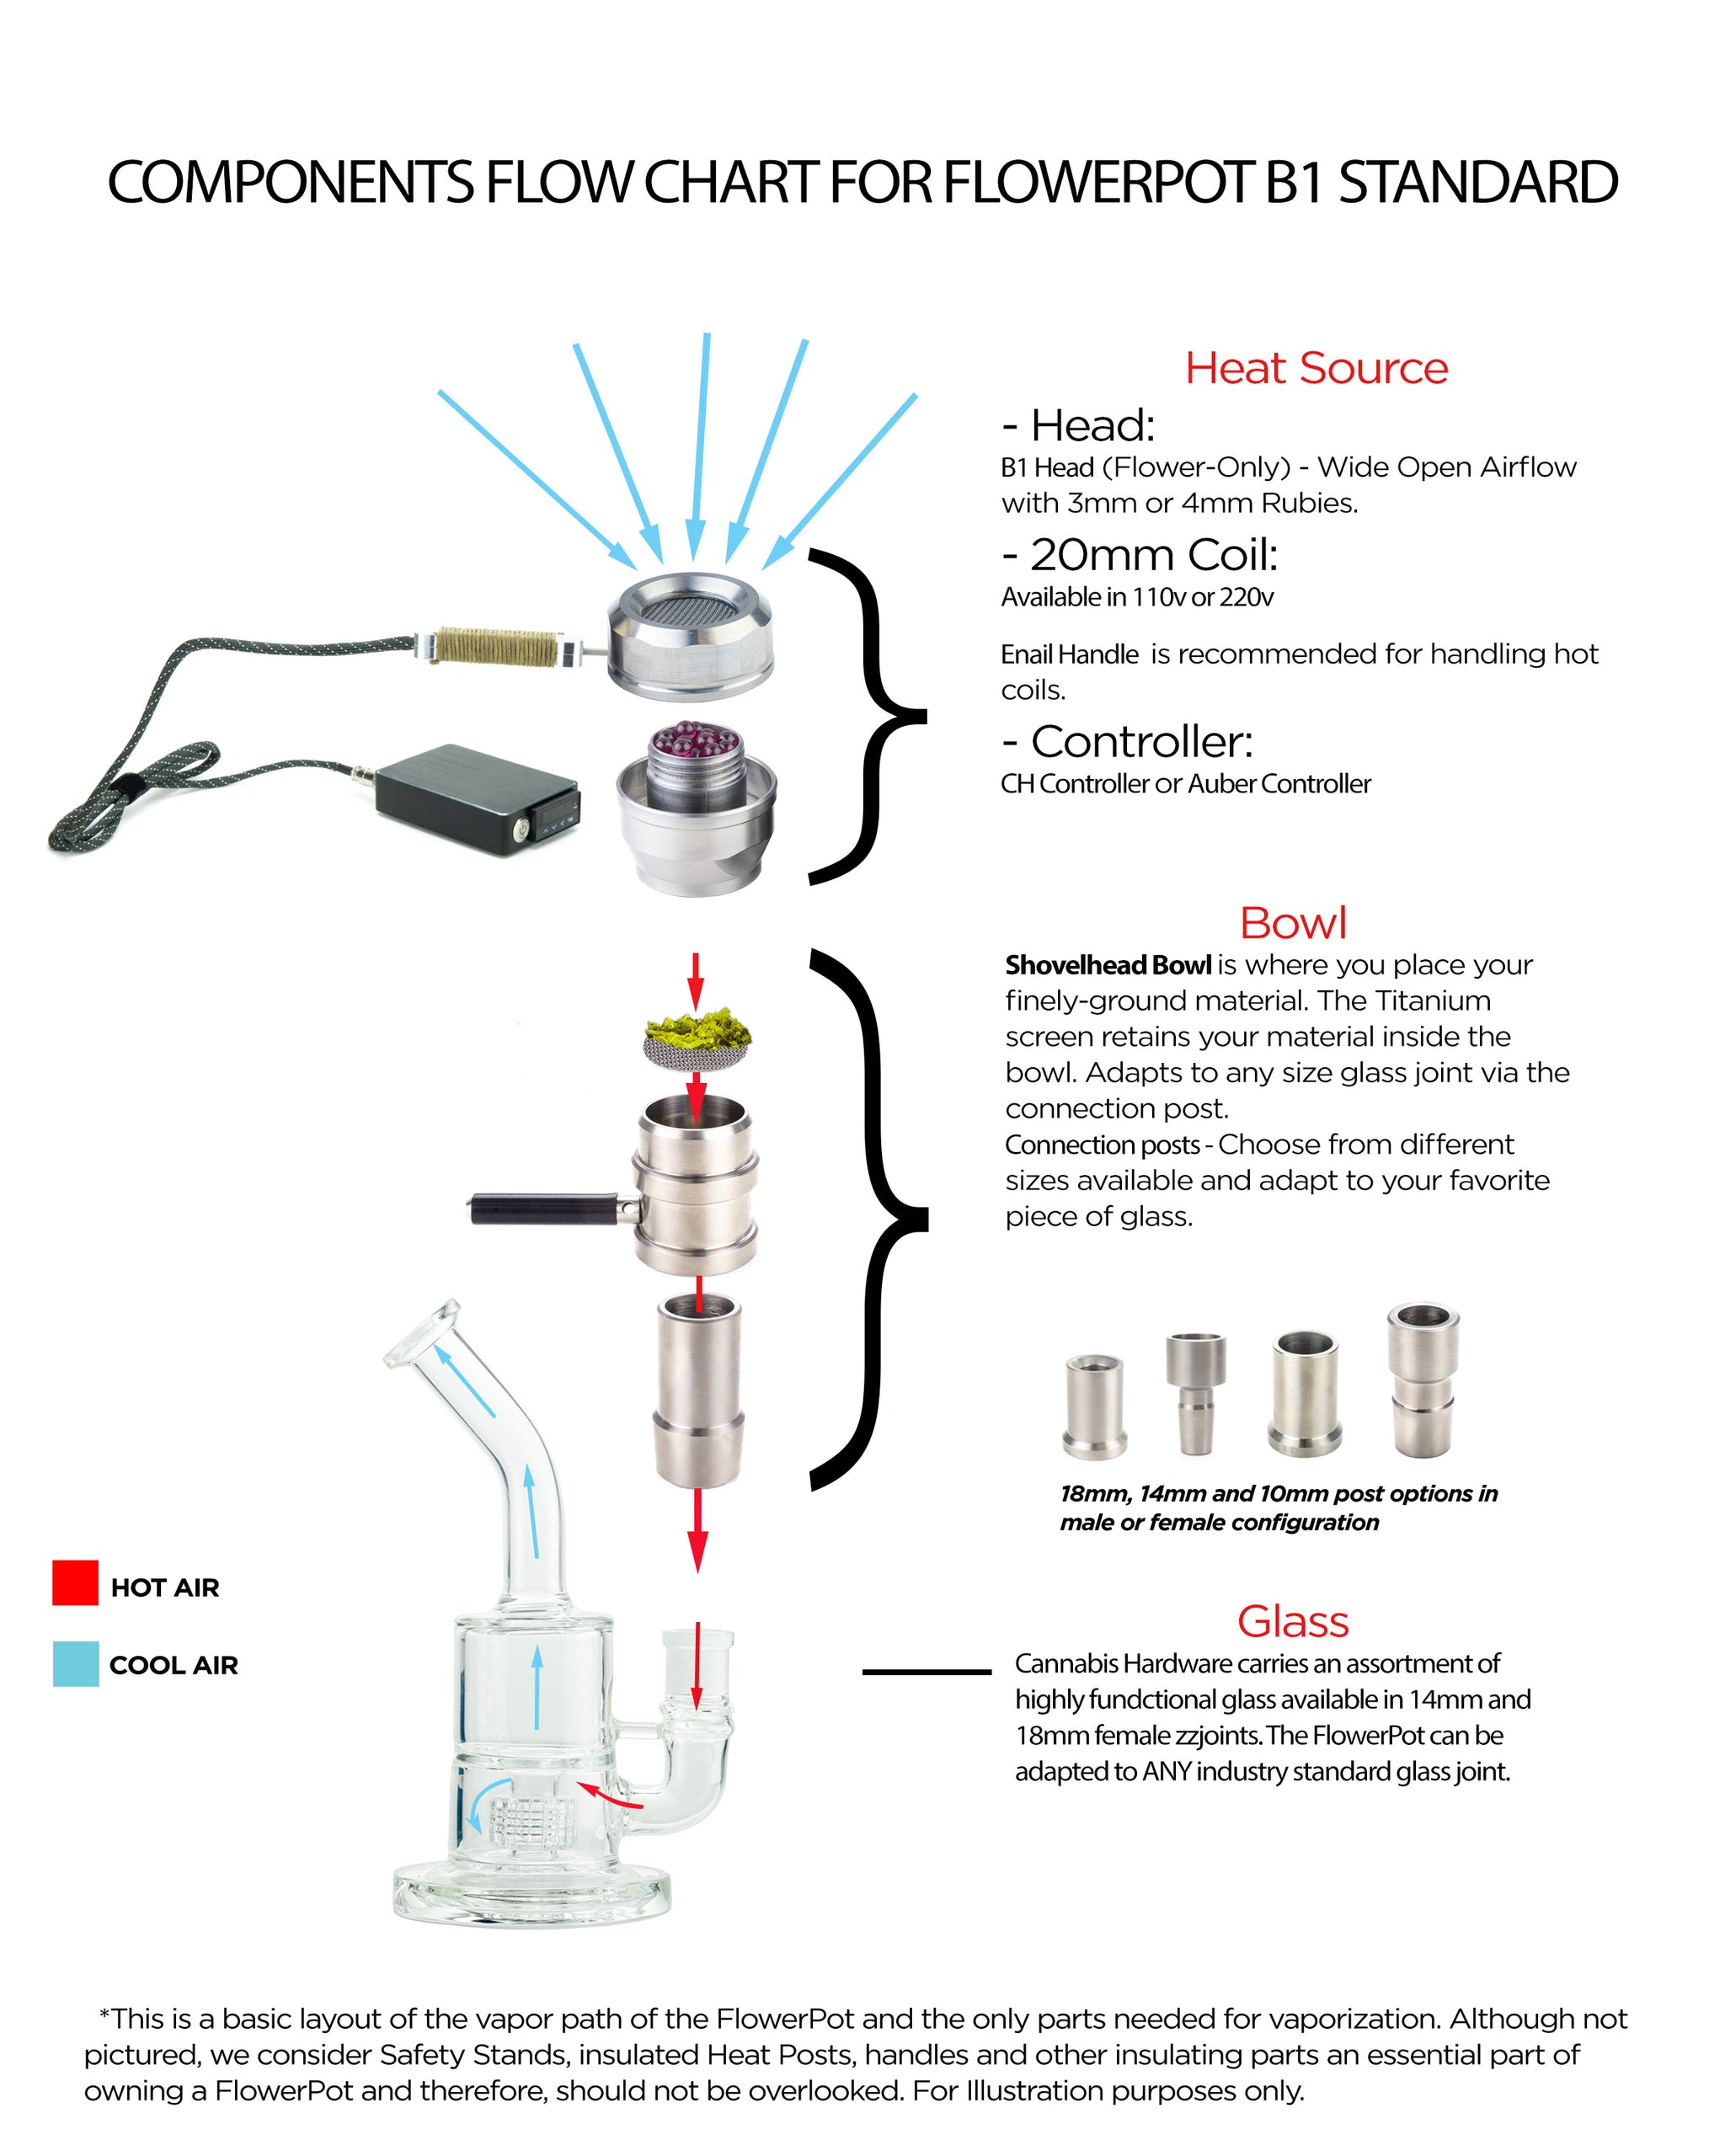
- The flowerpot itself (obviously, the b1)
- Some potting soil – nothing fancy, just the regular stuff.
- A few small stones for drainage. I usually grab these from the garden.
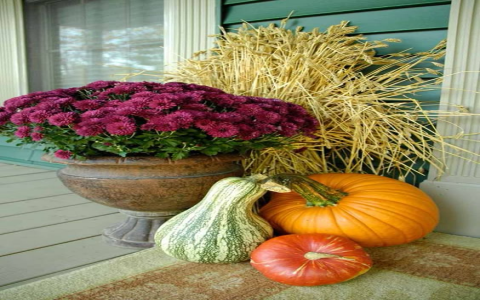
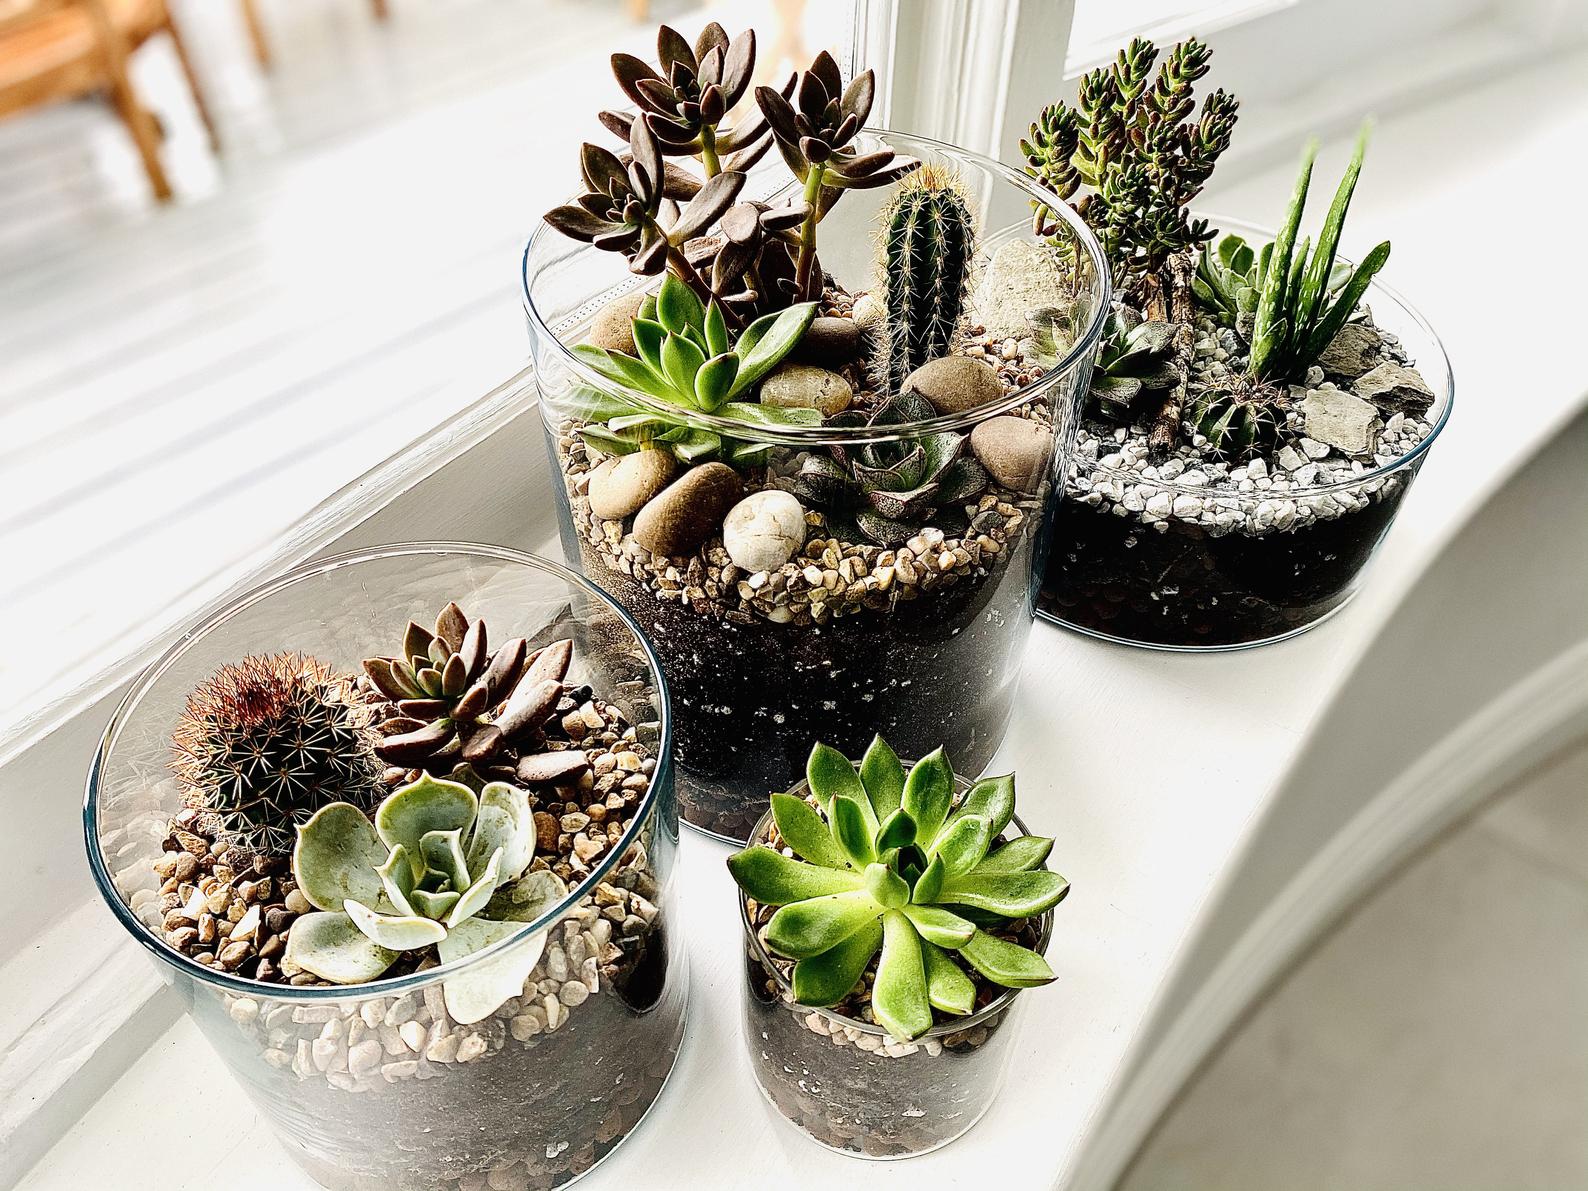
- And, of course, the succulents. My wife picked out a few cute ones.
Prepping the Pot
I started by placing the stones at the bottom of the pot. Just a thin layer, enough to help with drainage. I don’t want the roots to get all soggy and rot, you know?
Next, I added some soil. I didn’t fill it to the top, just enough to create a base for the plants. I like to leave some room to work with.
Planting the Succulents
This is the fun part. I carefully took the succulents out of their original containers. I try my best to loosen the roots a bit, gently teasing them apart. I don’t wanna hurt my wife’s little green friends.
Then, I arranged them in the flowerpot. I try to make it look nice, but honestly, I’m no artist. As long as they have enough space to grow, I’m good.
Once I was happy with the arrangement, I filled the rest of the pot with soil, making sure to cover the roots completely. I gently pat the soil down to secure the plants, but not too hard. I let them breathe.
Finishing Touches
Finally, I gave the plants a little water. Just a sprinkle, not too much. Succulents don’t need a ton of water, you know. And done! A brand new home for the little guys, all thanks to the b1 flowerpot. My wife’s very happy about that. And I enjoy that every time.
It is not rocket science, but there’s something satisfying for me to work with my hands and see the results. Hope you guys find it’s helpful!


