

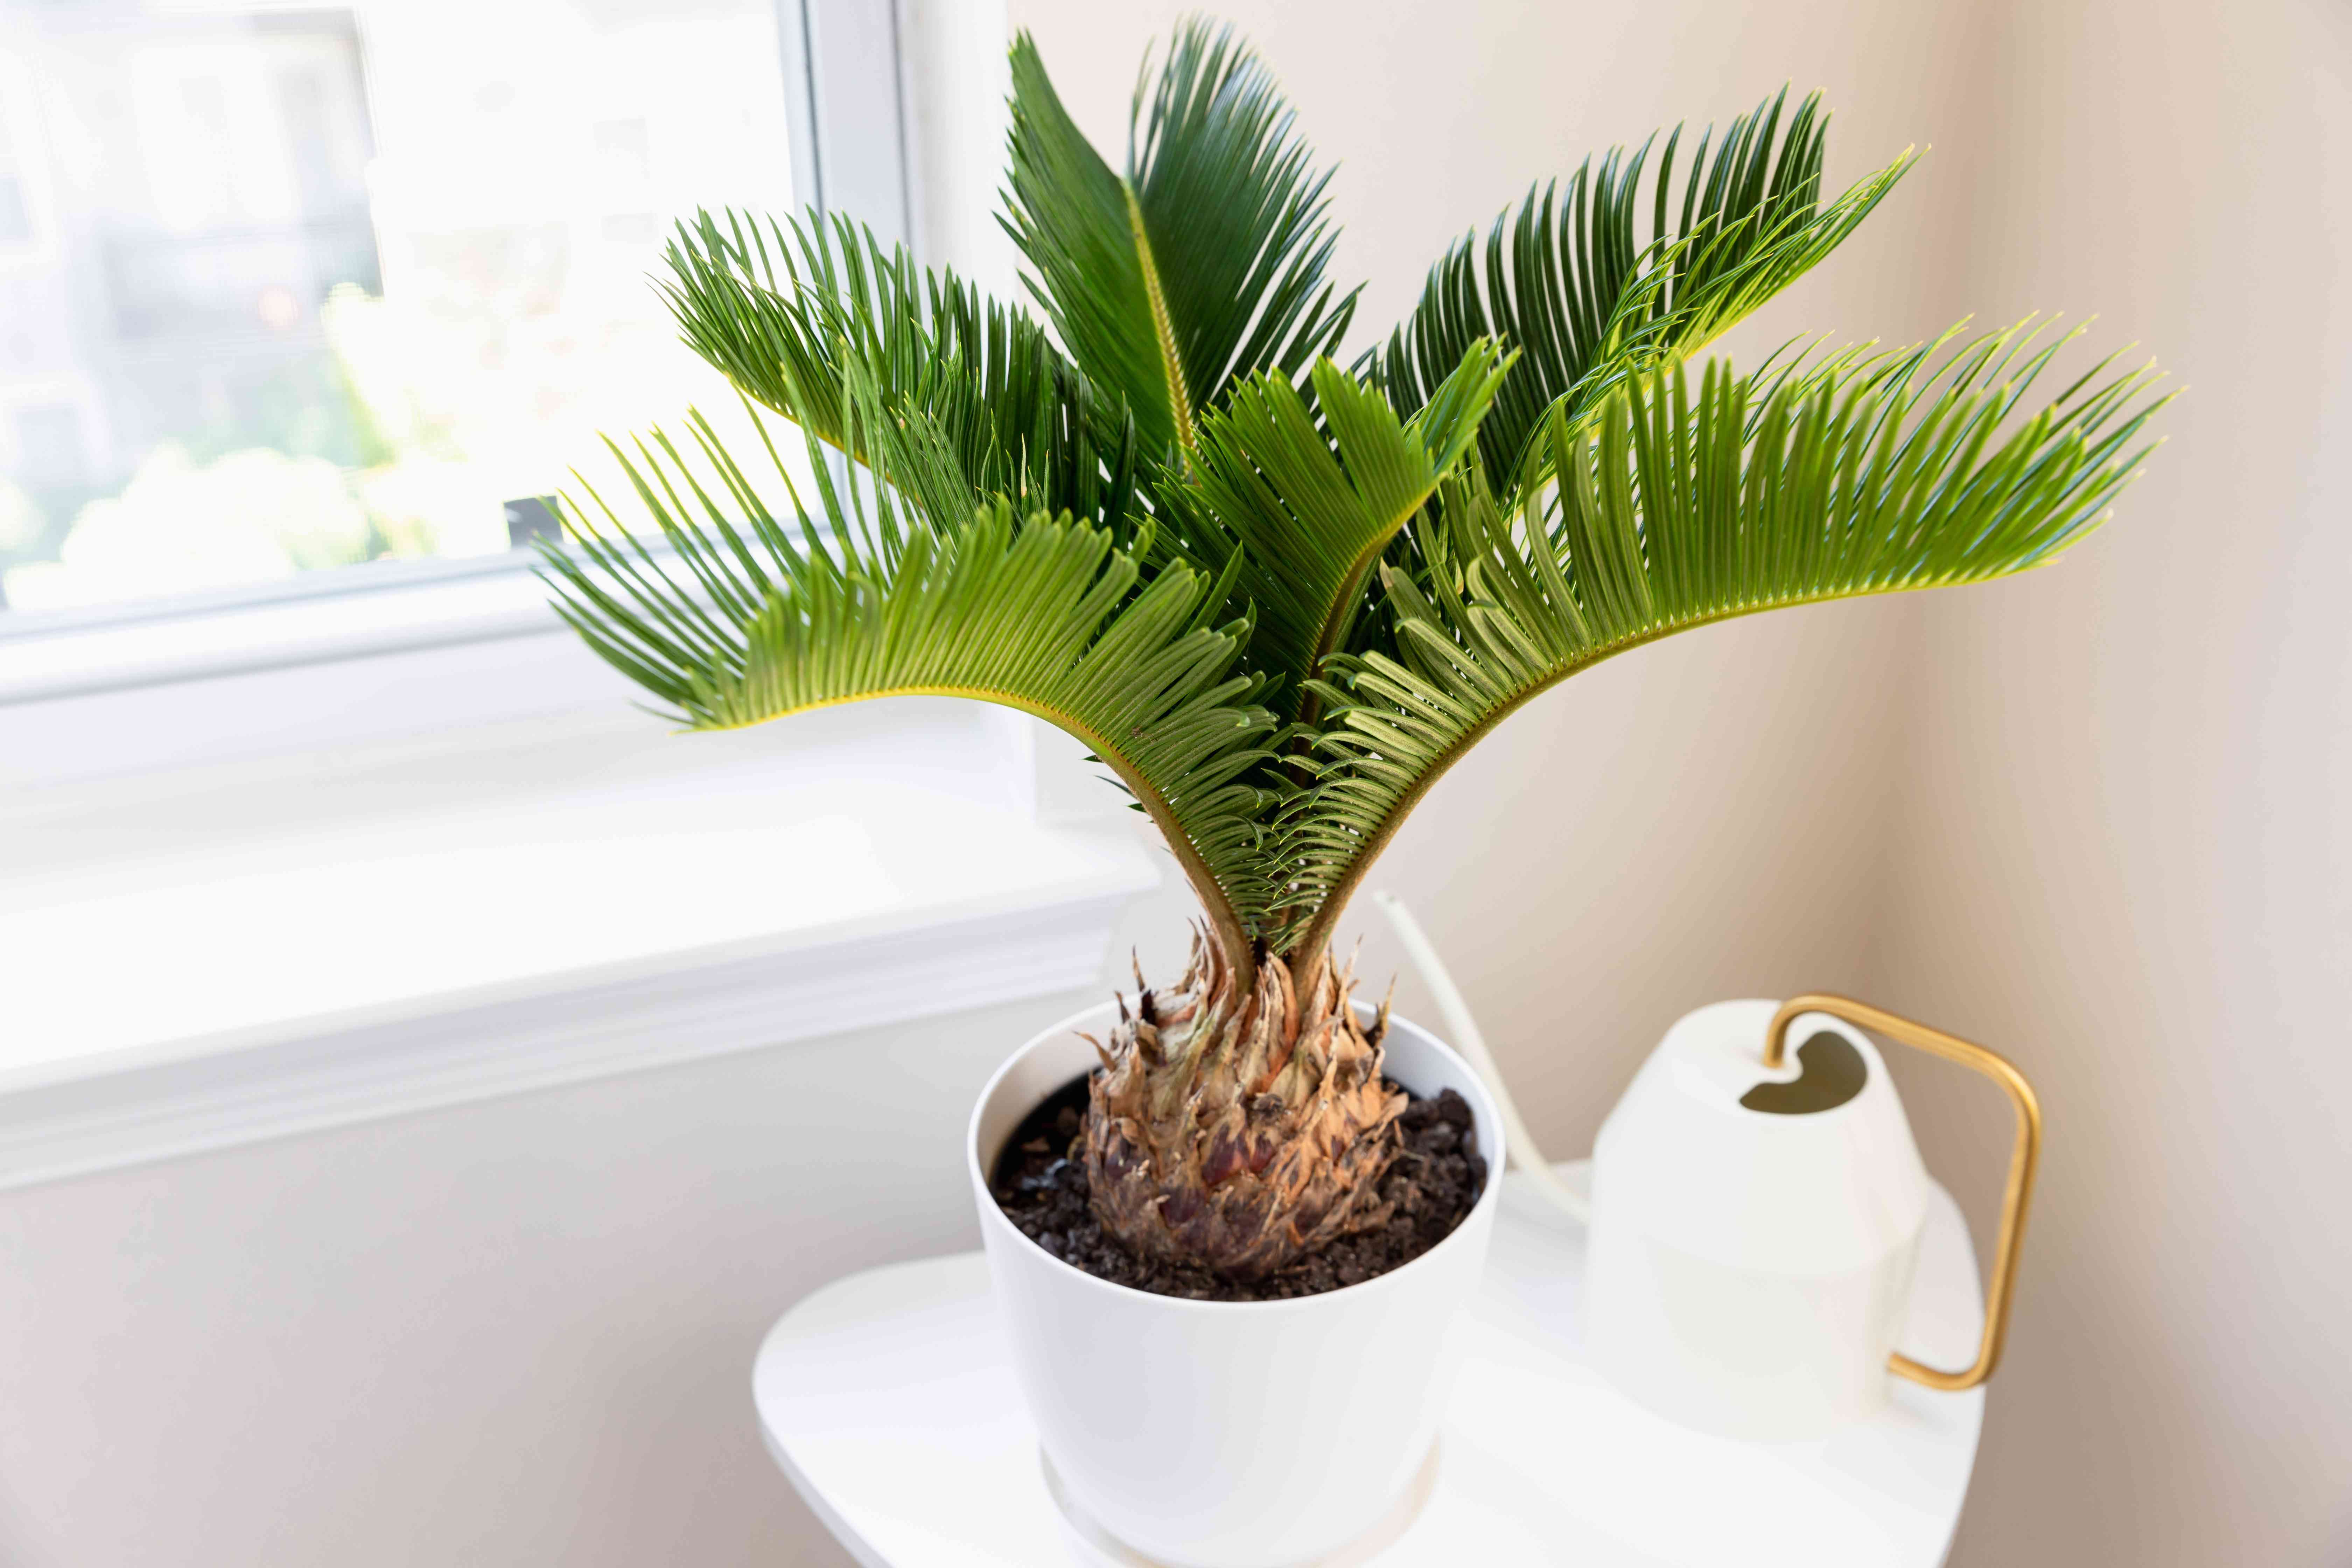
Okay, so yesterday I decided it was time to give my sago palms a little boost. I’ve had them for a couple of years, and honestly, I haven’t been the best at fertilizing them regularly. They were looking a bit…yellowish, you know? Not that vibrant green they should be. So, I figured, let’s do this!
Getting Started
First, I gathered my supplies. I already had some slow-release fertilizer specifically for palms, which I’d bought ages ago. I made sure I had my gardening gloves, a small trowel, and a watering can. I like to keep things pretty simple.
The Process
- I put on my gloves – gotta protect those hands!
- Then, I read the instructions on the fertilizer bag. Always a good idea, even if you’ve done it before. You never know, right?
- The directions said to sprinkle the fertilizer around the base of the plant, keeping it a few inches away from the trunk. So, that’s what I did. I just eyeballed it, making sure I got an even-ish distribution.
- Next, I gently worked the fertilizer into the top layer of soil with my trowel. Nothing too aggressive, just enough to mix it in a bit.
- Finally, I gave the sago palms a good watering. The instructions emphasized this step, saying it helps the fertilizer to dissolve and reach the roots.
Observation and Waiting
Now, it’s a waiting game! I’m going to keep an eye on my sago palms over the next few weeks and see if they start to perk up. Hopefully, that yellowish tinge will disappear, and they’ll get back to their lush, green selves. I’ll probably fertilize them again in a few months, following the schedule on the fertilizer bag. I’m hoping with a little more attention, these guys will really thrive!


