
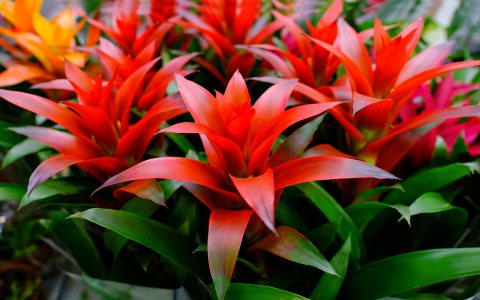
Okay, so yesterday I decided it was finally time to tackle the overgrown bromeliad in my backyard. It was getting a little out of control, and honestly, it looked kind of sad.
Getting Started
First things first, I gathered my tools. I made sure I had:
- A pair of sturdy gardening gloves (those leaves can be sharp!).
- My trusty pruning shears – nice and sharp.
- A small bucket to toss the cuttings into.
The Process
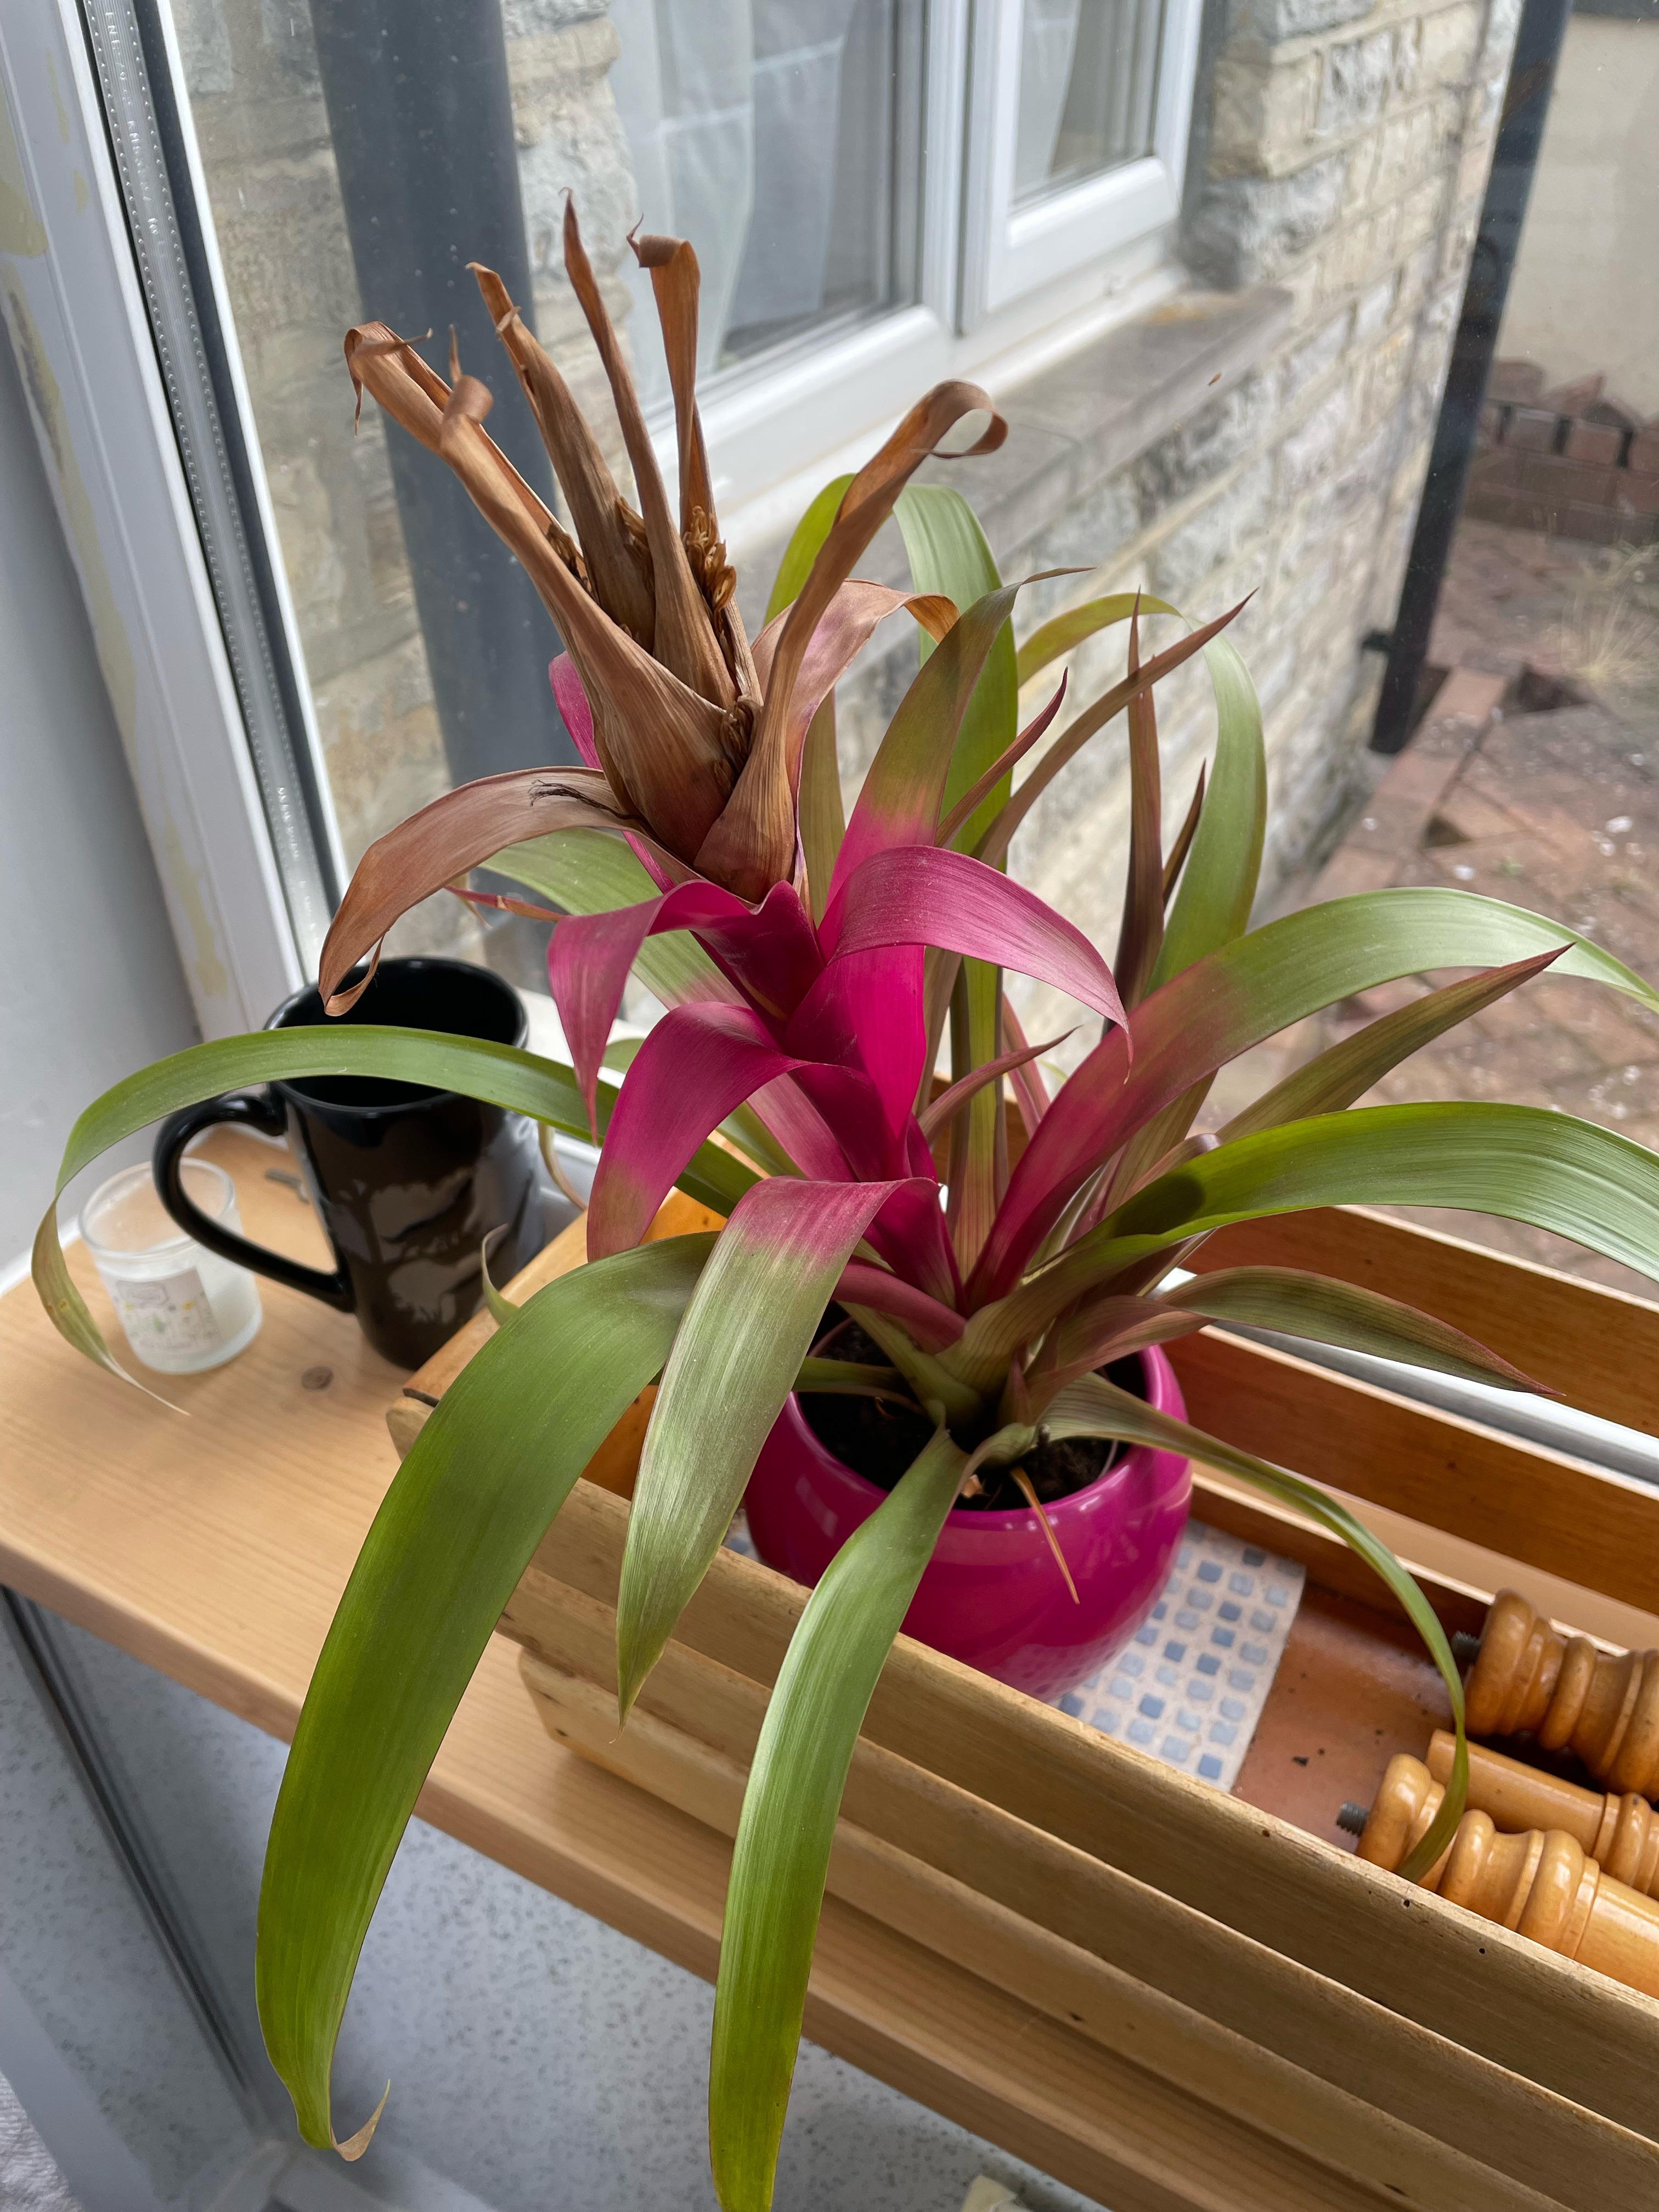
I started by inspecting the plant. It’s important to look for any dead or damaged leaves. There are brown, wilted, and simply are not looking good anymore. Those are the first to get rid of.
Then I started to prune the plant.
I carefully snipped off the dead leaves at the base, as close to the main stem as I could get.
Don’t be timid, the plant can handle it. I just made clean cuts, avoiding any jagged edges that might invite disease.
Next, I looked at the overall shape. My bromeliad had a few pups (baby plants) growing around the base. I want the main plant to get more energy and light. Therefore,I carefully separated a couple of the larger pups.I just used my hands to gently tug them away from the parent plant. It came off pretty easily.
With the pups removed and the dead leaves gone, the main plant already looked 100% better! I took a step back and assessed my work. There were a few leaves that were still overlapping and blocking sunlight, so I trimmed those back a bit, too. The goal is to create good airflow and let the light reach all parts of the plant.

The Result
Honestly, it took me maybe 30 minutes total, and the difference is huge! The bromeliad looks so much healthier and happier. It’s got a nice, open shape now, and I can already tell it’s going to thrive. And, I have a couple of baby bromeliads to plant elsewhere in the garden! Bonus!
It is easy to do. Just a little bit of effort, to give your bromeliad a fresh start!


