
Okay, so I’ve been wanting to spruce up my living room, and I thought, what better way than with some greenery? But not just any old plants in pots – I wanted something a bit more… stylish. That’s when I got the idea to build some designer plant stands. Let me tell you, it was quite the adventure!
Getting Started
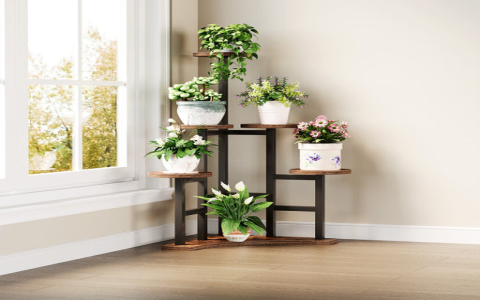
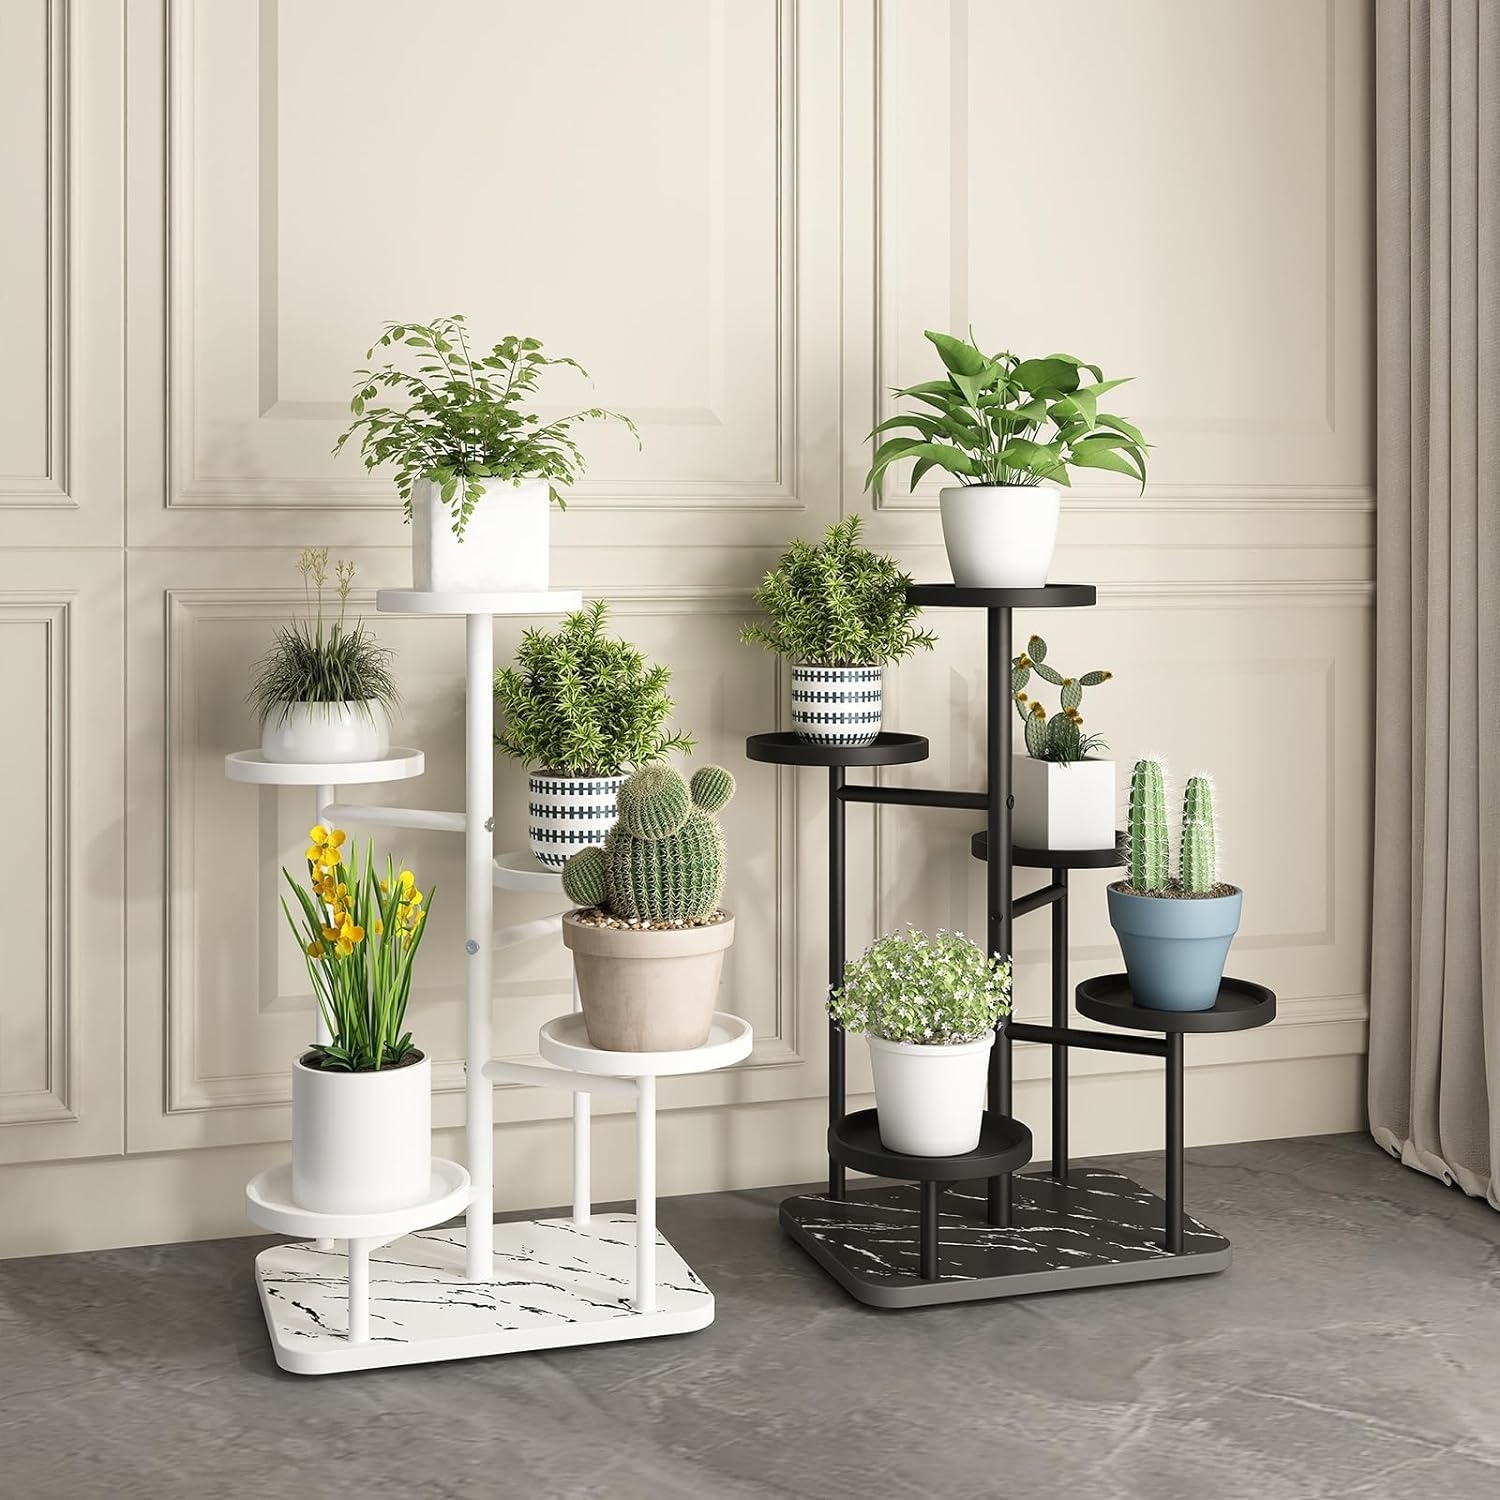
First things first, I needed a plan. I’m no expert carpenter, so I spent a good chunk of time just looking at pictures online. You know, scrolling through endless images of plant stands, trying to figure out what I liked and what seemed doable. I finally settled on a few designs that looked simple enough, but still pretty cool.
Gathering Supplies
Next up was the fun part – buying stuff! I headed to the local hardware store and just wandered around for ages. I picked up some wood – nothing fancy, just some basic pine boards. I also grabbed some screws, wood glue, sandpaper, and some stain to give the stands a nice finish. Oh, and I couldn’t forget pots! Found some really nice ceramic ones that I thought would look great.
Building the Stands
Now came the tricky part – actually building these things. I started with the simplest design, which was basically just a little platform with four legs. I measured and cut the wood, which was surprisingly hard to get perfectly straight. Let’s just say my saw skills are… developing.
Assembling was a whole other story. I used wood glue and screws to hold everything together, but I swear, getting things to line up properly was a real challenge. Clamps became my best friends during this phase. There were a few moments where I thought the whole thing was going to fall apart, but I kept at it, and eventually, I had a wobbly but somewhat recognizable plant stand!
I built a couple more stands after that, trying out slightly different designs. Each one was a learning experience, that’s for sure. I messed up a few times, had to recut some pieces, and definitely learned the importance of double-checking measurements.
Finishing Touches
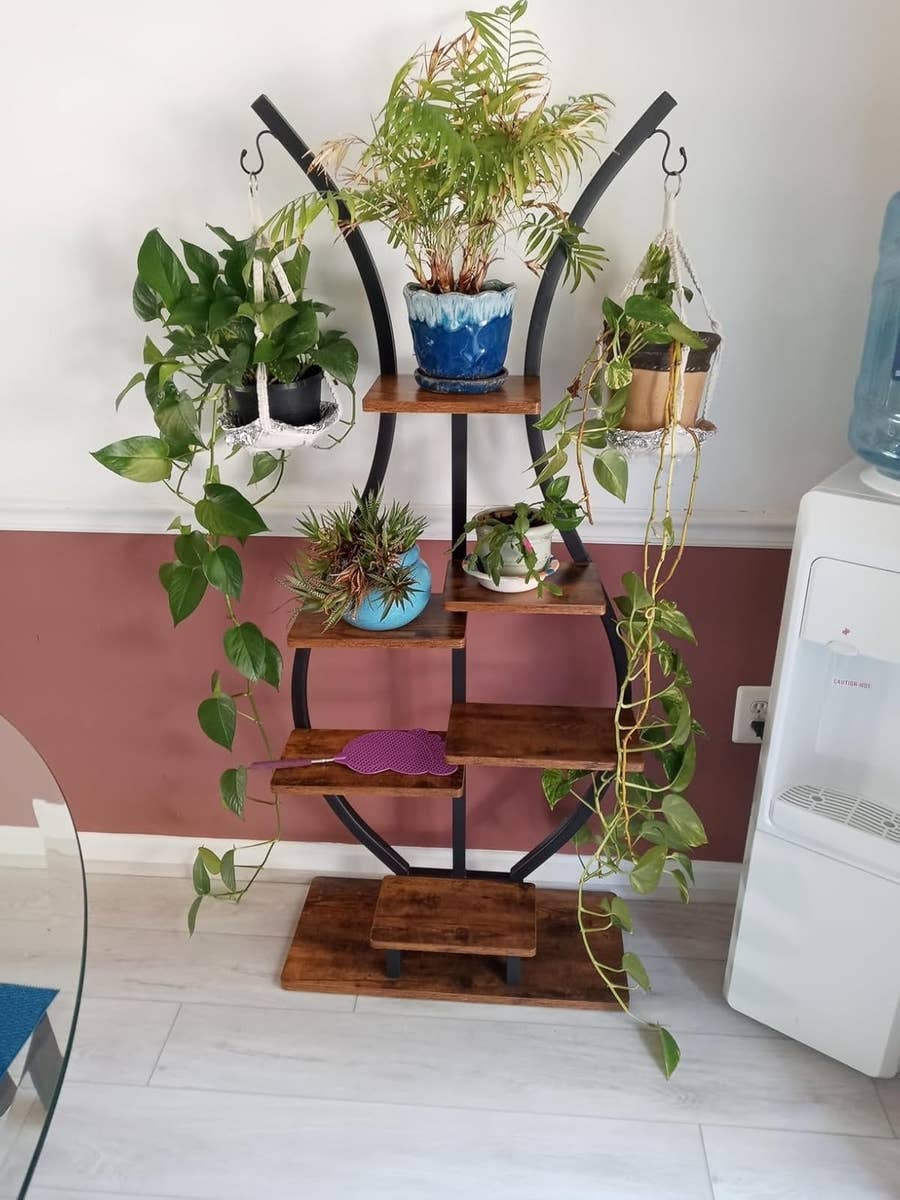
Once the stands were built, I sanded them down to get rid of any rough edges. This part was actually kind of therapeutic, just smoothing out the wood until it felt nice to the touch. Then came the staining. I chose a dark walnut color, which I think really brought out the grain of the wood and made the stands look a bit more polished.
The Final Result
Finally, it was time to put the plants in their new homes! I carefully placed the ceramic pots on the stands, added some potting soil, and then gently transferred my plants. And you know what? They looked amazing! All that effort really paid off. The stands added such a nice touch to my living room, and I felt a real sense of accomplishment every time I looked at them. I made those! From scratch! Who would have thought?
- Built some cool plant stands.
- Learned a ton about woodworking.
- My living room looks way better now.
It wasn’t always easy, and there were definitely some frustrating moments, but I’m so glad I decided to take on this project. Not only do I have some unique plant stands that I love, but I also gained some new skills and a whole lot of confidence in my ability to tackle DIY projects. If I can do it, anyone can!


