
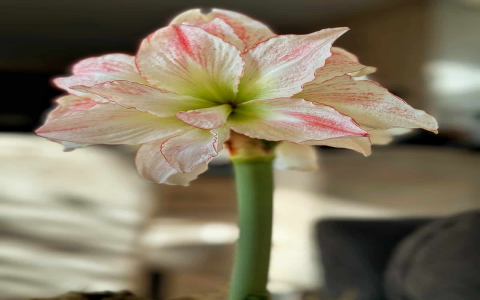
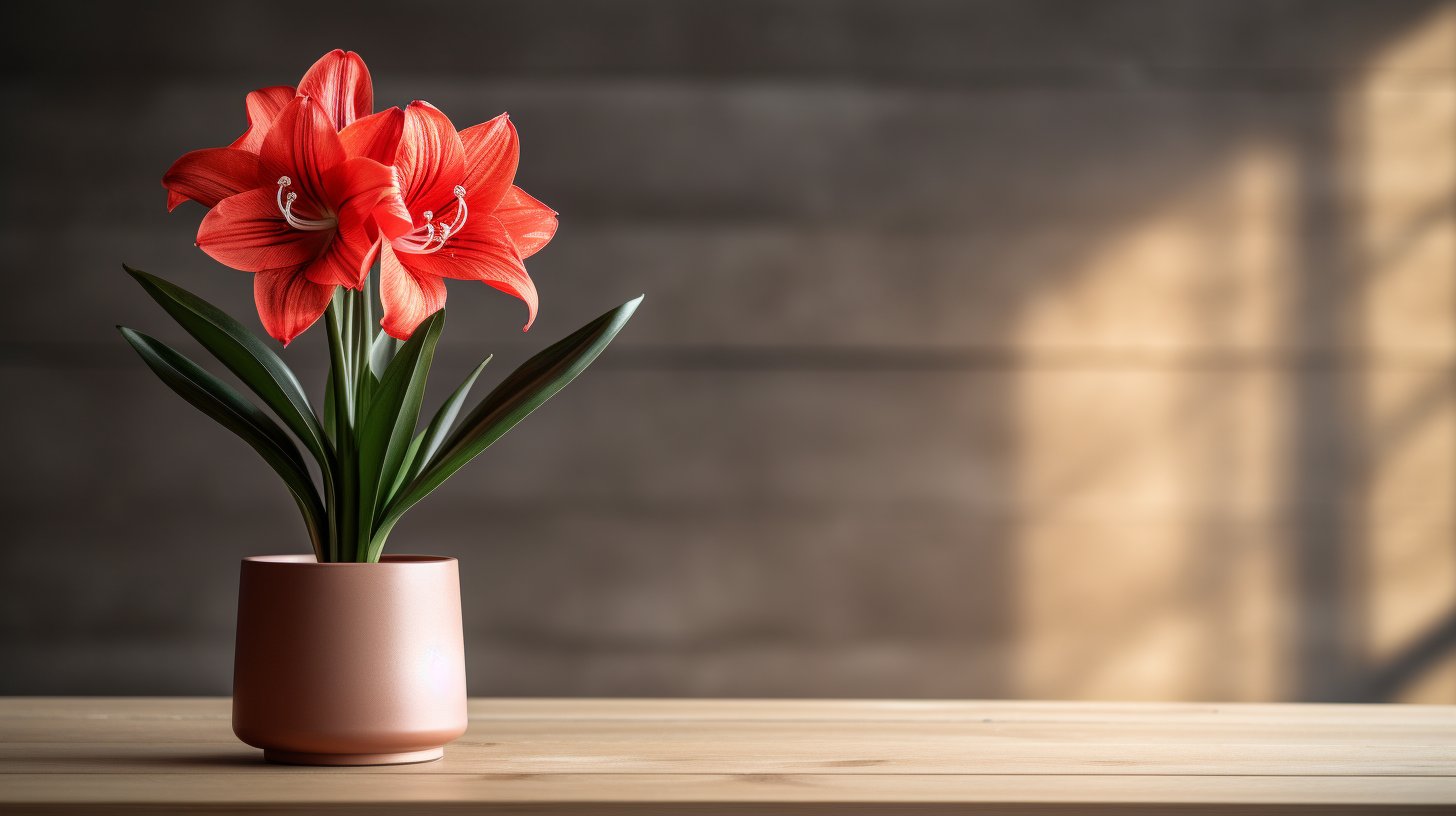
Okay, so, I’ve been meaning to repot my amaryllis for a while now. It was getting a bit crowded in its old pot, and honestly, I was kind of nervous about messing it up. But today, I finally got around to it. I’m happy to share how I did it with you, so you can get your hands dirty!
First, I gathered all my stuff. I got a new pot that’s just a bit bigger than the old one, some fresh potting mix, and a little trowel. I also laid down some newspaper to keep things tidy, ’cause this can get messy.
Getting Started
Then, I took a deep breath and gently pulled the amaryllis out of its old pot. The roots were all tangled up, but I managed to loosen them up a bit without breaking too many.
Next, I filled the new pot with some of that fresh potting mix. I didn’t fill it all the way to the top, just enough so the bulb would sit nicely, maybe an inch below the rim.
Placing the Bulb
I placed the bulb in the center of the new pot and added more potting mix around it. I made sure the top third of the bulb was sticking out of the soil. That’s how they like it, apparently.
After that, I gave it a good watering. I watered until the water started to drain out of the bottom of the pot. Then, I put it in a sunny spot in my living room.
Fingers Crossed
- Now, I’m just waiting. It might take a few weeks for it to settle in and start growing again.
- Hopefully, I didn’t mess it up too bad. I really want to see those big, beautiful blooms again!
Fingers crossed it works out! I’ll keep you guys updated on how it goes. Repotting can feel a little scary, but it’s totally doable. Just be gentle and patient, and your plants will thank you!


