
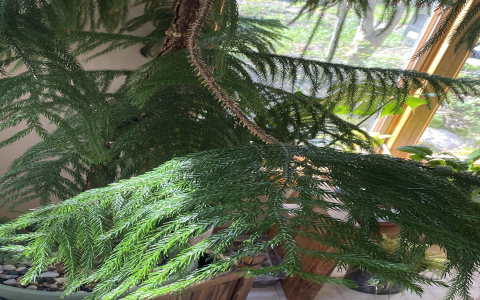
Okay, so, I’ve got this Norfolk Island Pine, right? It was starting to look a bit cramped in its old pot, kinda like it was bursting at the seams. Time for a repotting adventure! I gathered all my stuff: a slightly bigger pot, some fresh potting mix, and my trusty gardening gloves. You know, the usual suspects for this kind of operation.
Getting Started
First things first, I gave the plant a good watering the day before. This makes the soil a bit more cooperative when you’re trying to yank the plant out of its pot. Then, on the big day, I laid down some newspaper because, let’s be honest, this can get messy. I flipped the old pot over and gave it a few gentle taps. Sometimes you gotta coax it a little, you know? With a bit of wiggling, the whole root ball slid out. It was pretty root-bound, no wonder it needed a new home!
Prepping the Roots
Next, I took a look at those roots. I gently teased them apart a bit, especially the ones that were all circled around the bottom. I didn’t go crazy, just loosened them up so they could stretch out in their new digs. I also trimmed off any that looked dead or mushy. Gotta keep things healthy, right?
The New Pot
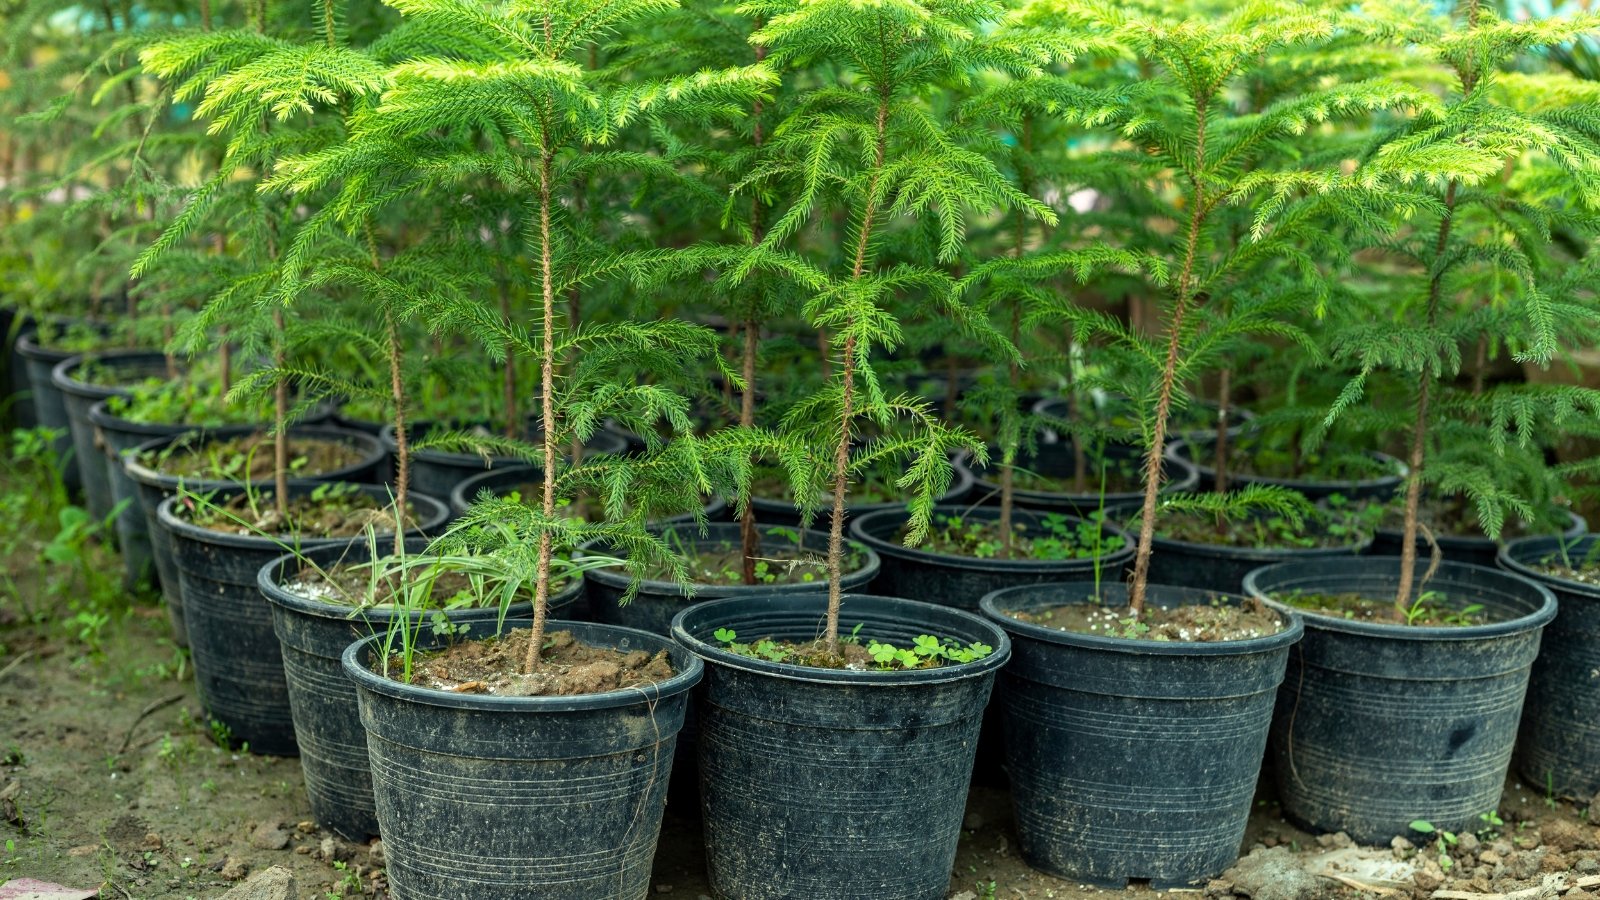
Now for the new pot. I put a layer of fresh potting mix at the bottom. Then I carefully placed the plant in the center and started filling in around the sides with more soil. I made sure to pack it down lightly as I went, but not too tight – you want the roots to be able to breathe. I left a little space at the top, so I could water it without making a huge mess. It is a necessary step to ensure water can penetrate into the soil well.
Finishing Touches
Once it was all settled in, I gave it a good watering, letting the water drain out the bottom. I watched the water drain to make sure there were no problems. That’s it! I put my repotted Norfolk Island Pine back in its usual spot, where it gets plenty of bright, indirect light. Hopefully, it’ll be happy in its new home and keep growing like crazy.
- Watered the plant the day before.
- Gathered supplies: new pot, potting mix, gloves.
- Removed the plant from the old pot.
- Loosened and trimmed the roots.
- Filled the new pot with soil and planted the pine.
- Watered thoroughly and placed it back in its spot.
It’s actually pretty satisfying to repot a plant. You feel like you’re giving it a new lease on life. Plus, it’s a good excuse to get your hands dirty. And who doesn’t love that? Seriously though, seeing that little tree thriving in its new pot makes all the effort worthwhile. It’s like, “Yeah, I did that!” And now I’m just waiting to see how much it grows. Fingers crossed for a happy, healthy pine!


