

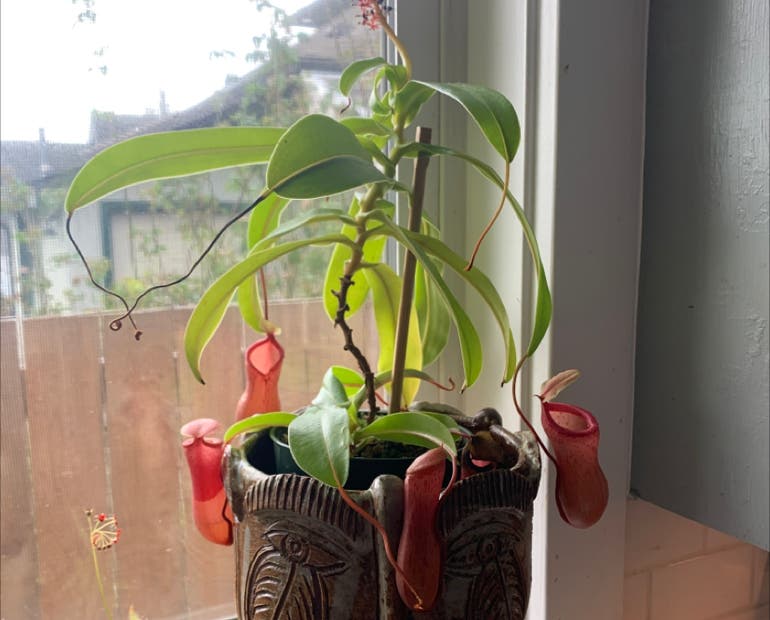
Okay, so I’ve got these pitcher plants, right? They’re pretty cool, but man, they were starting to look a little rough around the edges. I figured it was time to give them a little trim, you know, to keep ’em healthy and looking good. So, here’s what I did.
Getting Started
First, I gathered my stuff. I got some sharp scissors and some gloves, ’cause, you know, these plants are kinda weird and sometimes they get covered in these dead bugs. Yuck.
The Trimming Process
I started by looking for the dead or dying pitchers. They’re the ones that are all brown and crispy. I just snipped them off at the base, close to where they come out of the soil. I made sure to get rid of all of the dead ones, ’cause I heard that can help the plant focus on growing new, healthy pitchers.
Then, I looked at the leaves. Some of them were kinda yellowing or had brown spots. I trimmed those off, too. I figured it’s like when you get a haircut, right? You get rid of the split ends to keep your hair healthy. It is supposed to be the same with plants.
- Snip the brown pitchers off at the base.
- Trim off any yellowing or damaged leaves.
- Clean up all the dead stuff around the plant.
Cleaning Up
After I was done trimming, I cleaned up all the dead plant bits from around the base of the plant. I didn’t want any of that stuff to rot and maybe cause problems for the plant later.
Giving them a good drink
Once the plant is all cleaned up, I watered the soil. Then let it drain well. They like to be moist but not soggy. Now, the plant looks so much better, and I’m hoping it’ll start growing some new pitchers soon. It was a bit of work, but totally worth it to see my pitcher plants looking happy and healthy again.
This is pretty much all I did. And I would repeat this trimming process maybe every few months, or whenever the plant starts to look a little scraggly.


