

Okay, guys, let’s talk about metal watering cans today. I’ve been meaning to upgrade my old plastic one for a while now, and I finally got around to doing it. So, I started, as one does, by hitting up the local stores. I checked out a few places, but honestly, nothing really caught my eye. They were either too small, too flimsy, or just plain ugly.
Then I thought, “Why not try making my own?” I mean, I’ve always been a hands-on kind of guy. I figured I could probably put something together that was both functional and looked pretty decent. I had some scrap metal lying around in my shed, mostly old pipes and some sheet metal from a previous project.
First, I grabbed a piece of pipe, about 10 inches long, and started shaping it into a spout. Bending metal is not as easy as it looks! I used a blowtorch to heat it up and then carefully bent it into a gentle curve. I took my time, making sure it wouldn’t crack.
- I used a blowtorch for heating the metal.
- Bent the heated part carefully.
- Repeat the heating and bending process.
Steps:
Next, I took a bigger piece of the sheet metal and started working on the body of the can. I sketched out a rough design on the metal, a classic kind of shape. Then came the fun part—cutting! I used metal shears for this, and let me tell you, it was a workout. After I had the basic shape cut out, I had to file down the edges to make them smooth. Safety first, right? No one wants a nasty cut from a watering can.
- Sketch a design.
- Cut it out.
- Smooth the edges.
Body:
Then, I rolled the sheet metal into a cylinder, which was tricky. I used a rubber mallet to help shape it and made sure the edges overlapped a bit. I decided to try my hand at soldering to join the pieces together. I’d watched a bunch of videos online, and it looked straightforward enough. It wasn’t. Let’s just say my first few attempts were… messy. But hey, practice makes perfect, and eventually, I got a decent seal.
- Not easy.
- Practice is important.
Soldering:
After that, I cut out a circular piece for the base and soldered that on as well. I had to make sure it was watertight, so I spent extra time on this part. For the handle, I used another piece of pipe, shaped it into a loop, and soldered it to the top of the can.
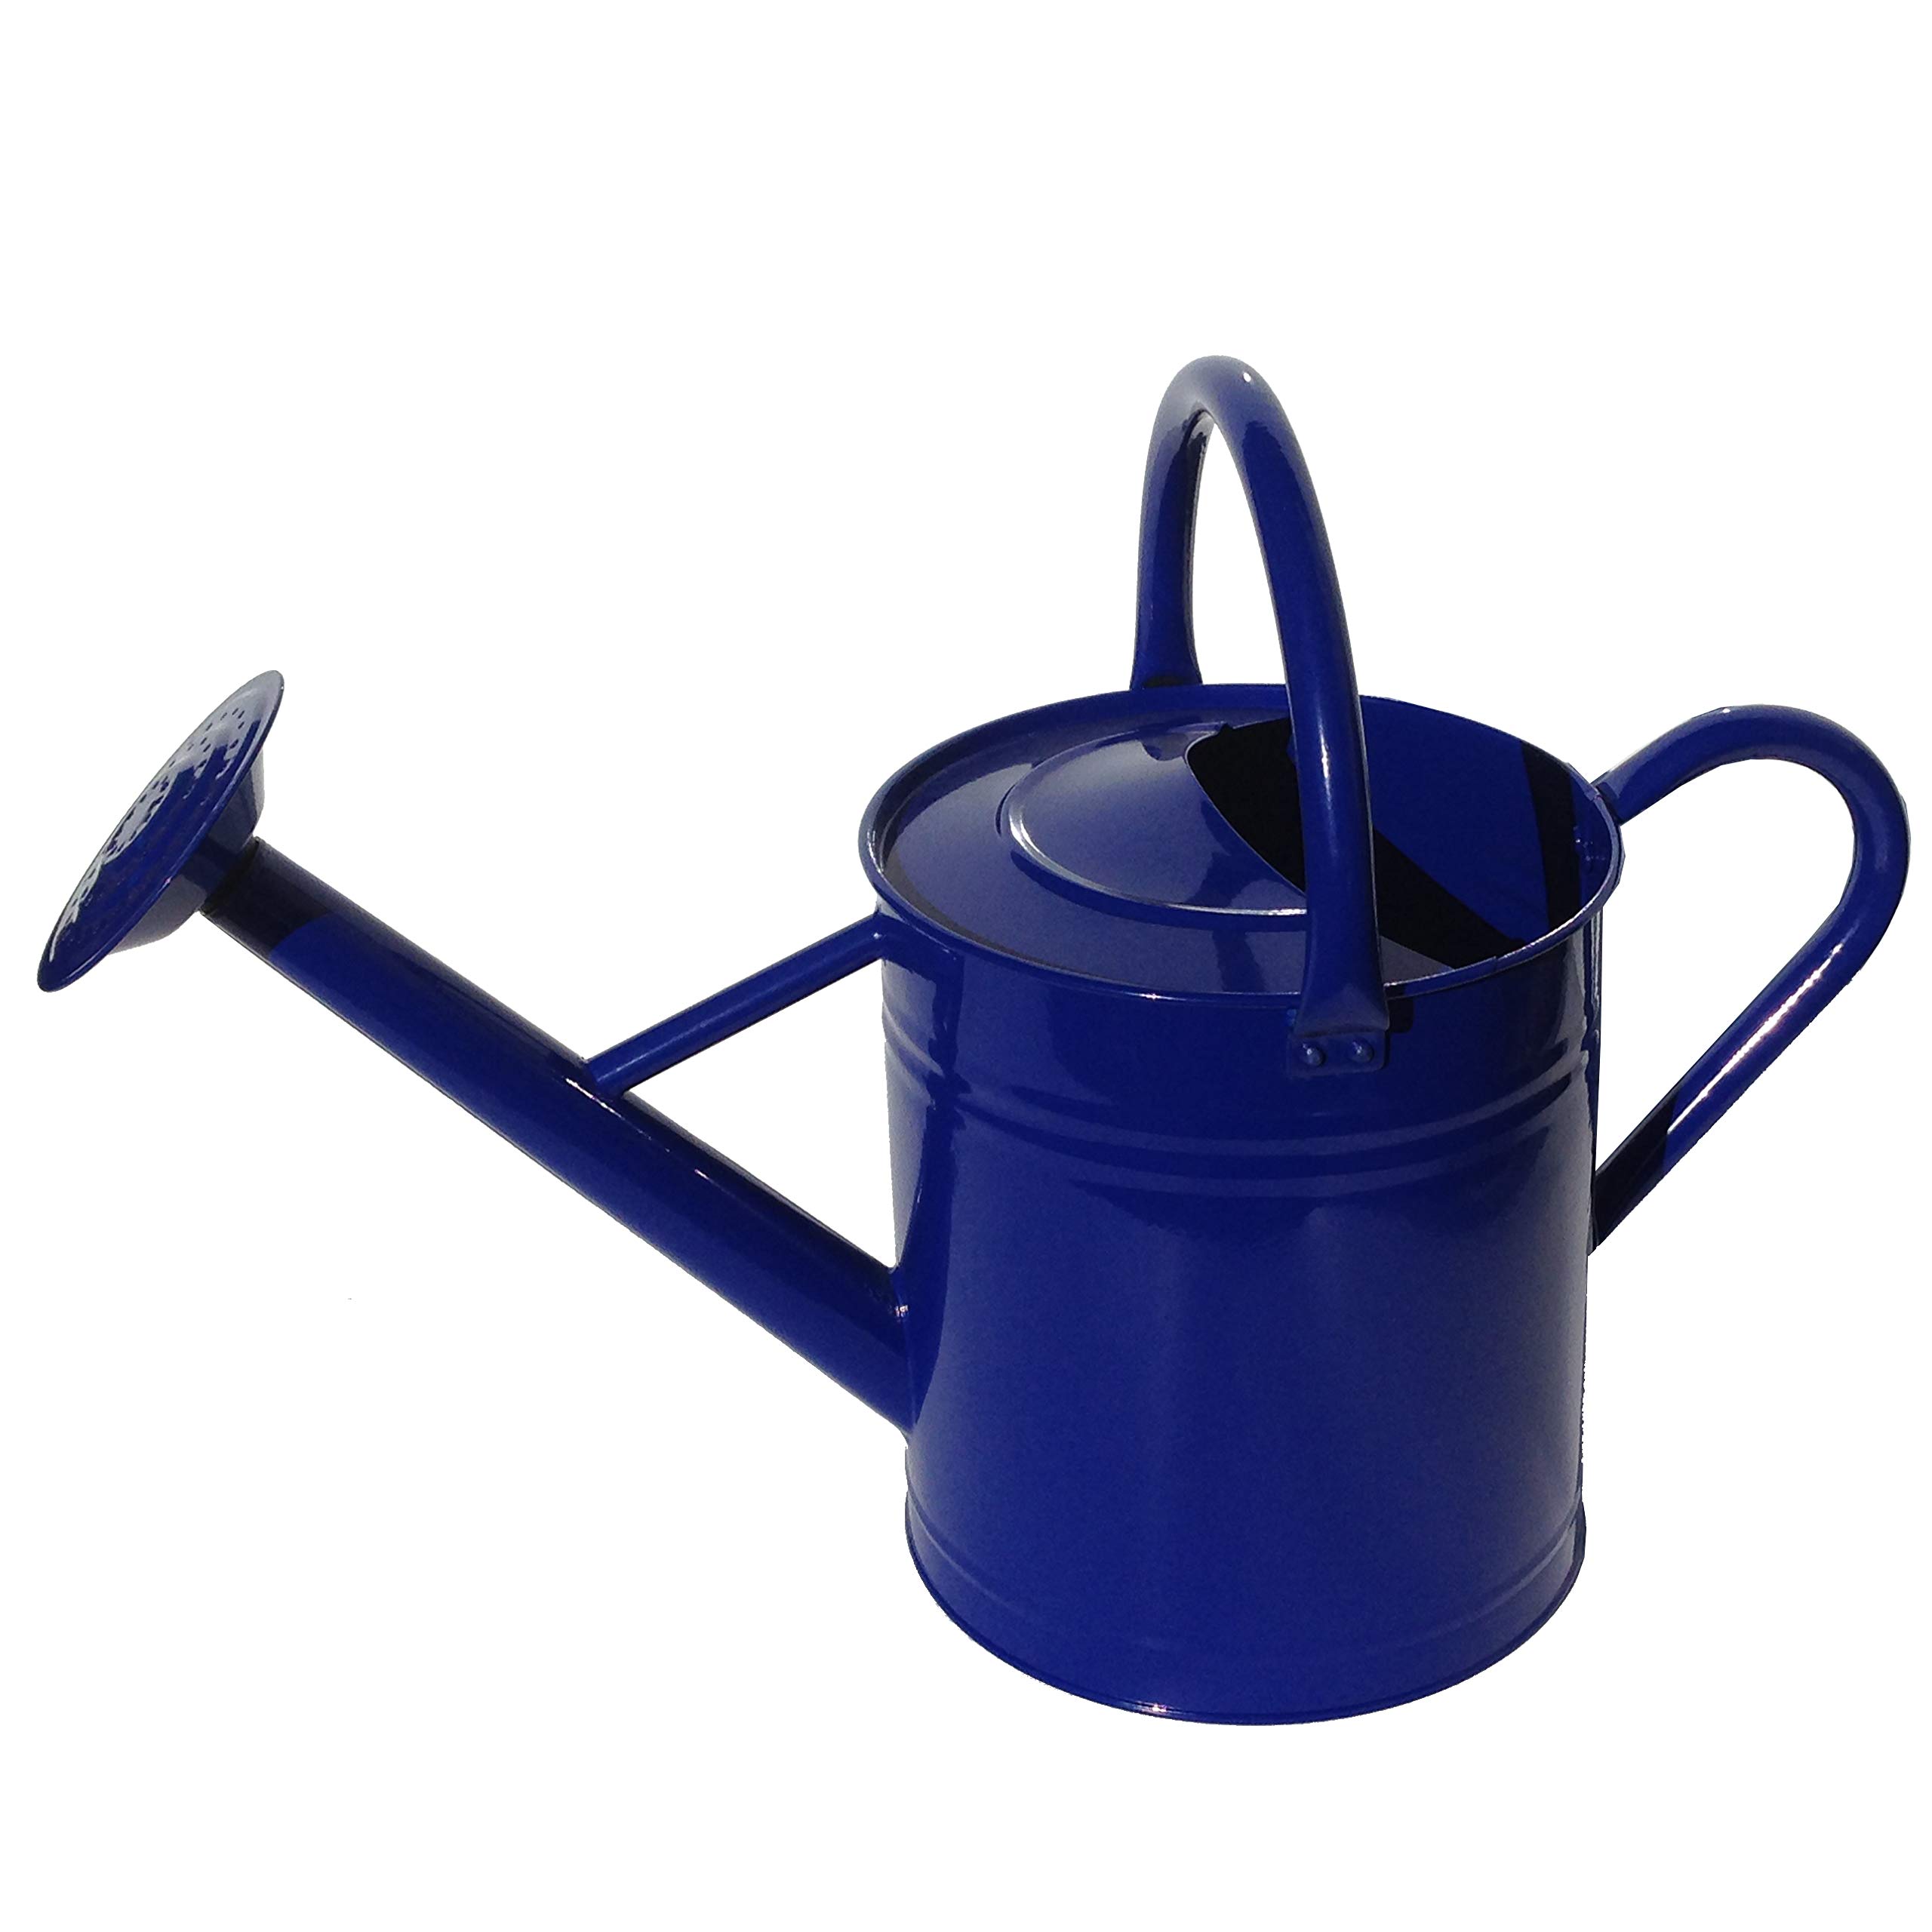
Then I added a small rose to the end of the spout. This came from an old broken watering can I found at the back of the shed. Finally, I gave the whole thing a good polish, and it actually looked pretty good! It’s not perfect, but it’s mine, and it works like a charm. Plus, it’s way sturdier than any of those plastic ones. I’m pretty proud of how it turned out.
It was a fun project, and I learned a lot. It’s definitely satisfying to use something you’ve made yourself. If you’re thinking about making your own metal watering can, I say go for it! Just be prepared for a bit of a challenge, and don’t be afraid to make mistakes. That’s how you learn, right?


