
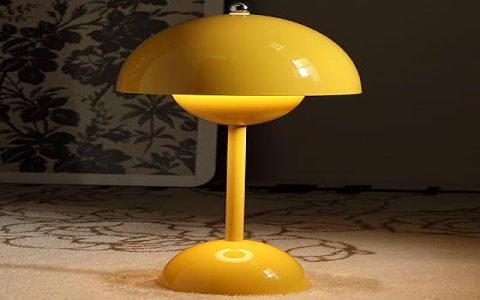
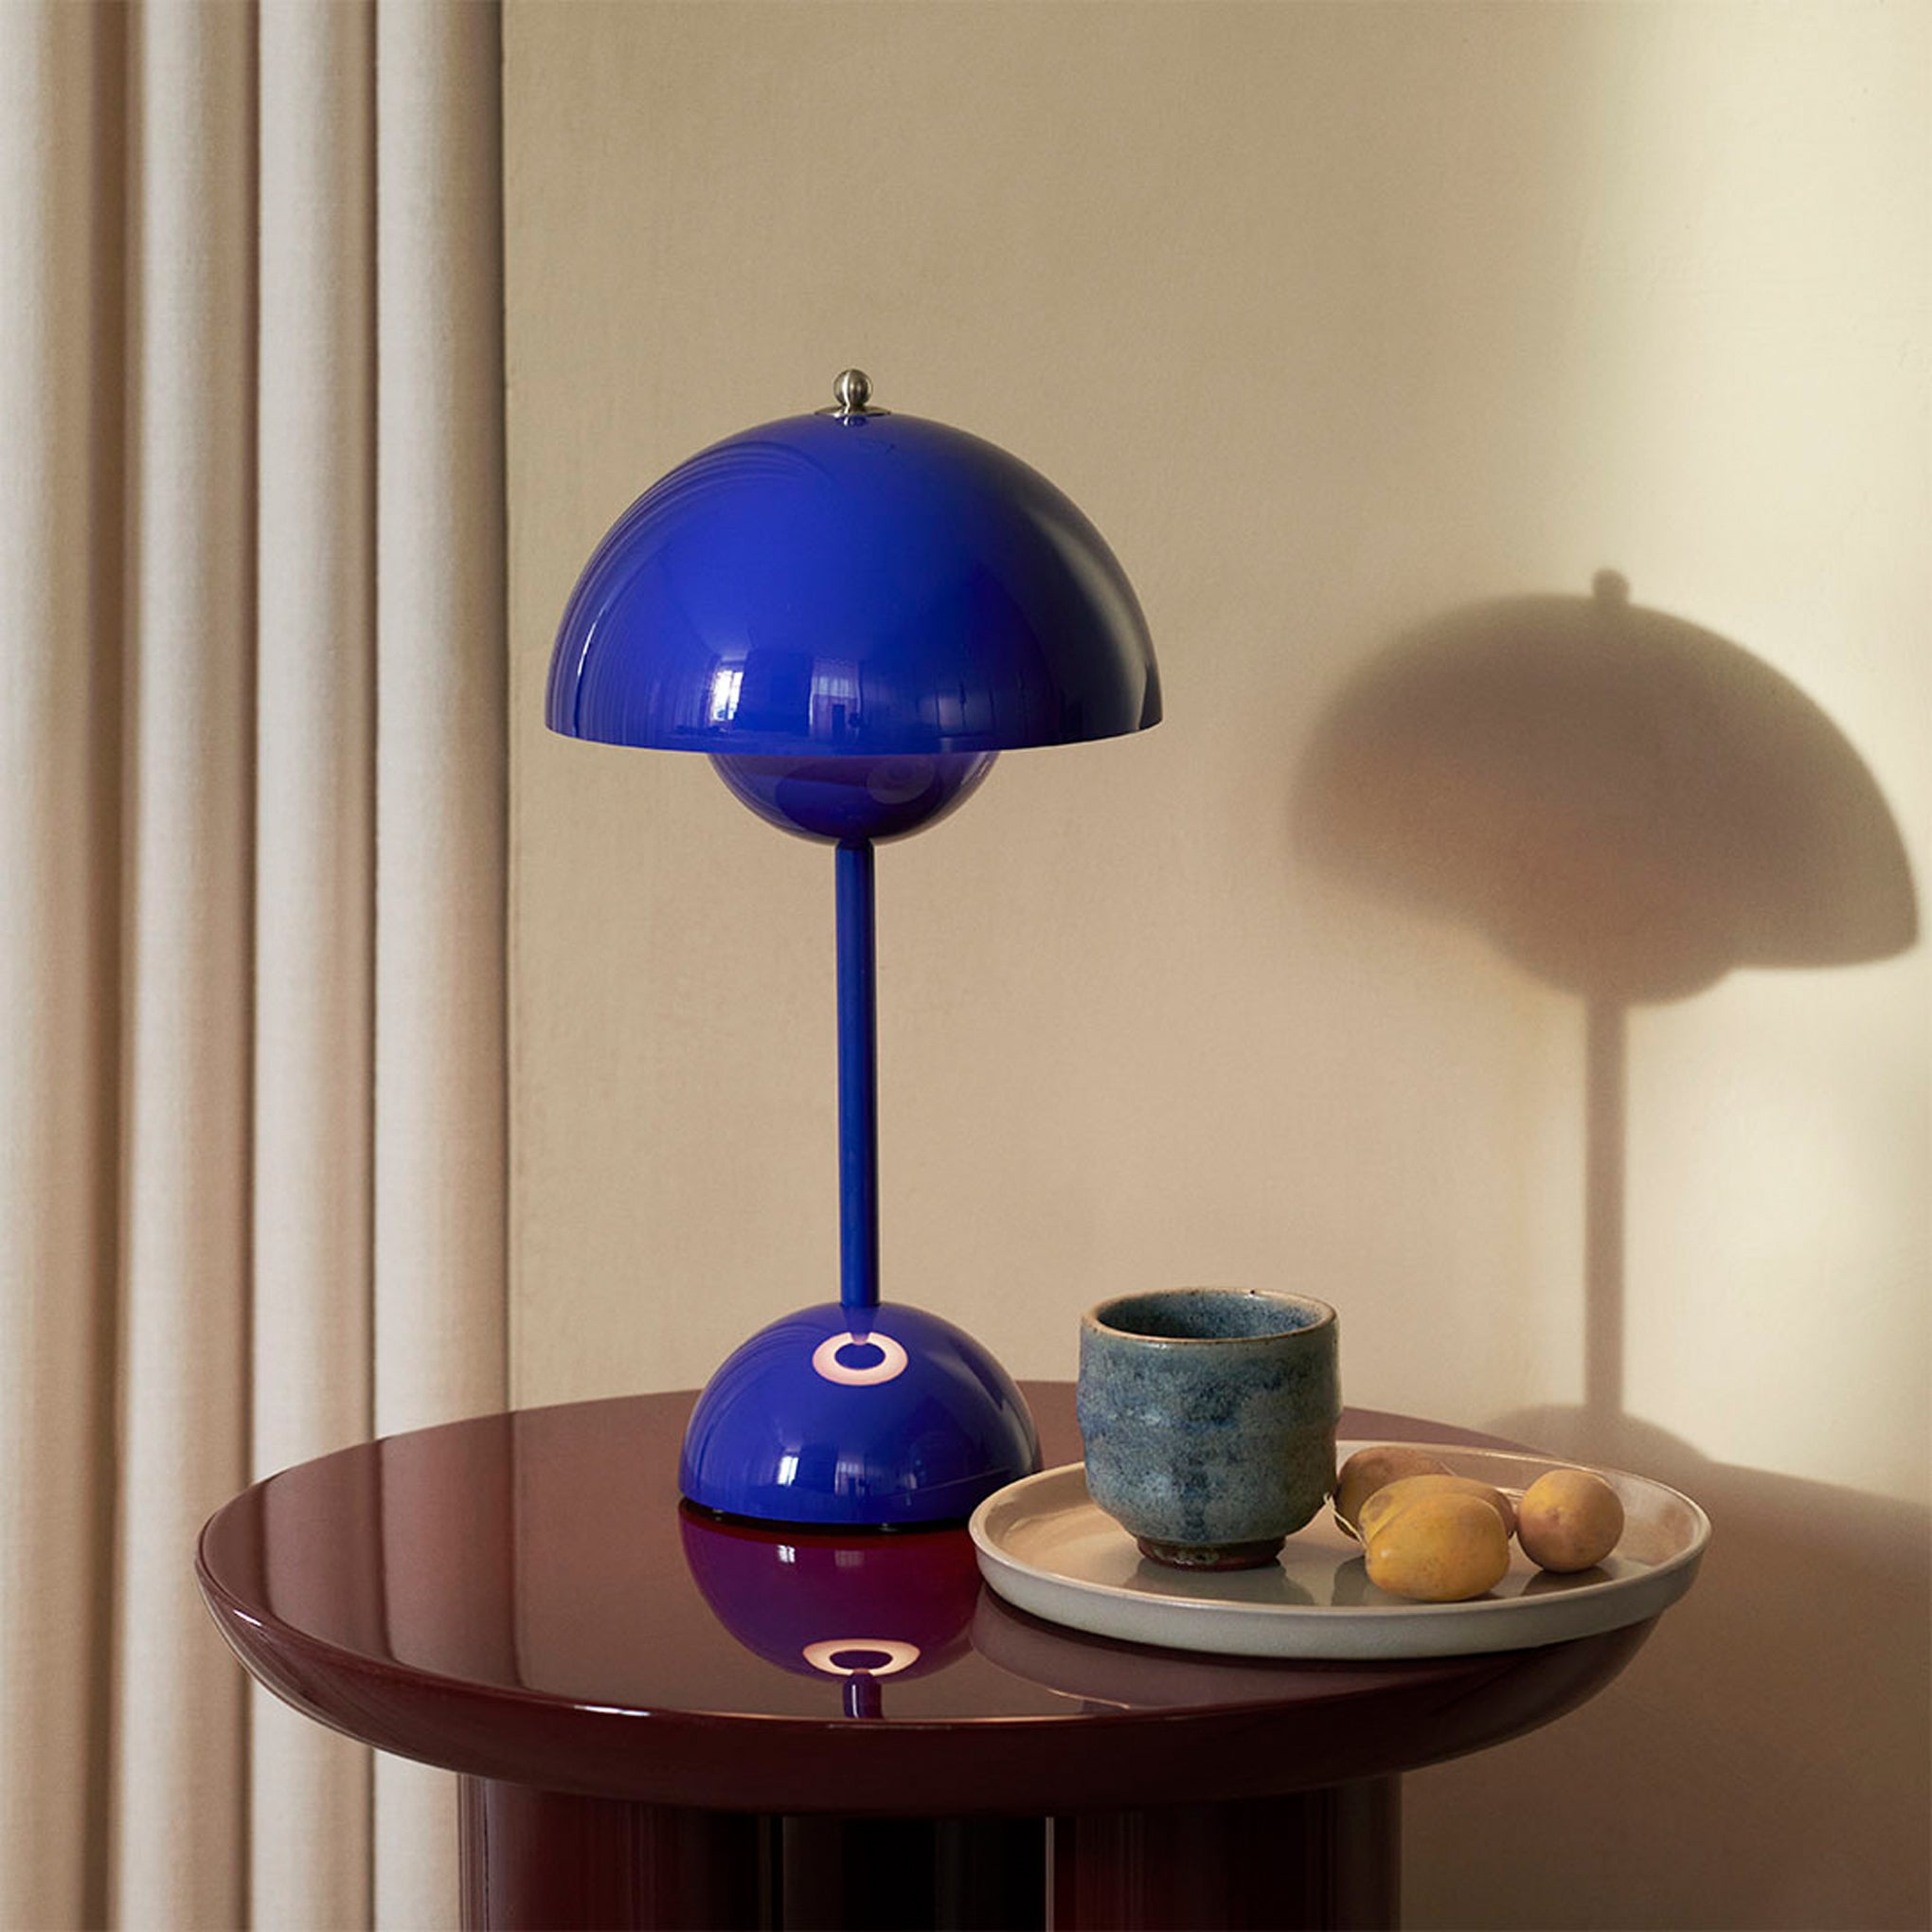
Okay, so I saw this Flowerpot VP9 LED portable lamp online and thought, “That’s cool, I want one!” But then I looked at the price and thought, “Nah, I can make that myself.” So, I did some digging and found some tutorials and tips online to make my own. This is how it went.
Getting Started
First, I gathered all the materials. I needed a lampshade that I liked, a base, an LED light, some wire, and a power source. I found a cheap lampshade at a thrift store, which was perfect. For the base, I used an old flowerpot that I wasn’t using anymore. I bought a simple LED light and some wire from a hardware store. As for the power source, I decided to use a rechargeable battery pack so I could move the lamp around without needing a plug.
Putting It Together
Next, I got to work assembling the lamp. I started by drilling a hole in the bottom of the flowerpot for the wire. Then, I connected the LED light to the wire and fed it through the hole. I secured the light to the inside of the lampshade with some strong glue. I had to let it dry for a while, which was a bit of a pain, but I wanted to make sure it was really secure.
After that, I connected the other end of the wire to the battery pack. This was a bit tricky, I’m not gonna lie. I had to strip the ends of the wire and connect them to the battery pack’s terminals. I made sure to double-check the polarity because I didn’t want to mess anything up.
Finishing Touches
Once everything was connected, I placed the battery pack inside the flowerpot and placed the lampshade on top. And there it was, my very own Flowerpot VP9 LED portable lamp! It looked pretty good, if I do say so myself.
Testing It Out
Finally, I turned it on, and it worked! The light was bright and clear, and the lamp looked really stylish. I was pretty proud of myself for making it. I did need to make sure the battery pack was properly charged, so it would light up every time I wanted to turn it on.
So, that’s how I made my own Flowerpot VP9 LED portable lamp. It was a fun little project, and it saved me some money, too. Plus, it’s always cool to have something unique that you made yourself. I’m already thinking about what I’m going to DIY next.
- DIY Project: Flowerpot VP9 LED portable lamp
- Steps:
- Gather materials: lampshade, base (flowerpot), LED light, wire, power source (battery pack)
- Assemble: drill hole in flowerpot, connect light to wire, feed wire through hole, secure light to lampshade
- Connect wire to battery pack
- Place battery pack in flowerpot, put lampshade on top
- Result: A functional and stylish DIY lamp
Hope you enjoyed my little DIY adventure! I had some trouble along the way, but all in all, it turned out fine.


