

Today I wanna talk about how I repotted my Norfolk pine. This big guy was getting a little too big for his britches, or should I say, his pot. So, I figured it was time for an upgrade.
Getting Ready
First things first, I gathered all my supplies. Needed a new pot, obviously, one that was a couple of inches bigger in diameter than the old one. Got some fresh potting mix, the kind that drains well ’cause these pines don’t like soggy feet. Oh, and my trusty gardening gloves, can’t forget those.
The Big Move
Next, I gave the pine a good watering. This makes the soil stick together a bit, making it easier to get the whole root ball out in one piece. Then, I gently laid the plant on its side. Tapped the sides of the old pot a bit to loosen things up. With a little wiggling and a gentle tug, the whole plant slid right out.
- I took a look at the roots. They were starting to circle around the bottom of the pot, a sure sign it was time for a repot.
- I loosened the root ball a bit with my fingers, just to encourage them to spread out in their new home.
Settling In
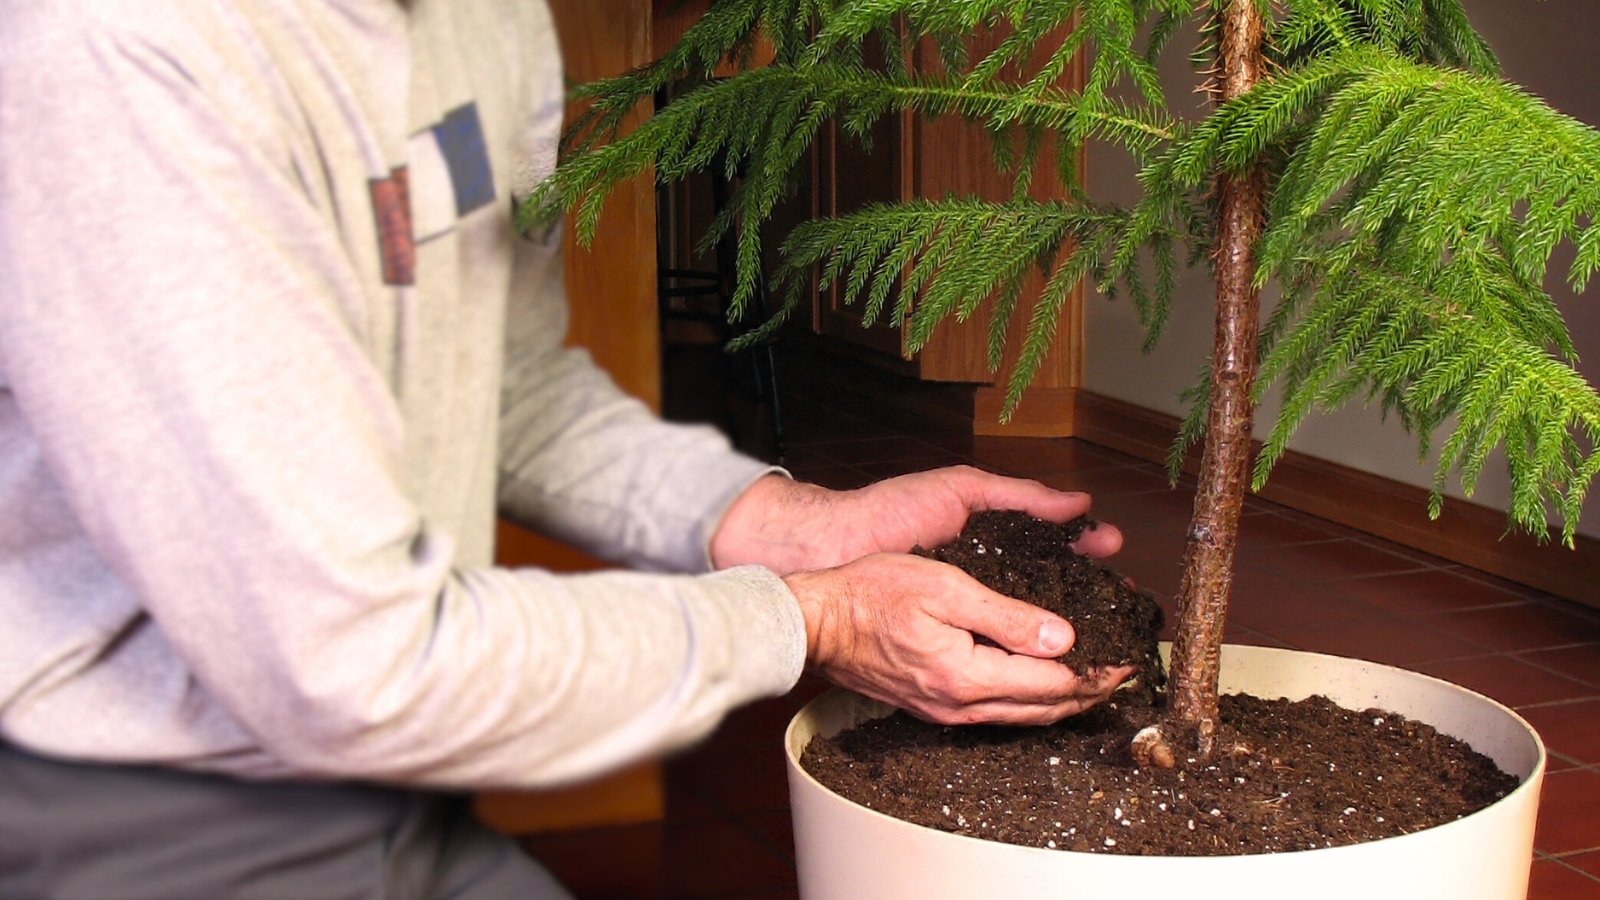
I put a layer of fresh potting mix in the bottom of the new pot. Then, I carefully placed the Norfolk pine in the center and filled in around the sides with more soil. I made sure not to bury the trunk any deeper than it was in the old pot.
Gave it another good watering to help settle the soil and that was it! Now my Norfolk pine has plenty of room to grow, and I can enjoy watching it thrive for years to come. It’s really satisfying to see your plants happy and healthy, you know?


