

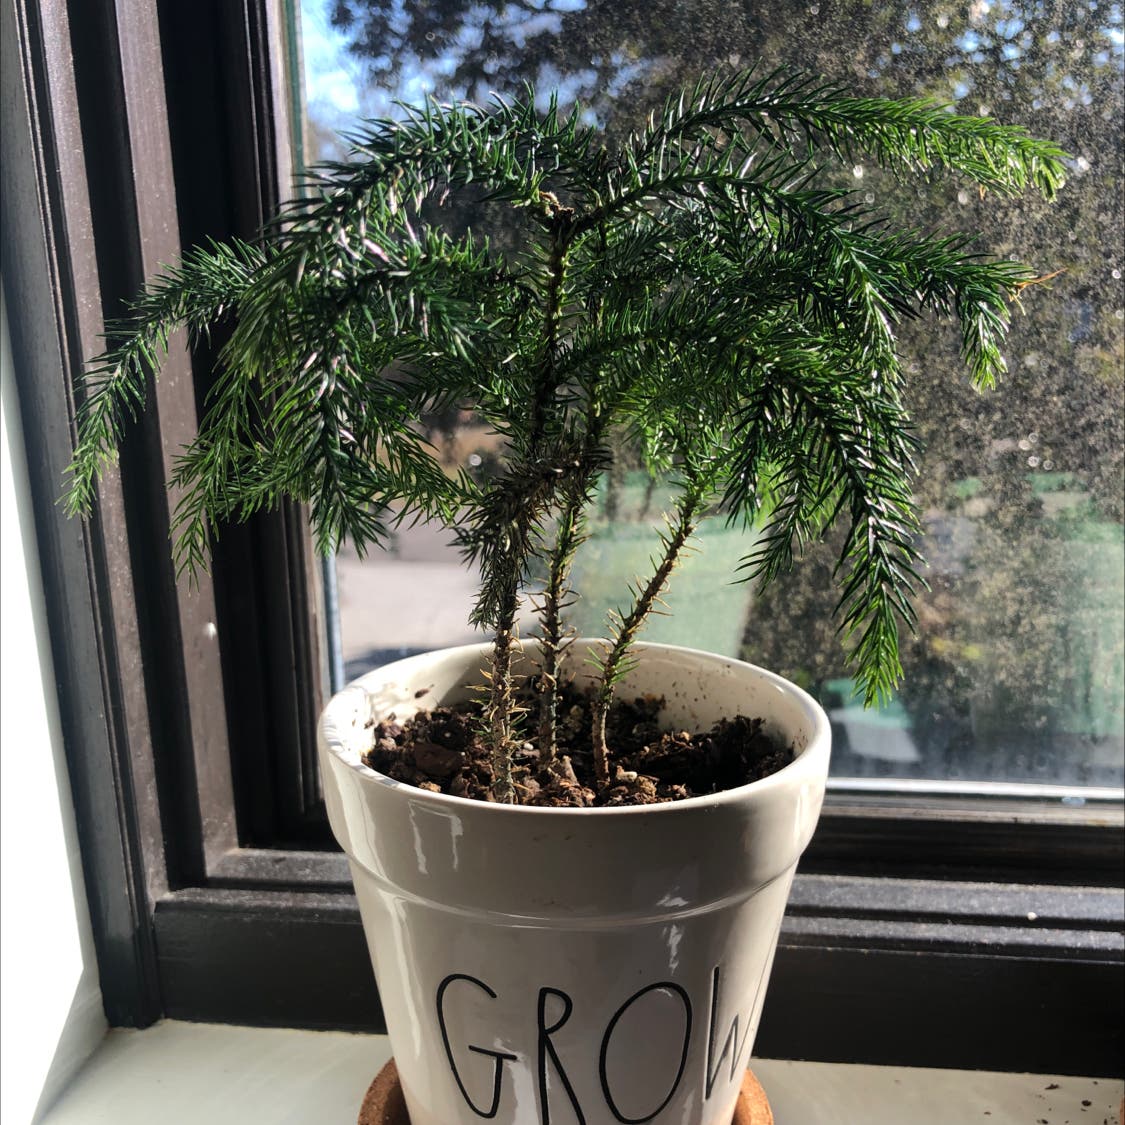
Okay, so, I’ve been getting into houseplants lately, right? And I’ve always loved those Norfolk Island Pines – they look like mini Christmas trees year-round! So I finally got one, but it was in this dinky little plastic pot, and I knew I had to get it into something nicer. Plus, I figured it was time to give it some fresh soil. Here’s how that whole adventure went:
First off, I needed to pick a new pot. I wanted something that looked good, but also something that would make my little tree happy. I read somewhere that these plants don’t like to sit in water, so good drainage was key. I ended up finding a nice ceramic pot with a big drainage hole at the bottom. It was a little bigger than the old pot, which I figured would give the roots some room to grow. I don’t know why. Just a hunch.
Next up, the soil. Now, I’m no expert, but I learned that Norfolk Pines like their soil a bit on the acidic side. I also needed something that wouldn’t hold onto too much water. I grabbed a bag of regular potting mix and then some perlite – it’s this white, lightweight stuff that helps with drainage. I also threw in a bag of peat moss. I learned online that this peat moss will help with acidity. I’m pretty sure the source is reliable.
So, time to get my hands dirty! I mixed up the soil in a big bucket. I didn’t really measure anything precisely, I just eyeballed it. I’d say it was about two parts potting mix, one part perlite, and one part peat moss. Then I put a thin layer of this mix in the bottom of the new pot.
Getting the tree out of its old pot was a bit of a struggle. I gently squeezed the sides of the plastic pot to loosen it up, and then I carefully tipped it over and pulled the tree out. The roots were all tangled up, poor thing! I gently teased them apart a little bit, just to help them spread out in the new pot.
Then, I placed the tree in the new pot, making sure it was centered. I filled in around the roots with the soil mix, gently pressing it down to get rid of any air pockets. I made sure the soil level was about the same as it was in the old pot – I didn’t want to bury the trunk too deep. I am so proud of myself!
Finally, I gave the whole thing a good watering. I watered it until I saw water coming out of the drainage hole at the bottom of the pot. I also got a little spray bottle and gave the needles a good misting – I heard they like humidity.
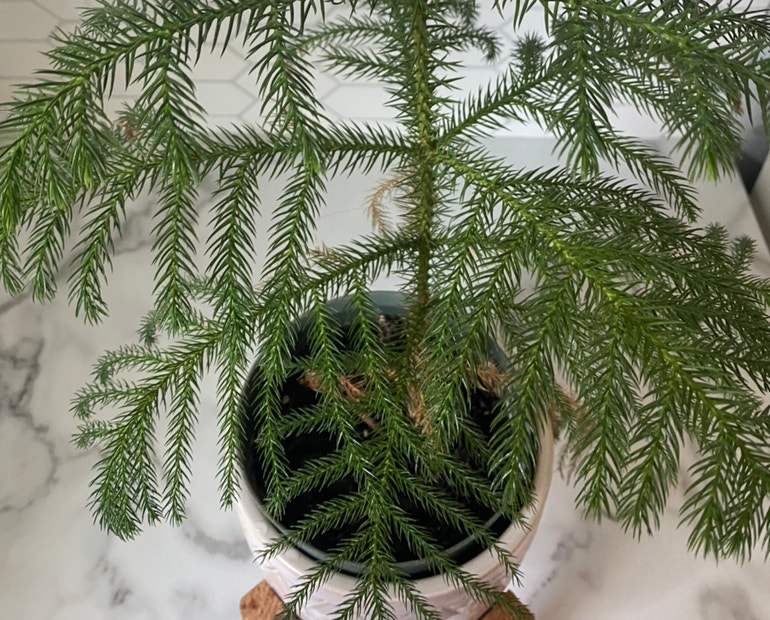
And that’s it! My Norfolk Pine is now happily settled in its new home. It looks so much better, and I’m hoping it’ll thrive in its new pot and soil. I’ll keep an eye on it and make sure it’s getting enough water, but not too much. I might even talk to it a little – I heard that helps, too! LOL!
Things I used:
- A ceramic pot with a drainage hole
- Regular potting mix
- Perlite
- Peat moss
- Water
- Spray bottle
Fingers crossed my little tree loves its new setup! I’m no plant expert, but I’m learning as I go. I just try to take everything into consideration, make some adjustments, and see what results. This is how I learn. Maybe I will share more plant adventures in the future!


