
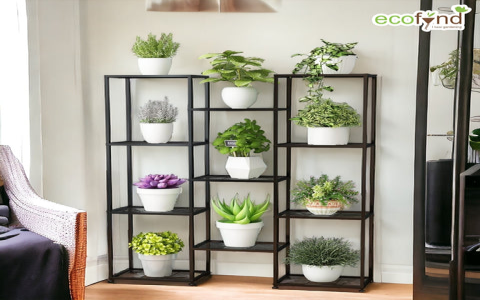
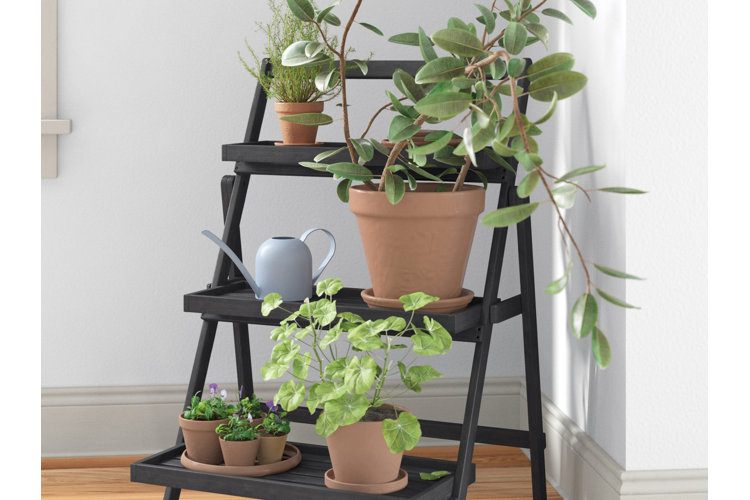
Okay, so I’ve been wanting to get into this whole indoor gardening thing for a while, and I finally took the plunge. But I quickly realized that just putting plants on the floor wasn’t gonna cut it. They weren’t getting enough light, and honestly, it looked kind of messy. So, I decided I needed some plant stands. I went online to check out some options, and whoa, there are a ton of different styles out there! From, like, super simple ones to these crazy elaborate things. I saw some cool tiered ones that looked perfect for a smaller space, and some metal ones that seemed really sturdy.
Shopping Around
I started looking around for a good deal, because, you know, I’m not made of money. There’s this site called Pricerunner, though I’ve never used it before, I guess it lets you compare prices on different products. I’m not sure if it has what I want, so I didn’t dig into it. Anyways, I just hit up a few different stores in person to see what they had.
DIY or Buy?
While browsing, I started thinking, “Hey, I could probably just make one of these myself!” I’m not exactly a master craftsman, but I’ve done a few DIY projects before. I found some basic designs, and it seemed pretty straightforward. Plus, it would be way cheaper than buying one. But then I thought about all the tools I’d need, and the time it would take, and… yeah, maybe not. I mean, with all that work, I could be doing other stuff, you know?
The Build
So I decided to make my mini planter stand. I grabbed some scrap wood from my garage. They were just sitting there, leftover from my last project, so it is great that I got a chance to make use of them again. I cut the wood into pieces, some longer, some shorter, to make the legs and the shelves. I’m not super precise with measurements, I just eyeballed it mostly. Then came the fun part – putting it all together! I used wood glue and screws to attach the legs to the shelves, making sure everything was nice and secure.
Finishing Touches
After the basic structure was done, I wanted to make it look a little nicer. I did have some leftover paint from before, but I wanted to try something different. I grabbed some sandpaper and smoothed out all the rough edges. I kinda like the natural wood look, but I also wanted it to last longer, so I applied a coat of clear varnish. It gave it a nice, subtle shine and will hopefully protect it from the elements, or at least, you know, water spills from when I’m watering the plants.
The Result
And that’s it! My very own, handmade mini planter stand. It’s not perfect, a little wobbly, maybe, but I’m pretty proud of it. It’s the perfect height to get my plants closer to the window, so they can soak up that sweet, sweet sunlight. Plus, it just looks way better than having them all scattered on the floor. Now, I just gotta figure out which plants to put on it. This whole gardening thing is turning out to be a lot of fun. Maybe I’ll try making a bigger one next time, who knows?
- Materials Used:
- Scrap wood
- Wood glue
- Screws
- Sandpaper
- Clear varnish
Total cost: $0. Since I just used what was around, I didn’t even spend a dime. Feeling pretty good about that!


