

Alright, folks, let’s talk about getting that sod looking top-notch this spring. I’ve been messing around with my lawn for years, and I’ve learned a thing or two about what works and what’s just a waste of time and money.
So, first off, timing is everything. I used to just throw down fertilizer whenever I remembered, but that was a big mistake. I found out that you gotta wait until your grass is actually growing. And for cool-season grass, that means waiting until the soil temperature hits around 55 to 60 degrees. It was a game-changer when I started paying attention to that.

Now, how did I actually get started? Well, I picked up one of those soil thermometers. Then I started checking the soil temp in my yard every morning. It took a little while, but it was cool to see it slowly creeping up. When it finally hit that sweet spot, I knew it was time to get to work.
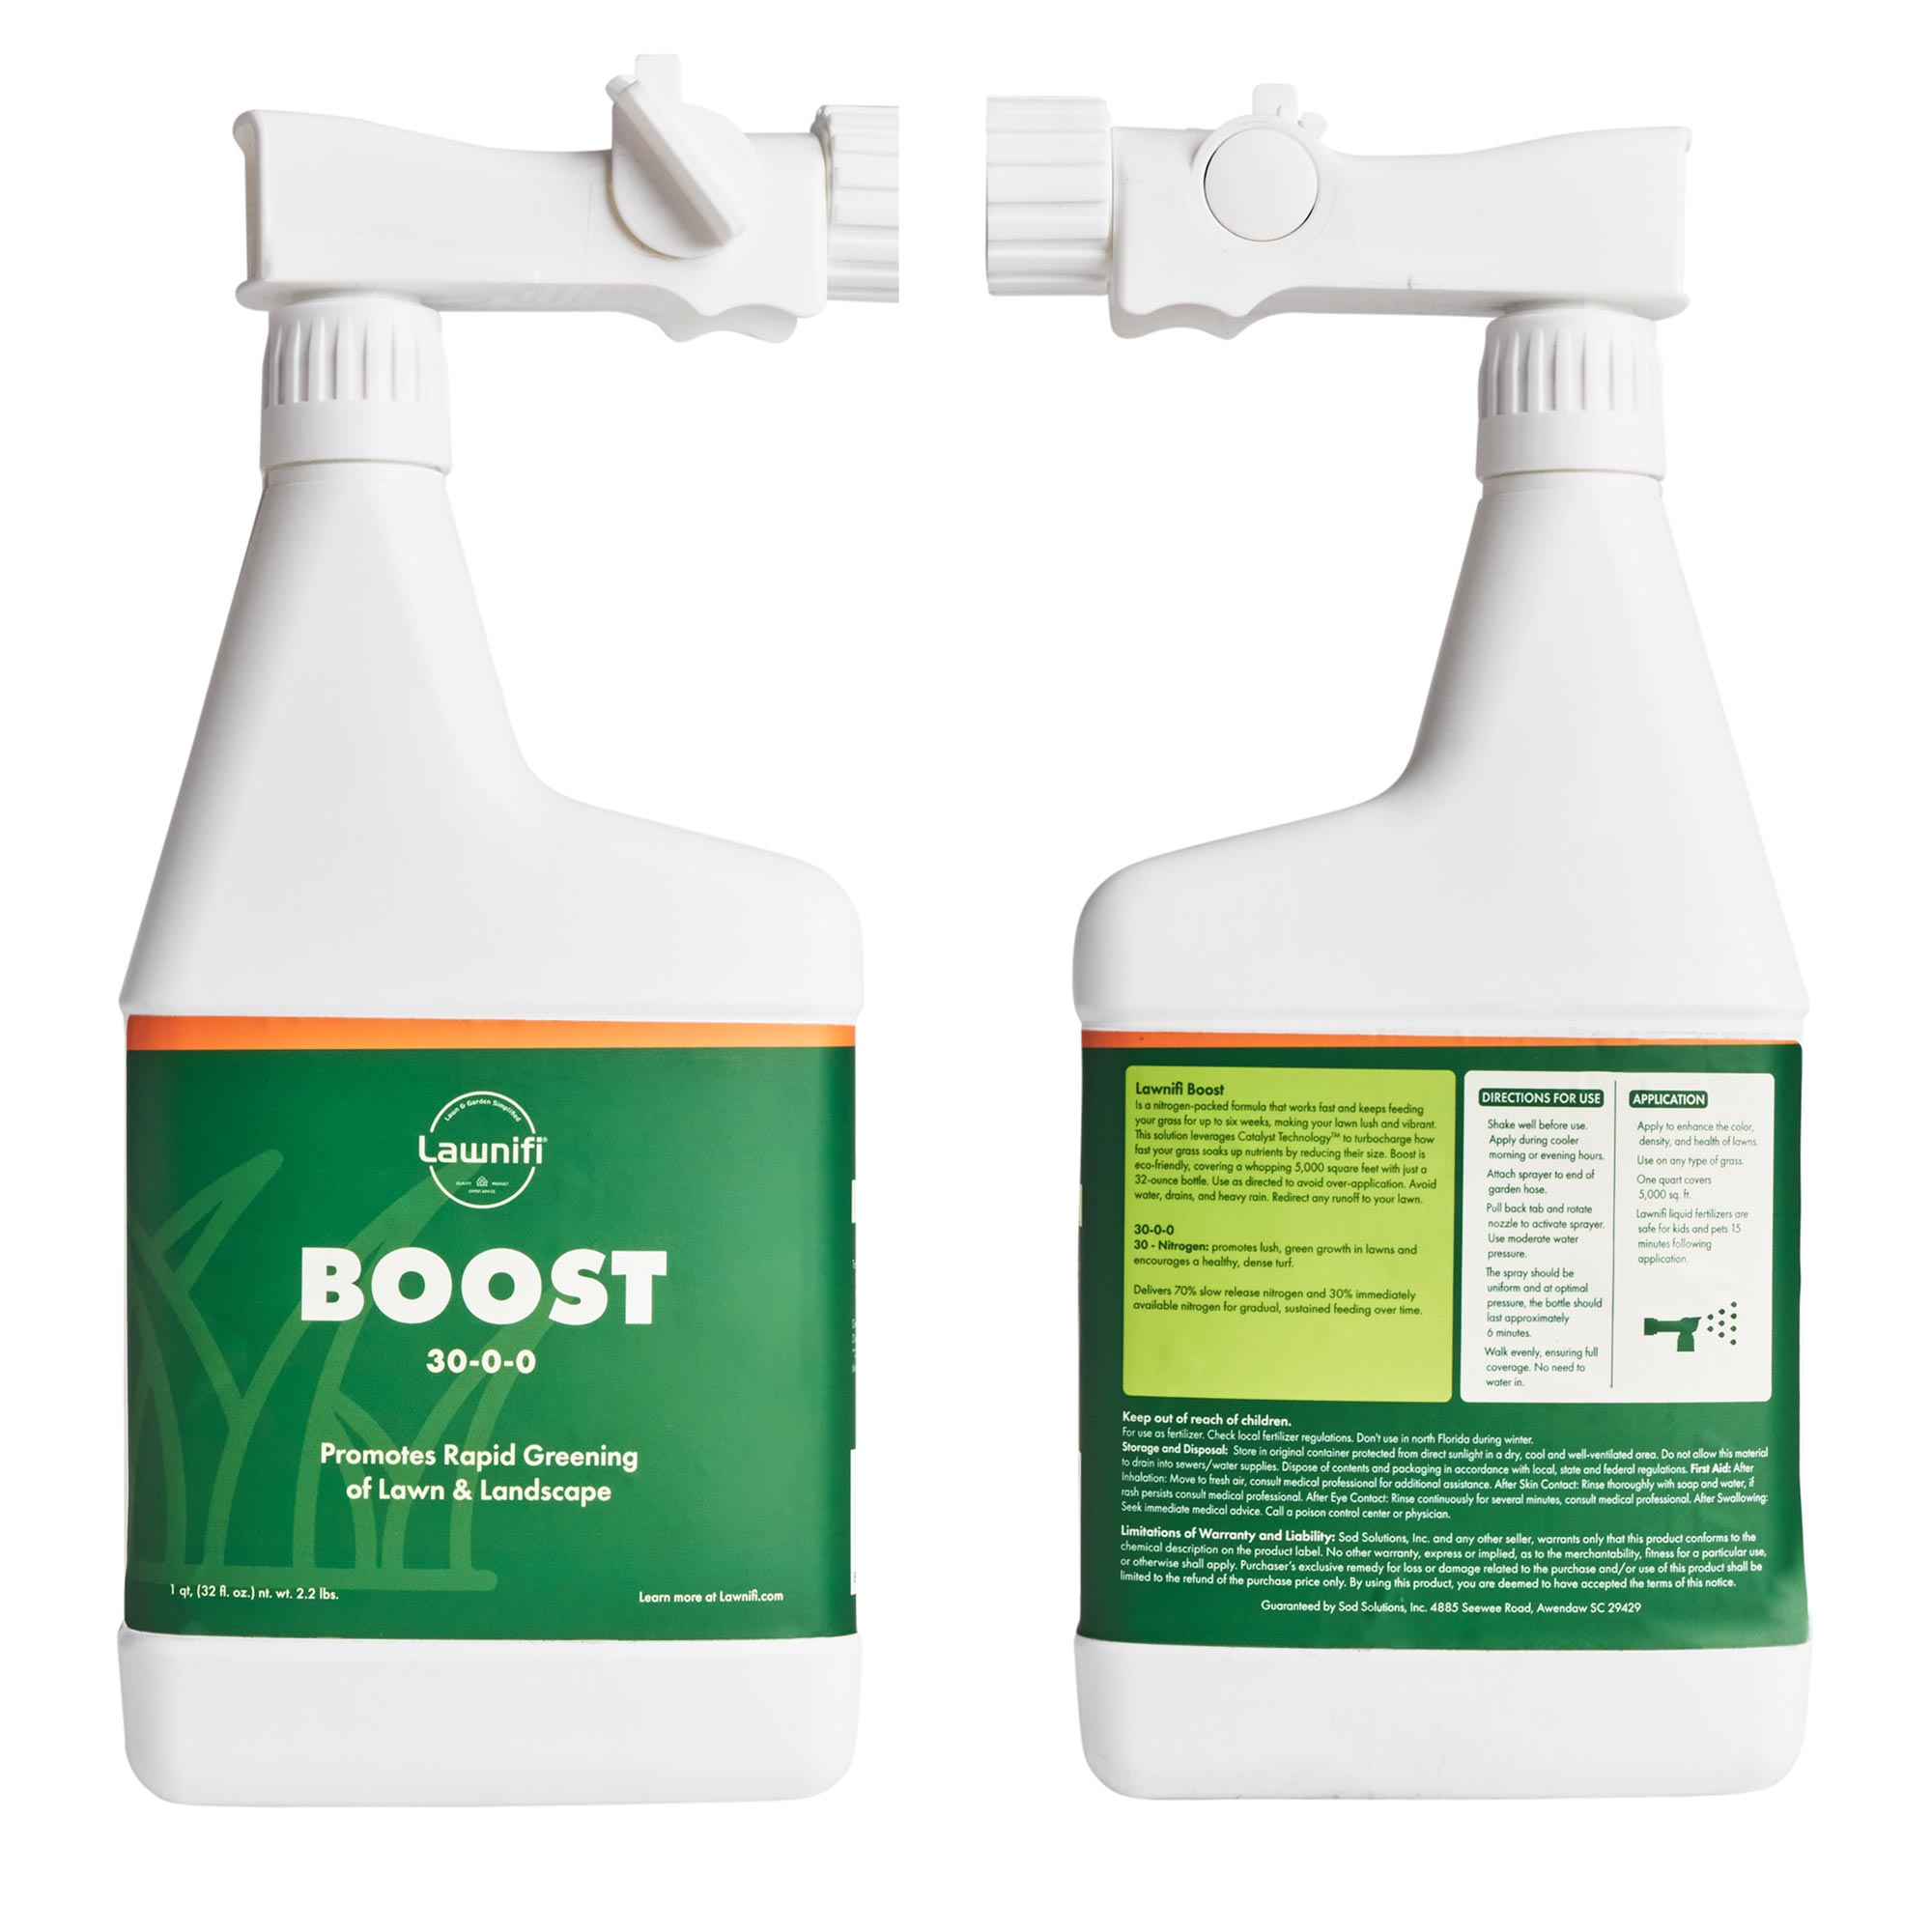
Choosing the right fertilizer was the next hurdle. After trying out a bunch of different types, I stumbled upon this liquid stuff, Lawnifi Spring Fertilizer Box. What I really liked was that it’s not just your standard fertilizer; it’s got this special mix of nutrients that really seemed to help the grass take root. I decided to give it a shot, and man, I was impressed. The grass seemed to green up faster, and it just looked healthier overall.
Here’s how I used it: I waited for a calm morning, ’cause wind and fertilizer don’t mix. Then, I mixed the fertilizer with water according to the instructions. Then used my trusty sprayer to apply it evenly across the lawn. The first time I did this, I was a little nervous, but it was actually pretty straightforward.
- Wait for the right time: Don’t jump the gun. Wait till the soil temp is right, or you’ll waste your time.
- Pick the right stuff: That Lawnifi stuff worked wonders for me, but do your own homework too.
- Apply it right: Calm day, even coverage, and water it in. Easy peasy.
After that, I made sure to water the lawn really well. That’s important to help the fertilizer soak in and not burn the grass. I kept up with regular watering, especially since it was a new sod. And I gotta say, the results spoke for themselves. My lawn was looking lush and green in no time. It felt good to finally figure out a system that worked.
So, there you have it. That’s my down-and-dirty guide to fertilizing sod in the spring. It’s not rocket science, but it does take a little know-how and some trial and error. Trust me, if I can do it, you can too!
The Key Takeaways From My Little Experiment
Looking back, the biggest lesson I learned was to be patient and pay attention to what the grass needs. It’s not just about throwing down some fertilizer and hoping for the best. It’s about understanding the timing, choosing the right product, and applying it correctly. And honestly, seeing the results of that effort is super satisfying. It makes all the sweat and occasional sunburn worth it.
I also realized that it’s okay to experiment a bit. Not every product is going to work the same for everyone. What worked for my neighbor’s lawn might not work for mine. So, don’t be afraid to try different things until you find what works best for your specific situation. Just remember to read the instructions carefully and maybe start with a small area first to see how your grass reacts.
Lastly, don’t forget to enjoy the process! Yeah, it’s work, but it’s also kinda fun to see your lawn transform from a sad, patchy mess into a lush, green carpet. Plus, there’s something really relaxing about being outside and getting your hands dirty. So, embrace the journey, learn from your mistakes, and don’t be afraid to ask for help or advice from other lawn care enthusiasts. We’re all in this together, trying to create our little patches of green paradise.


