
Okay, here is my sharing about how I made my raised plant stands:
So, I’ve been wanting to spruce up my indoor garden lately, you know, give it a bit more personality. That’s when I got this idea to make some raised plant stands. I figured it’d be a fun little project, and it’d also help my plants get better light and air. Plus, I always love getting my hands dirty with some DIY stuff.

Gathering Ideas and Materials
First thing I did was hop online and look for some inspiration. I browsed through a bunch of DIY blogs and stuff, and let me tell you, there are tons of creative ideas out there. I ended up deciding on a simple wooden design ’cause it seemed pretty straightforward, even for a woodworking newbie like me. I wrote down some possible ideas I liked.
- Simple Wooden Plant Stand
- Stool Plant Stand
- Pedestal Plant Stand
Then came the fun part – gathering the materials. I already had some scrap wood lying around from previous projects, so I figured I’d use those. I measured and cut them to the right sizes, making sure each piece was the right length for the stand I had in mind. Oh, and I also picked up some basic wood screws, glue, and sandpaper. Nothing fancy, just the essentials. I had some leftover paint from painting my office that matched the colors I was going for with the planters so I just used that!
Building the Stands
With all the materials ready, I started putting the stands together. I’m not gonna lie, it took a bit of trial and error at first. I’d screw a piece in, then realize it wasn’t quite straight, so I’d have to unscrew it and try again. But hey, that’s part of the learning process, right? I started with making the legs of the stands first, attaching them to the square top with the wood glue and screws.
After a few attempts, I finally got the hang of it. I made sure each leg was evenly spaced and securely attached to the base. Then, I added a top platform for the plants to sit on. I used some wood glue to keep everything extra sturdy, just to be safe. I sanded everything down to give it a rustic look and then painted it all to match.
Finishing Touches
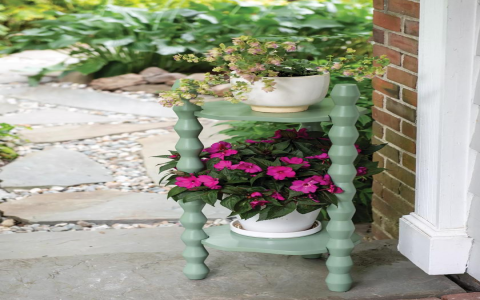
Once the stands were assembled, I gave them a good sanding to smooth out any rough edges. I wanted them to look nice and polished, you know? Then, I added a coat of paint to give them a bit of color and protect the wood from moisture. I chose a nice, earthy tone that would complement my plants.
Displaying the Plants
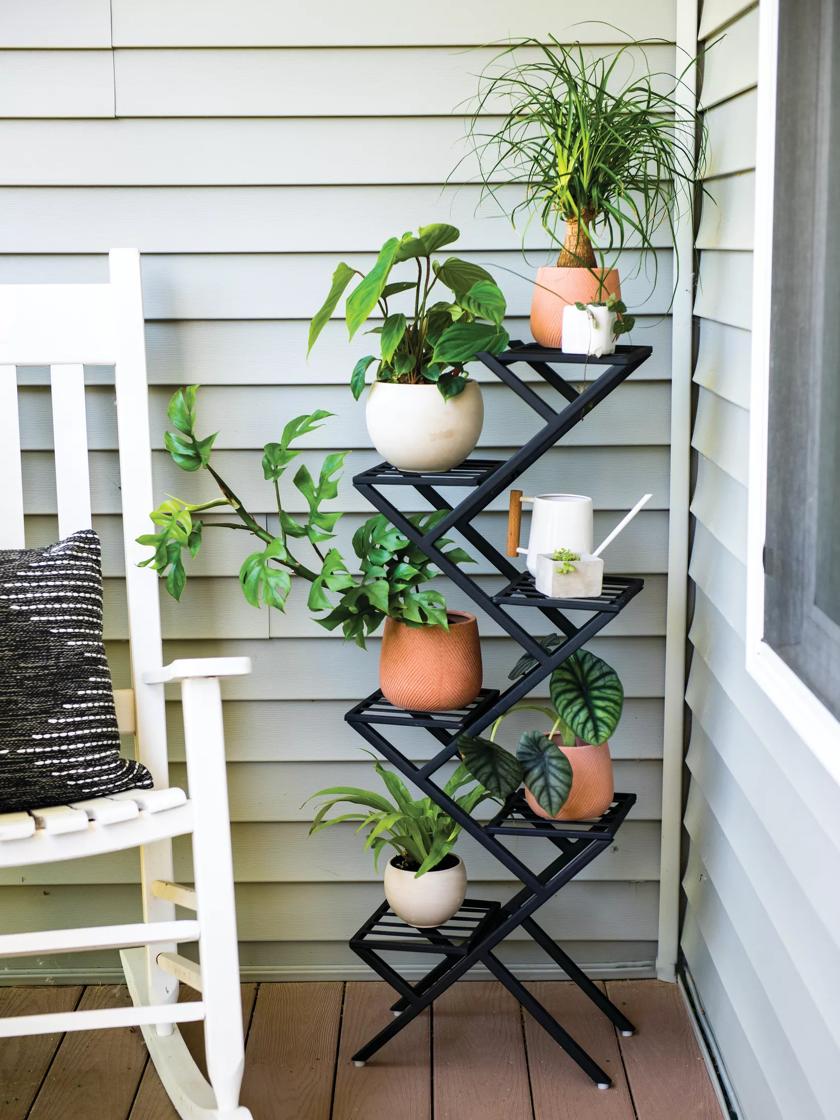
Finally, the moment of truth – placing my plants on their new stands. I carefully arranged them, making sure each one had enough space to grow. I even added a few pebbles to the bottom of the pots for better drainage. It’s all about giving these little guys the best possible environment, right? And I wanted to give them a good height boost to get a little more sun.
And there you have it! My little DIY adventure of making raised plant stands. It wasn’t always smooth sailing, but I’m pretty happy with how they turned out. Now my indoor garden looks even more inviting, and my plants seem to be thriving in their new elevated homes. If you’re thinking about doing something similar, I say go for it! It’s a fun and rewarding project, and your plants will thank you for it.


