
Okay, so, I’ve been wanting to add some more greenery to my living room, but I also wanted to do it in a way that’s, like, stylish, you know? So I thought, why not try making a colored plant stand? It seemed like a fun little project, and honestly, it turned out way better than I expected.
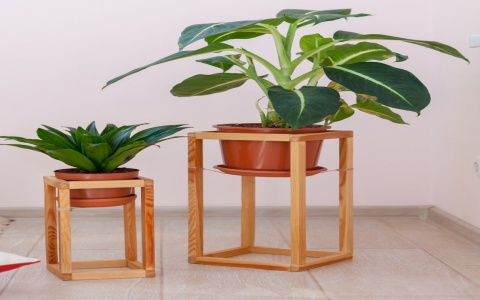
First things first, I had to decide on the actual stand. I looked around a lot, found some good ones, but they were a bit too common for me. And then there are some good-looking designed ones, but way too expensive. I wanted something simple, not too big, since my space isn’t huge. And this got me thinking, why don’t I just get something basic and make it my own? I ended up going with a basic wooden one I found at a local store. Nothing fancy, just your standard, three-tiered stand. It was pretty cheap, which was great because I didn’t want to spend a fortune on this.
Next, the fun part: choosing the color! I spent ages staring at color swatches, trying to decide. Initially, I thought about a bright, bold color to make it a statement piece. I even considered a sunny yellow or a vibrant blue. But then, I looked at my plants. I’ve got these beautiful, deep green leafy ones and some with lighter, more delicate leaves. I realized a bright color might clash with them. So, I decided to go with a more neutral, earthy tone. I ended up picking a soft, sage green. It’s subtle but still adds a bit of color, and it complements the plants perfectly.
Then came the painting part. I laid down some old newspapers to protect my floor, got my paint, a brush, and some gloves. I gave the stand a light sanding first, just to make sure the paint would stick well. And then I started painting. It took a couple of coats to get it just right, but it was actually pretty relaxing. While I was painting, I got the idea to add a little something extra. I took some stencils I had lying around – some leaf shapes and geometric patterns – and added a few accents on the legs and the edges of the shelves. Nothing too crazy, just a little touch to make it unique.
- Decided on the stand type and size
- Picked a color that complements the plants
- Prepared the stand for painting (sanding, cleaning)
- Painted the stand with the chosen color
- Added decorative touches with stencils
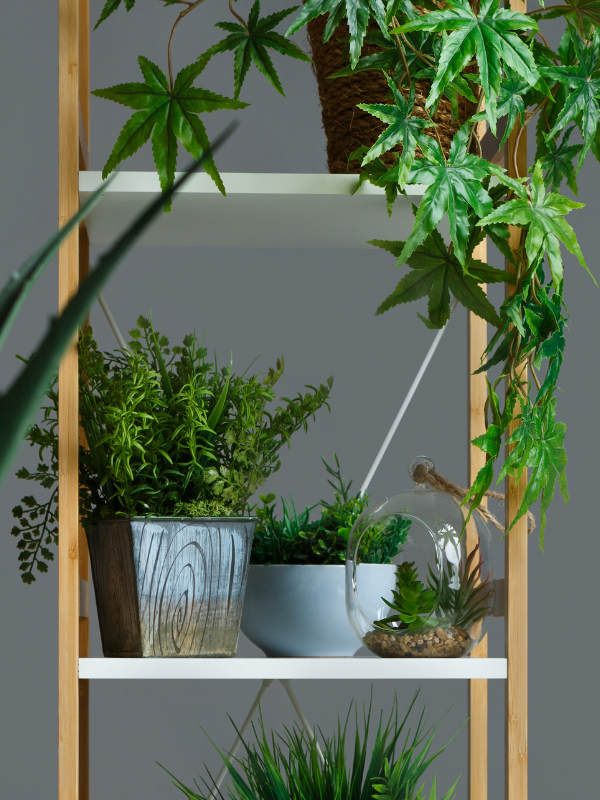
Once the paint was dry, I arranged my plants on the stand. I put the bigger, bushier ones on the bottom and the smaller, more delicate ones on top. It looked amazing! The sage green really made the plants pop, and the stenciled details added a nice, personal touch. It’s like the plants finally got the stylish home they deserved, haha.
Honestly, this little project made such a big difference in my living room. It’s not just a plant stand anymore; it’s like a piece of decor. And it was so easy and cheap to do! I’m already thinking about what other furniture I can revamp. Maybe my old bookshelf next? Who knows! But one thing’s for sure, I’m definitely not afraid to get my hands dirty and add a little color to my life.
My Takeaways from This Project:
- Don’t be afraid to personalize your furniture.
- Consider your plants when choosing colors.
- Simple changes can make a big impact.
- It’s super satisfying to create something yourself!


