
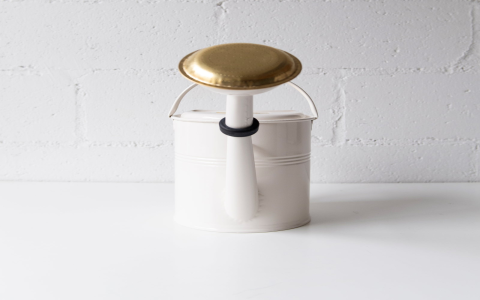
So, I was checking out my plants the other day, you know, making sure they weren’t dying on me. And I thought, “Why not make watering them a bit easier and, dare I say, stylish?” That’s when I decided to DIY a watering can. Yep, you heard that right, a homemade watering can!
I grabbed an old detergent jug – you know, the big, sturdy kind with a handle. Milk jugs work too, or even those large water or juice jugs, as long as they have a handle. The key is to make sure the lid screws on tight. You don’t want one of those pop-on, pop-off caps; those won’t work because of the water pressure.
First things first, I cleaned the jug thoroughly. I mean, you don’t want any leftover detergent or juice messing with your plants, right? Once it was squeaky clean and dry, I got to the fun part.
I took the lid and poked a bunch of holes in it. I just used a big old nail and a hammer, nothing fancy. You can control the water flow by the number and size of the holes you make. I went for a medium-sized nail and made a few holes, figuring I could always add more later if I needed to.
- Found a suitable jug with a screw-on lid.
- Cleaned it out really well.
- Poked holes in the lid using a nail and hammer.
Here’s a quick rundown of what I did:
Then came the moment of truth. I filled the jug with water, screwed the lid back on, and tipped it over. And guess what? It worked like a charm! A nice, gentle stream of water, perfect for my little green friends. It’s not exactly like those fancy watering cans you see in stores, but it gets the job done, and it’s kind of cool to use something I made myself.
If you’re looking for something even smaller, I heard the “Etarewilt 1⁄2-Gallon Watering Can” is a good choice. But honestly, this DIY version is super easy and practically free. Plus, it’s a fun little project. Give it a try, and let me know how it goes!


