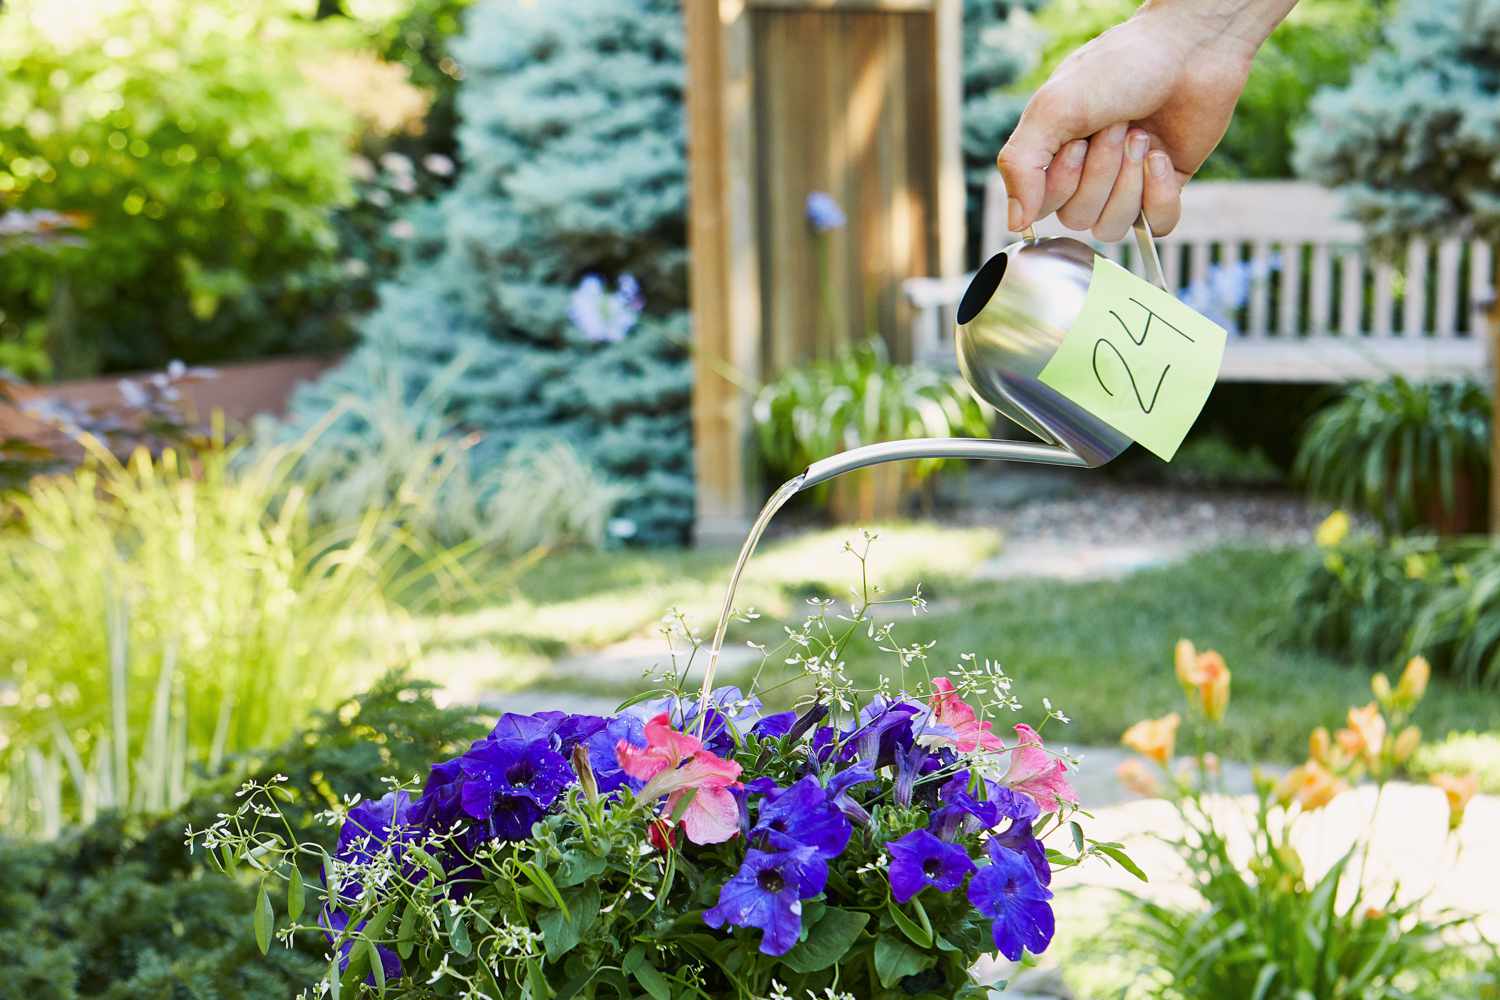
Okay, so today I tried to make a watering can, a silver one, ’cause why not? I saw some shiny watering cans at the store the other day, and thought, “I could totally make that.” How hard could it be, right?
First, I gathered all the stuff I thought I’d need. I found this old metal sheet in the garage – no idea what it was for, but it was silver and looked about the right thickness. I also grabbed some tools: a hammer, some pliers, that kind of thing. I even printed out a rough sketch of a watering can from the internet, just to have a general idea of the shape.

Starting the Process
- Marking and Cutting: I used a marker to draw the shape of the watering can onto the metal sheet, following my sketch as a guide. It was a bit tricky, I am not good at drawing, but I managed. Then, I carefully started cutting the metal using tin snips. It was harder than I expected, and my hands were pretty sore after a while.
- Shaping the Body: After cutting out the pieces, I began to shape the body of the can. I used a hammer and a lot of elbow grease to bend the metal into a cylindrical shape. I then tried to join it by bending the metal sheets, but it’s hard. After several hours, I decided to give it up and try other methods.
Trying Different Methods
- Using Screws: I thought screws might be easier, so I drilled some holes and tried to screw the pieces together. This worked a bit better, but it didn’t look very nice, and it wasn’t watertight at all.
- Trying Glue: Next, I tried using some strong metal glue. I applied it to the edges and clamped the pieces together, hoping it would hold. It seemed to work at first, but when I tested it with water, it leaked like crazy. Plus, it looked messy.
Going Back to Basics
I realized I needed a different approach. I remembered seeing a video about soldering, so I watched the video again. The video showed how to join metal pieces together using heat and a special type of metal. I decided to give it a shot, even though I’d never soldered before.
- Learning to Solder: I watched more videos about soldering and practiced on some scrap metal. It was tricky at first, but I got the hang of it eventually. I learned how to heat the metal and apply the solder correctly, it’s really interesting.
- Soldering the Can: Once I felt confident, I started soldering the watering can. It was a slow process, but I took my time and made sure each joint was strong and sealed.
Finishing Touches
- Adding the Spout: The spout was the trickiest part. I cut a smaller piece of metal and shaped it into a cone, then I carefully soldered it to the body of the can.
- Creating the Handle: For the handle, I bent another piece of metal into a curved shape and soldered it to the top of the can. I made sure it was sturdy enough to hold the weight of the water.
Finally, after many hours of work, my silver watering can was complete! I filled it with water, and guess what? It didn’t leak! I was so proud of myself. It might not be as pretty as the ones in the store, but I made it with my own two hands, and that’s what counts. Now I have a unique, handmade watering can for my plants, even those indoor blooms. Next time, I think I’ll just buy one from the store, though, making it’s really a tough job. But all in all, it was a fun learning experience, and I’m glad I tried it.


