
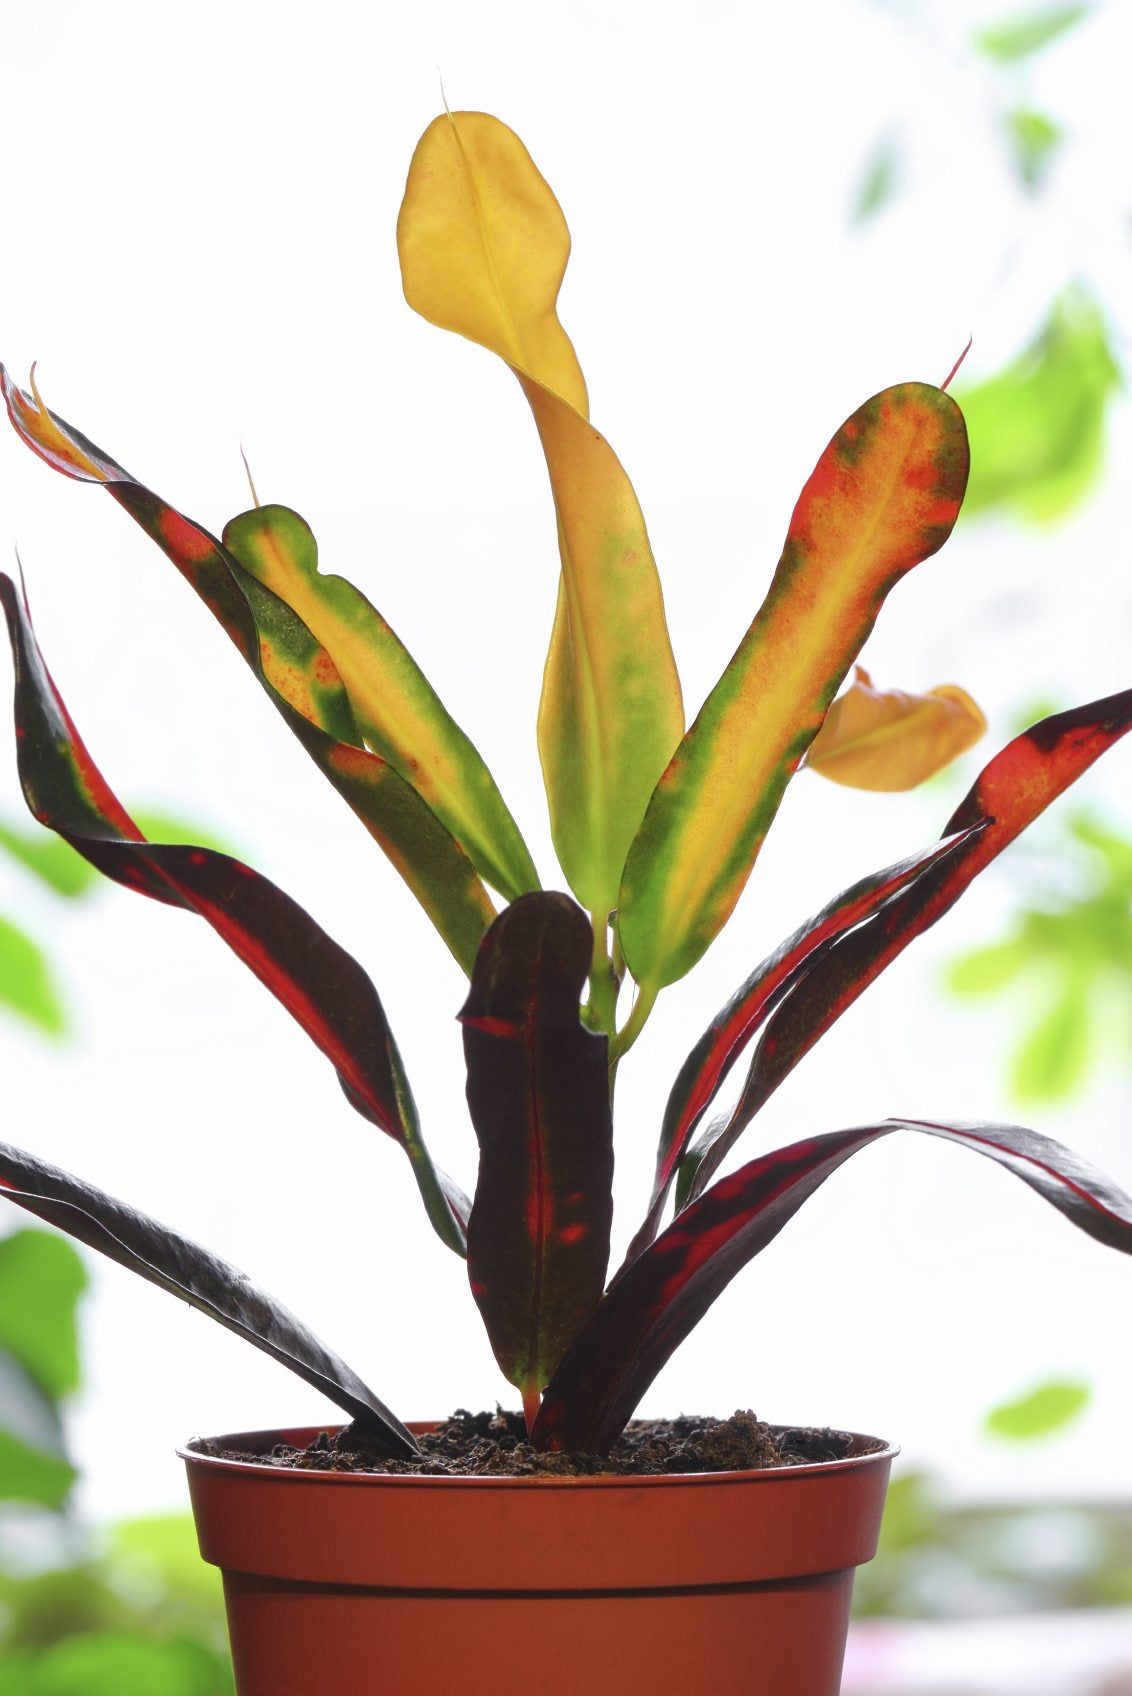
Alright, folks, let me tell you about my recent adventure with my croton plant. I’ve had this croton for a while now, and it’s always been a bit of a drama queen, but lately, it took things to a whole new level. I noticed the leaves were starting to droop and, one by one, they began falling off. It was like watching a slow-motion tragedy unfold in my living room.
First things first, I checked the soil. I stuck my finger in about an inch, and it was drier than my sense of humor during a Monday morning meeting. Oops. Clearly, I had let it get way too dry. I usually water it regularly, but life got in the way, and I guess I missed a few watering sessions. Crotons, as I’ve learned the hard way, don’t appreciate being neglected. So, I immediately gave it a good soak in the sink. I let the water run until it flowed out the bottom, making sure the soil was thoroughly drenched.
But here’s the thing – I also remembered reading somewhere that overwatering can be just as bad. When the soil goes from bone-dry to soaking wet, it can stress the plant out. And guess what a stressed croton does? Drops its leaves. Great, just great. So, I watched it like a hawk over the next few days, ready to intervene if needed.
Then, I started thinking about light. My croton was sitting in a corner that I thought got enough light, but maybe I was wrong. From what I gathered, these plants need at least six hours of bright, indirect sunlight every day. So, I decided to move it closer to a south-facing window, hoping that would make a difference. It was a bit of a gamble, but I was willing to try anything.
- Watering: I made a mental note to water it more consistently, but not to overdo it.
- Sunlight: I moved my croton plant to get more indirect sunlight.
- Observation: I kept a close eye on it, checking the soil moisture and looking for any signs of improvement.
While I was at it, I took a closer look at the leaves. Some of them were turning yellow before dropping. I pruned off the really sad-looking ones, hoping to encourage new growth. I also inspected the roots, just to make sure there was nothing fishy going on down there. Thankfully, they looked okay, not mushy or anything that would suggest root rot.
The Waiting Game
For the next few weeks, it was a waiting game. I watered it when the top inch of soil felt dry, made sure it was getting plenty of light, and generally tried to be a more attentive plant parent. And you know what? Slowly but surely, it started to bounce back. I saw tiny new leaves starting to emerge, and the leaf drop slowed down. It wasn’t an overnight transformation, but it was progress. I guess crotons are like some people I know – they need their time to adjust to changes. It took around 3-4 weeks, but I finally saw some new growth.
It wasn’t easy, and I definitely learned my lesson about keeping a closer eye on my croton. These plants can be a bit high-maintenance, but they’re worth it when you see them thriving. Now, it’s back to its colorful self, and I’m just happy I didn’t end up with a pot of bare stems. And I also learned that they’re perennials. This means they live through many growing seasons and can regrow from the same root system in the spring. So, even if they look like they’re on the brink of death, there’s always hope!
So, if you’re having trouble with your croton, don’t panic. Just remember to check the basics – water, light, and a little bit of patience. You might be surprised at how resilient these plants can be.


