
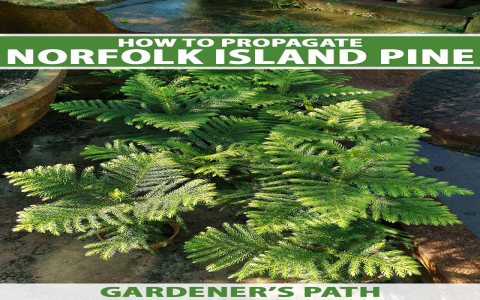
You see, this here Norfolk Island pine, it’s a good tree, a real good tree. But sometimes, you gotta give it a new home, just like when you move outta your old house into a bigger one. That’s called repotting, and it ain’t too hard, just gotta know a few things. This is about norfolk island pine repotting. If your tree is not having enough space, you gotta consider this.
First off, you wanna do it when the weather’s gettin’ warm, like in the spring. That’s when these trees, they start to wake up and grow new leaves and such. You can tell ’cause you’ll see little green bits poppin’ out. When you see them green, that means it’s time to repot norfolk island pine.
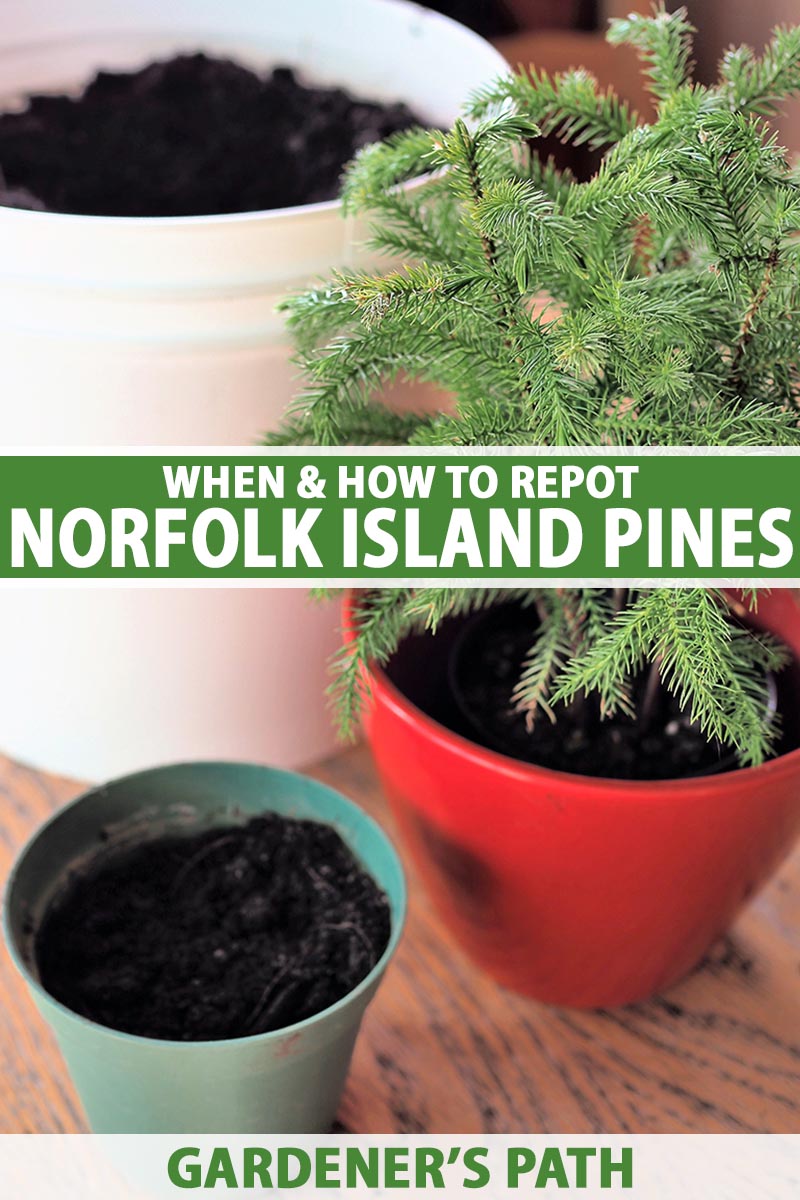
Now, you don’t wanna put it in a pot that’s way too big. Just a little bigger than the one it’s in now, maybe a couple of inches. And make sure that pot’s got holes in the bottom. These trees, they don’t like their feet wet. Soggy roots are bad, real bad. So the water’s gotta be able to run out. This is important for norfolk island pine repotting.
The dirt you use, that’s important too. You can buy some special dirt from the store, the kind they use for them cactus plants. Or, if you’re like me and you like to do things yourself, you can mix up your own. Just get some regular dirt, the kind you use for plantin’ flowers, some peat moss, that’s like fluffy stuff, and some sand or perlite, that’s them little white rocks. Mix ’em all up, equal parts, and then throw in a spoonful of bone meal. That bone meal, it’s like vitamins for the tree. Bone meal helps with norfolk island pine repotting.
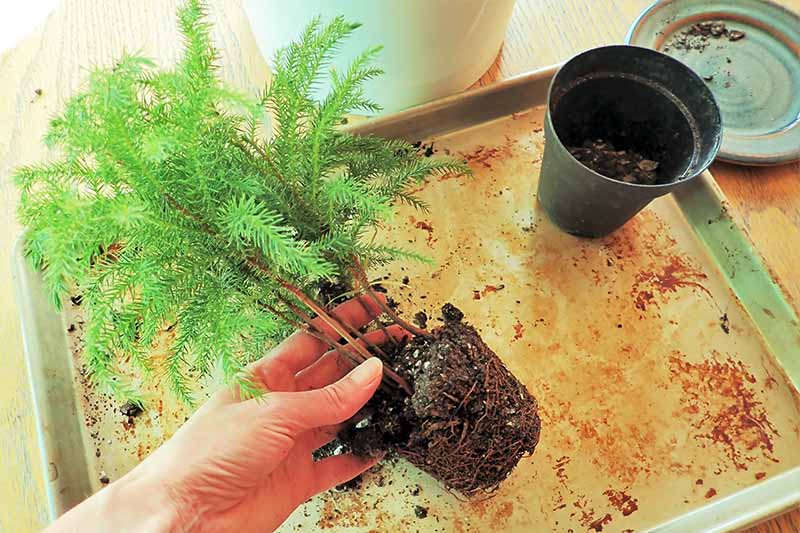
Now comes the tricky part, gettin’ the tree outta that old pot. You gotta be gentle, like you’re handlin’ a baby bird. Tap the sides of the pot, kinda loosen it up, and then gently pull it out. Try not to break the roots, them’s important. When you have your tree out, it’s time for repotting.
- Tap the sides of the old pot.
- Gently pull the tree out.
- Don’t break the roots!
- Check for bad roots, cut them off.
- Put some new dirt in the new pot.
- Put the tree in, add more dirt.
- Water it good!
Once it’s out, take a look at them roots. If you see any that are brown and mushy, those are bad. Cut ’em off with some clippers. Then, put some of that new dirt you mixed up in the bottom of the new pot. Set the tree in there, make sure it’s standin’ up straight. This is part of the process of norfolk island pine repotting.
Then, fill in around the roots with more dirt. Pack it down a little, not too tight, just enough so the tree don’t wobble. After that, give it a good drink of water. A good drink is good for norfolk island pine repotting.
Some folks, they like to have a bunch of these trees all growin’ in one pot. Looks kinda like a little forest. But, you know what? Them trees, they get to fightin’ over the dirt and water. So i think it’s much better you give each one their own pot. They’ll be happier that way, and you will too.
This norfolk island pine, it can get real big outside, like taller than your house, even taller than the barn! But when you keep it in a pot, it stays smaller. Still, it’ll need a bigger pot every now and then. Just follow the steps I done told ya.
Repotting ain’t hard, just gotta be careful and do it at the right time. This here norfolk island pine, it’ll thank you for it. It’ll grow big and strong, and you’ll have a pretty tree to look at for years to come. And if you ever forget what to do, just come back and read this again. I’ve put all the important stuff about norfolk island pine repotting in here.
This is all you need to know about repotting. Remember, bigger pot, but not too big. Use good dirt. Be gentle with the roots. Water it good. And do it in the spring. Don’t put it off till later, spring is the right time for norfolk island pine repotting. You do all that, and your tree will be just fine. Trust me, I know a thing or two about plants.
Now go on and get to repotting! Don’t wait too long. And you have a good day. That is all you need to know about your norfolk island pine.


