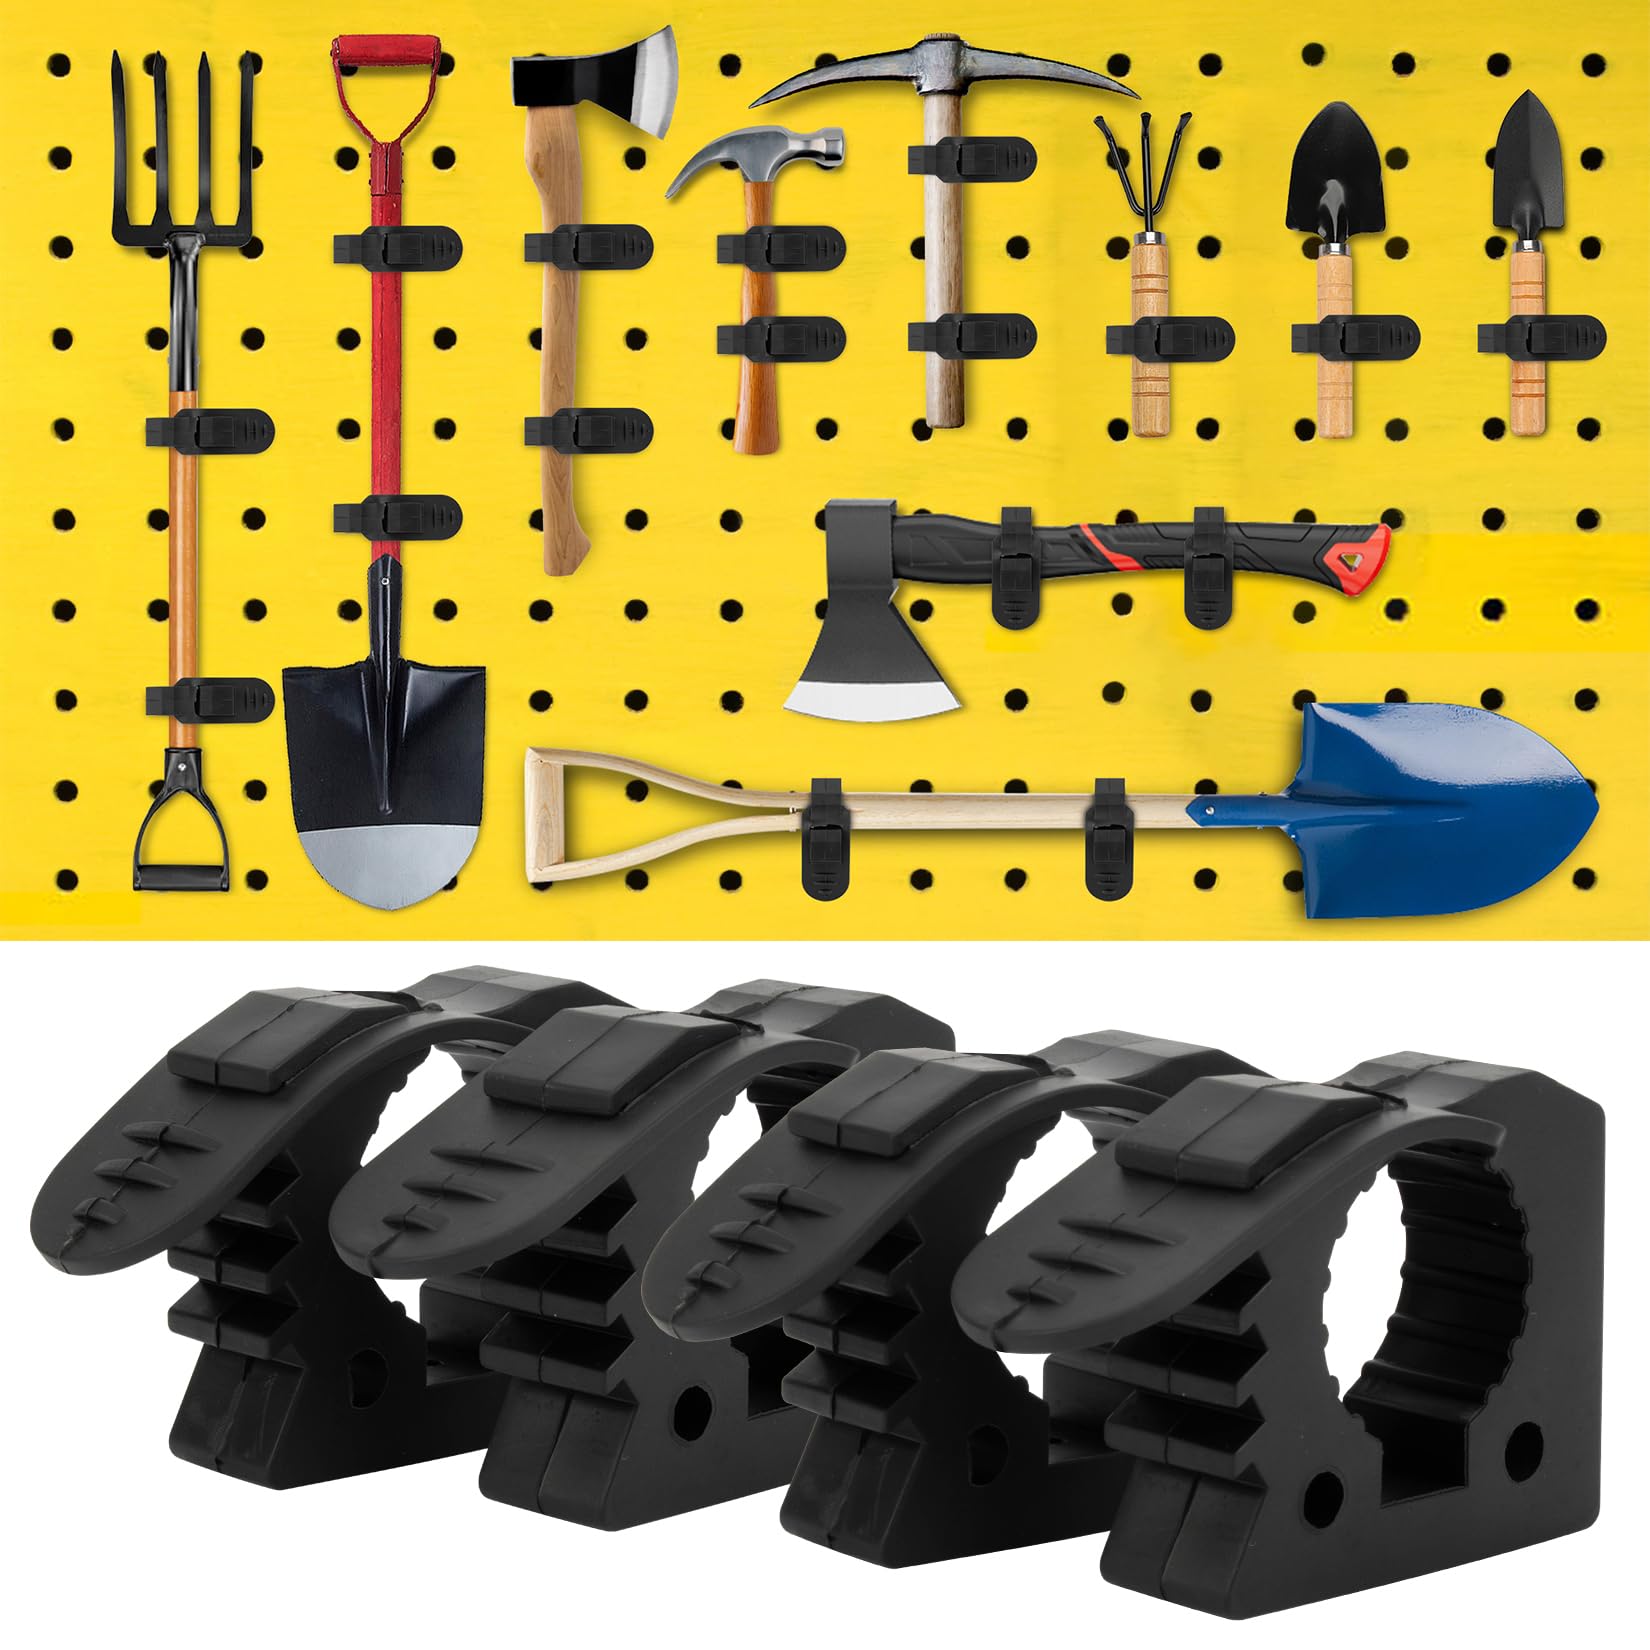
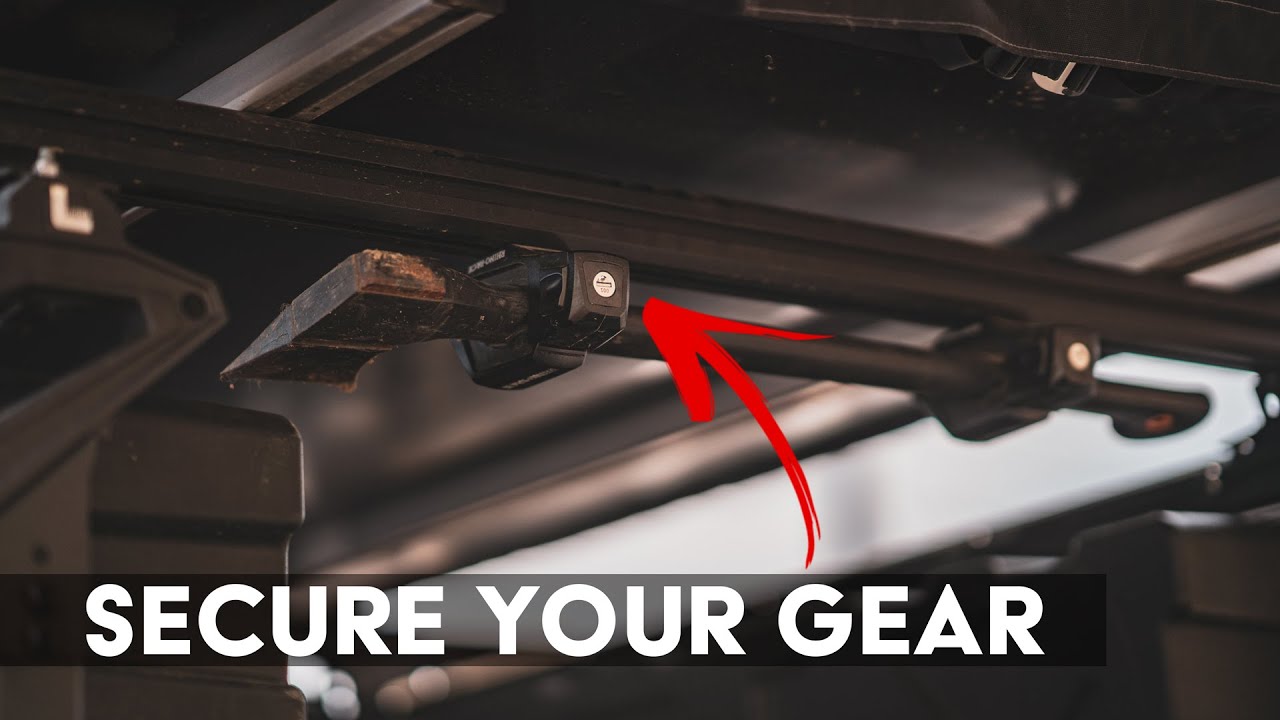
Alright folks, let me tell you about the absolute headache my loose shovel and axe were giving me on the trail last week. Nearly clocked myself in the head when that shovel handle decided to make a break for freedom. Total nightmare. Came home determined to find ways to lock that gear down solid. Ended up testing five ways, because one definitely wasn’t gonna cut it.
Starting Simple (Because Why Not?)
First thing I grabbed? Duct tape. Saw some sitting on the garage floor. Figured I’d just wrap the heck outta the spot where the metal head meets the wooden handle. Wrapped it tight, layer after layer, thinking I was some kind of MacGyver. Felt pretty secure after I was done wrestling with that roll. Left it stuck to my garage wall overnight to “set”.

Big mistake. Next morning I yanked it down to test. Cold night? Tape got stiff. First decent tap against the concrete floor when I was pretending to chop something? Head wobbled like crazy. Tape just peeled right off, sticky crap left everywhere. Yeah, no. Good for a quick trail fix maybe, but trash for long term. Straight into the bin it went. So much for that bright idea.
Time to Get Serious (Screws!)
Duct tape flunked hard. Okay. Fine. Went into the toolbox and dug out some screws instead. Grabbed two short but sturdy wood screws and my cordless drill. Carefully lined them up through the metal hole in the shovel head into the wooden handle underneath. Drilled slow, didn’t wanna split the wood.
- Drilled the pilot hole first.
- Felt that satisfying grind as the screw bit bit in.
- Tightened it down good and snug.
- Gave the head a wiggle. Solid as a rock!
Victory! Did the same for the axe. Used slightly longer screws since its head felt heavier. Definitely a step up. Quick, cheap, didn’t even need a trip to the hardware store.
That Annoying Screw Head…
But here’s the rub. Used regular Phillips head screws. Awesome, until you get dirt and mud jammed into that little cross. Trying to tighten it back up after a week of beating on it? Good luck getting the driver to grip properly. Spent five minutes cursing trying to clean out one head enough for the bit to catch. Pain in the neck. Should have used socket cap screws or hex bolts maybe? Something where mud can’t screw up the driver slot so easy. Lesson noted.
Epoxy Time (Getting Fancy)
Wanted something even more permanent than screws. Had some two-part epoxy resin kicking around in a drawer. Read the instructions (mostly), squeezed out the goo, mixed it up real good until it was that cloudy color they said. Slathered that sticky mess thick right inside the shovel head socket where the wood handle slips in. Stuck the handle in fast, turned it to spread the glue, and propped it upright against the wall.
That stuff takes forever to cure. Smelled awful too. Felt solid after 24 hours though. You can’t easily undo it, which can be good or bad. Probably wouldn’t use it on the axe personally, might need to replace the handle someday. But for the shovel? It ain’t going anywhere now. Strong stuff, just be ready for the wait and the stink.
Surprise Winner (Basic Wedge)
Saved the oldest trick for last. Actually found my grandpa’s old metal splitting wedge deep in the toolbox. This skinny bit of steel? You knock it into the wooden handle itself, right after you slide the head on. Hammered it in good.

- Positioned it carefully.
- Good few solid taps with the hammer.
- Wood expands outwards, tightening insanely against the metal socket.
Sounded different, like a thunk instead of a ring. Head suddenly felt locked on like magic. Cheap, simple, no glue mess, no stripped screw heads. Probably the most reliable feeling fix out of all of them. Only needs that wedge piece and a hammer. Why did I even bother with the other stuff first?
So yeah, five ways. Learned a ton, made some mistakes, finally got both pieces of gear rock solid. Go figure, grandpa probably knew best all along. Go wedge if you can.


