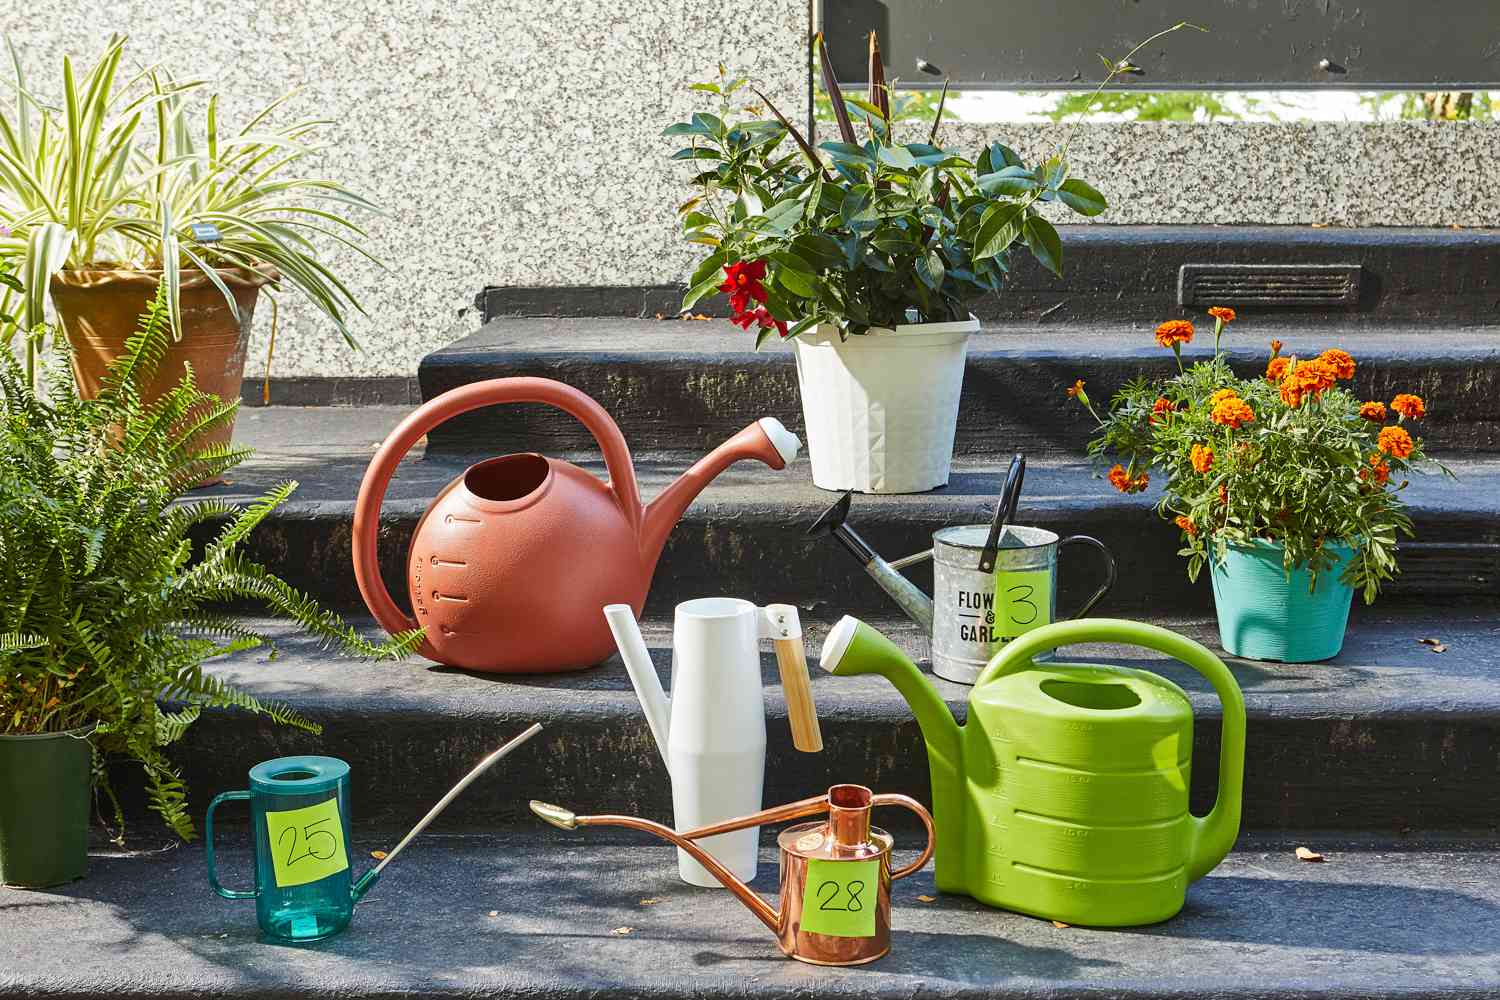
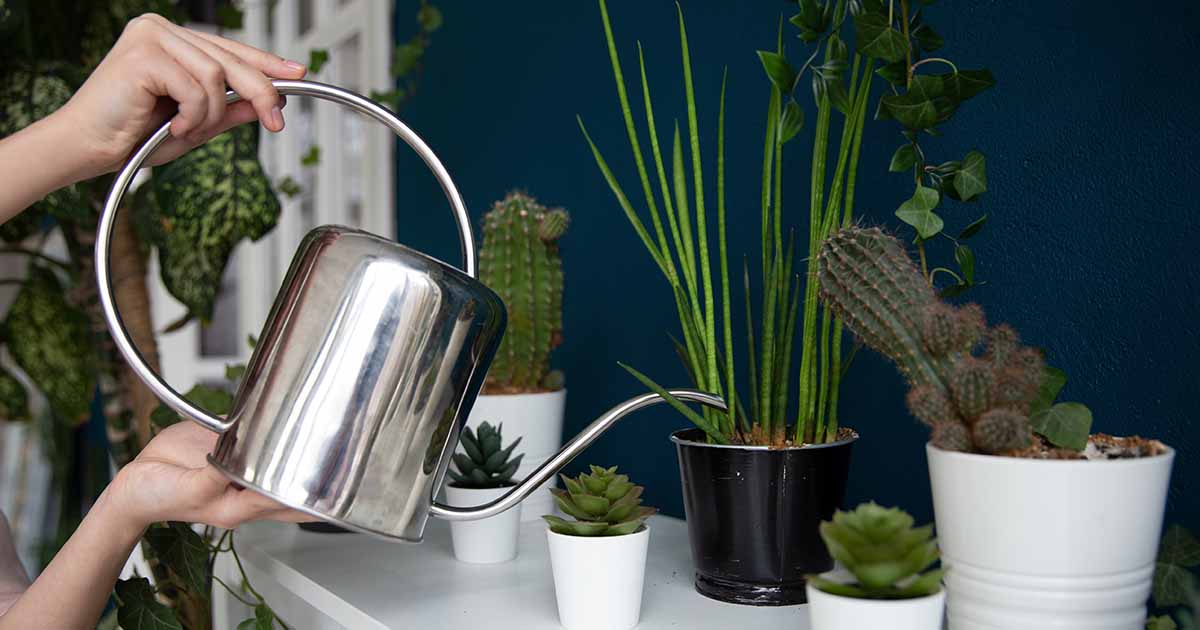
Honestly, this whole thing started because my old plastic watering can finally gave up the ghost. Sprung a leak right at the seam, couldn’t be fixed. Typical. So instead of just grabbing another cheap one, I figured, hey, why not try making something unique? Maybe even make several, see what works best for different plants.
Getting Started and Gathering Stuff
First step was looking around the house and garage. You know, checking what junk I already had lying around. Found some empty paint cans – the metal kind you get from hardware stores? Also had a leftover coffee container, couple of empty vinegar bottles, and an old teapot I never used. Figured these could be the bodies. Then I grabbed some tools: a drill with different sized bits, a screwdriver, some epoxy glue, and a roll of waterproof tape. Felt pretty prepared.

The Building Part – Let’s Just Say It Was… Messy
Alright, time to actually turn this stuff into watering cans. Kicked off with the big metal paint can. Seemed sturdy. Grabbed the drill, punched some holes in the lid. Big mistake. Water just dribbled out like a sad little stream. Useless. Next attempt was the plastic vinegar bottle. Drilled more holes in the cap. Ended up looking like a shower head. Worse. Water sprayed absolutely everywhere except the soil. My poor basil plant nearly got waterboarded. Got water all over the floor too.
Decided to try something different. Took the old teapot. Pulled off the lid, figured that big hole on top would be easy to pour water into. Took one of those small plastic nozzles – think like the one on a dish soap bottle? – and tried super gluing it onto the spout. Total failure. Epoxy wasn’t strong enough. Water started leaking badly from the join the first time I tipped it. Glue everywhere. More frustration.
Then I thought about the fancy store-bought copper cans you see online. Way too pricey for what they are. Found an old metal kettle instead. No spout, just the handle. Drilled a hole near the base, jammed a piece of thin plastic tubing through it, sealed it up with loads of waterproof tape. Hey, water actually came out the tube! But pouring water into the kettle? Awkward as hell. Kept spilling it down the sides.
Fifth Time Lucky? Or Just Giving Up?
Okay, this DIY thing wasn’t working great. Thought maybe a simpler approach with the coffee container. Clean plastic, decent size. Poked a ton of small holes in the lid. Worked okay for sprinkling seeds or tiny seedlings – more like a gentle rain. But for a real drink? Took forever. Ended up just taking the lid off and tipping the whole container over the pot. Messy again.
Truth bomb time: None of these homemade things actually worked better than a basic cheap store watering can. The teapot leaked. The shower-head bottle soaked everything. The kettle was impossible to fill neatly. The big paint bucket dribbled. Only the coffee container with holes had a tiny bit of use, and even that was slow.
Felt pretty dumb. Wasted hours trying to make something supposedly “unique.” Ended up going down to the local garden center yesterday and bought a simple, boring plastic watering can with a decent rose. Probably should have just done that from the start.
What This Mess Taught Me
- Looks ain’t everything: That teapot looked cool sitting there… until water dripped all over the table.
- Dribbles vs. Downpours: Finding the right water flow for different plants is KEY. My attempts were either a flood or a pathetic trickle.
- Easy to fill matters WAY more than you think. Wrestling with awkward openings sucks.
- K.I.S.S.: Keep It Simple, Stupid. That boring plastic store can just works. Every. Single. Time.
So yeah. Had a go at making custom cans. Learned they’re mostly just for show or very specific little jobs. For keeping your actual plants alive without drowning them or making a huge mess? Stick with the basic tool. At least until my epoxy skills magically improve.


